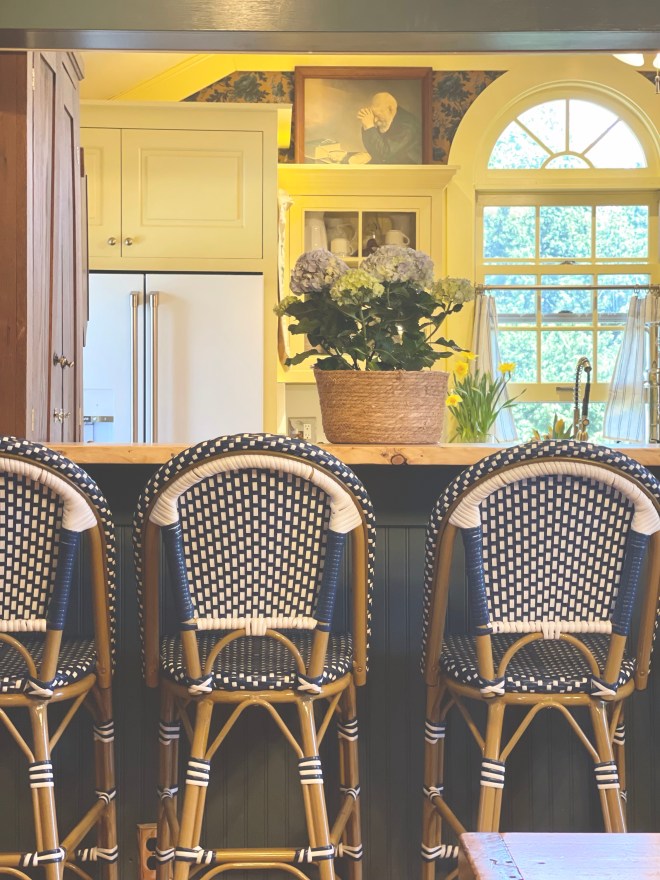
The Story of Our Bright & Cheery Kitchen Design
Written by Bethany Curee, God’s Daughter – Freckled & Free
THE VISION
Most people, I would say start their day in the kitchen seeking to get nourished. Perhaps it’s one fried egg over-easy served alongside sautéed spinach, seasoned well, and topped with a favorite hot sauce. If eating bread, a sourdough toast is divine to layer it upon. Slicing up a ripe peach to lavish in afterwards and sweep away all that savory with something sweet. Nourishing both body and soul if you include it with your morning devotion and crisp kombucha.
Perfect. Start. To. The. Day.
Now, hang with me a minute while I add to that visual—I promise, I’m getting somewhere.
A gentle warm breeze wafts through the open window. Fresh flowers are positioned to inspire. Brass and copper finishes surround you. Cheerful colors and deeply rich wallpaper. Beautifully displayed dishes. Counter tops cut with style. A hood that feels established and rich with history. A kitchen built to chop, dice, simmer and roast in an endless inspiring setting from the space to the aroma.
This is the vision. The very aesthetic I was dreaming up to secure in our own kitchen. The beginning story of our bright and cheery kitchen.
That kitchen on the sunny-side up.
“Finally, brethren, whatsoever things are true, whatsoever things are honest, whatsoever things are just, whatsoever things are pure, whatsoever things are lovely, whatsoever things are of good report; if there be any virtue, and if there be any praise, think on these things.” Philippians 4:8
Sunny.
Happy.
A kitchen set up to start the day with a song of praise in one’s heart.
An attitude of graditude.
An attitude to taste and savor.
Make and create.
Serve and nourish.
Cherish and be.
Dwell in peace.
VISION COMPLETE, CHECK
And it’s exactly with this base design developed in my mind, and an adequate amount of time actually living in the space to understand it well enough to make educational design decisions about what the space needed, that I began planning. But, first, let me take you back to the home’s roots to help you understand what led me to the decisions we made for our home. A little story time for its history.
OUR CHARMING 1855 HISTORICAL HOME RECAP
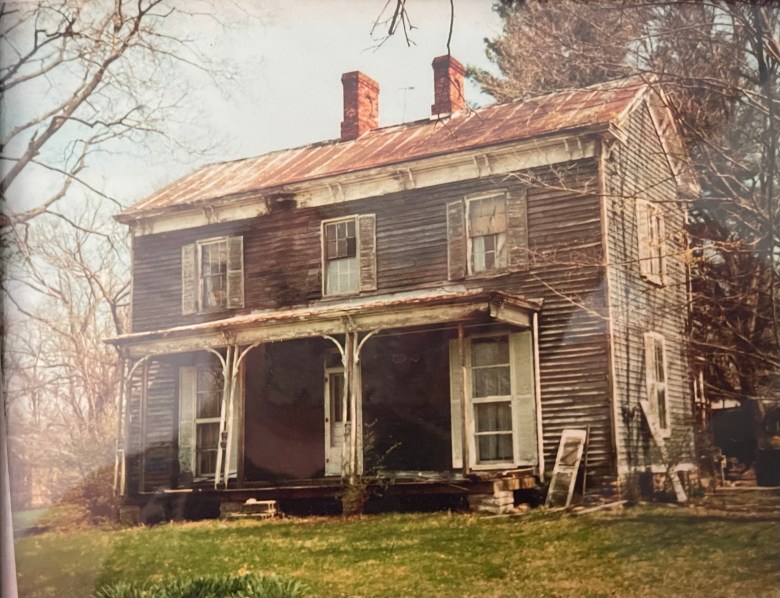
The dilapidated state of our 1855 historical charmer saved, salvaged and completly restored by the previous owners, to which it was their families generational home. 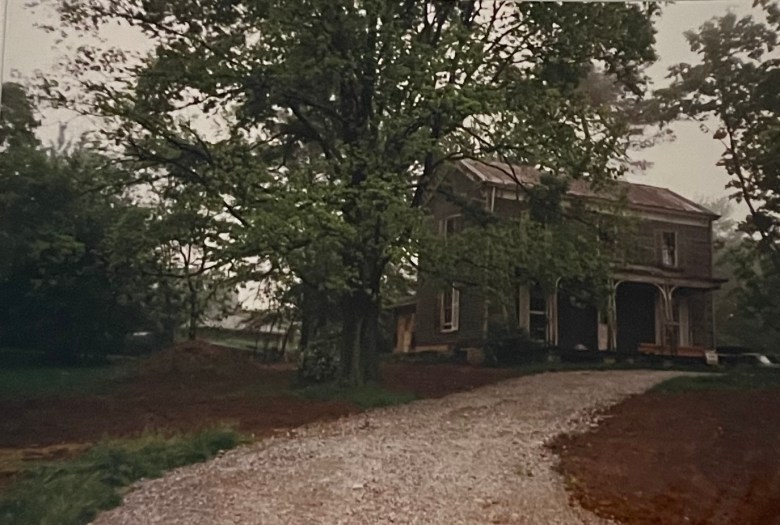
Note the original color of the siding as they work to restore the home. 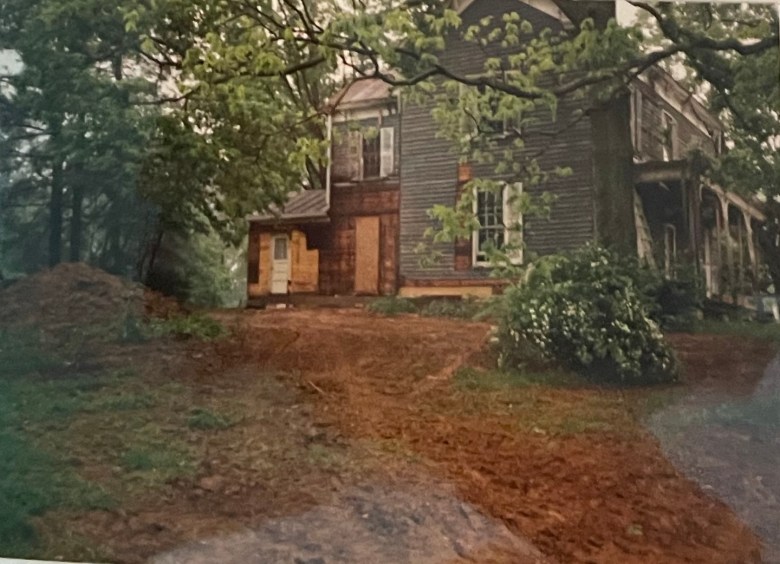
They prepped it for much needed additions. 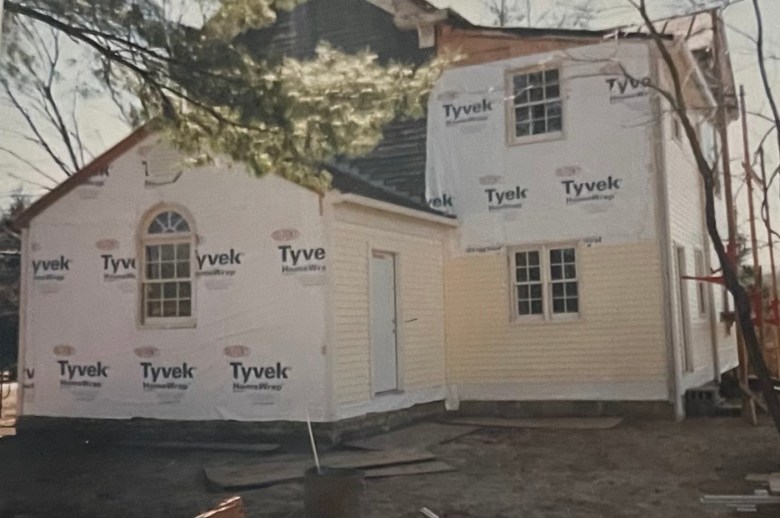
Fun fact, the original summer kitchen became the new kitchen of the restored home. The new siding chosen as well, a bright, cheery, buttery yellow (hint, hint). 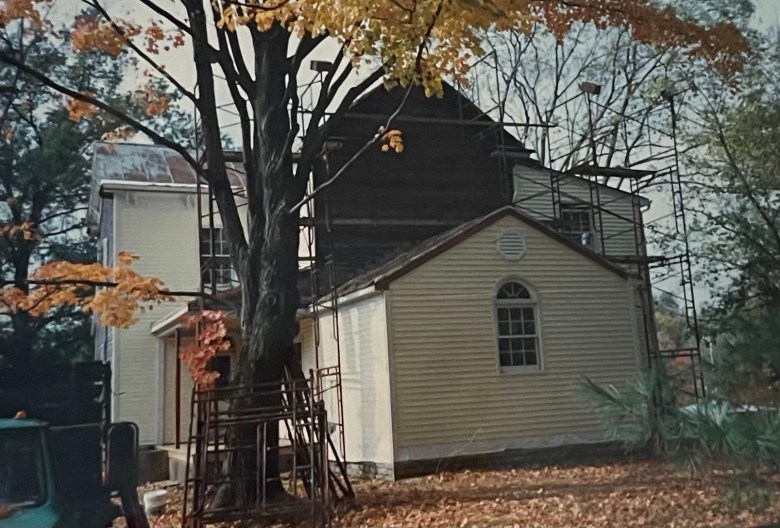
Everything the previous owners did, they did in absolute excellence. Restoring the home with the original charm, while upgrading the spaces to the needs of today. 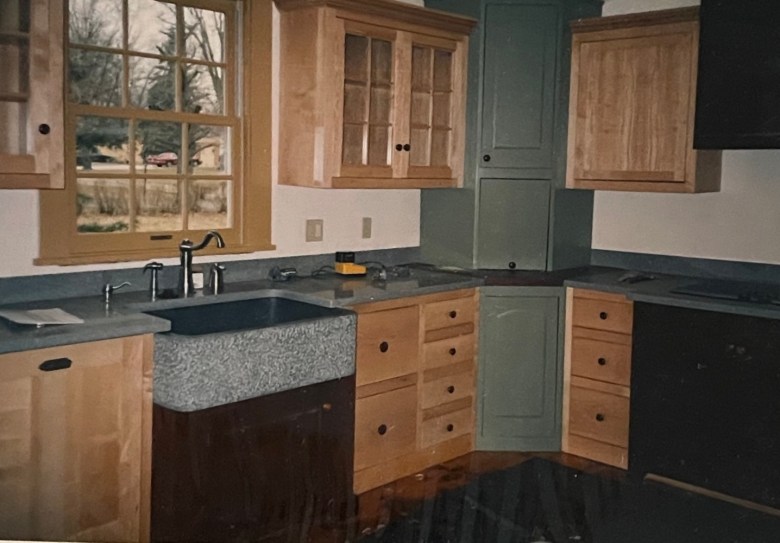
When they designed the upgraded kitchen, they tried to mimic how kitchens would have been back then. Their concept was the idea of pieced together cabinets with various colors mixed in, imagining that they would have used what they had to make it work. 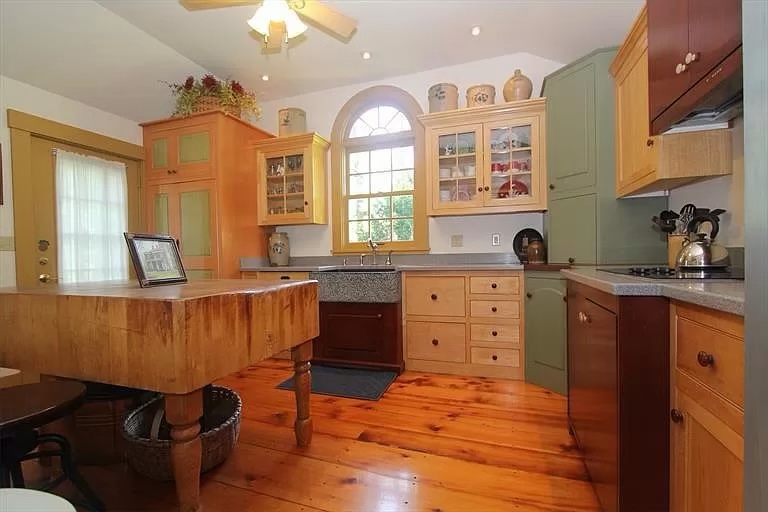
We loved their take on keeping it historically accurate. 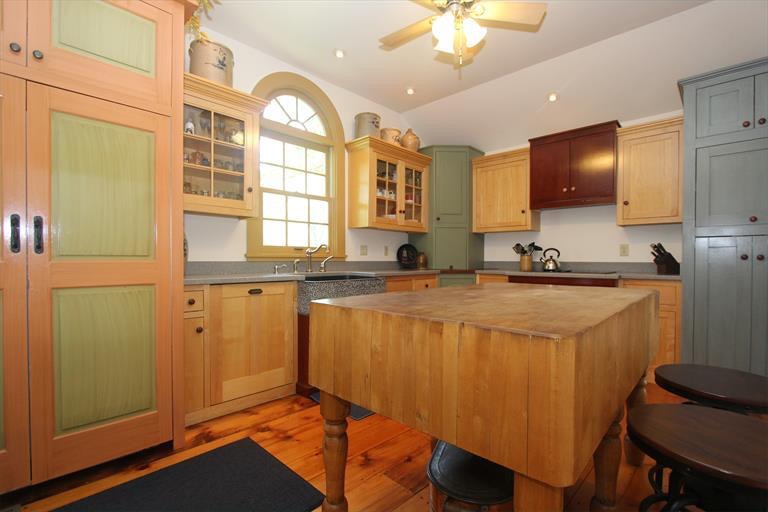
We appreciated what they did in the home, and applauded it even, however, when it became ours, we knew ultimately, we wanted a different take on its historical charm. 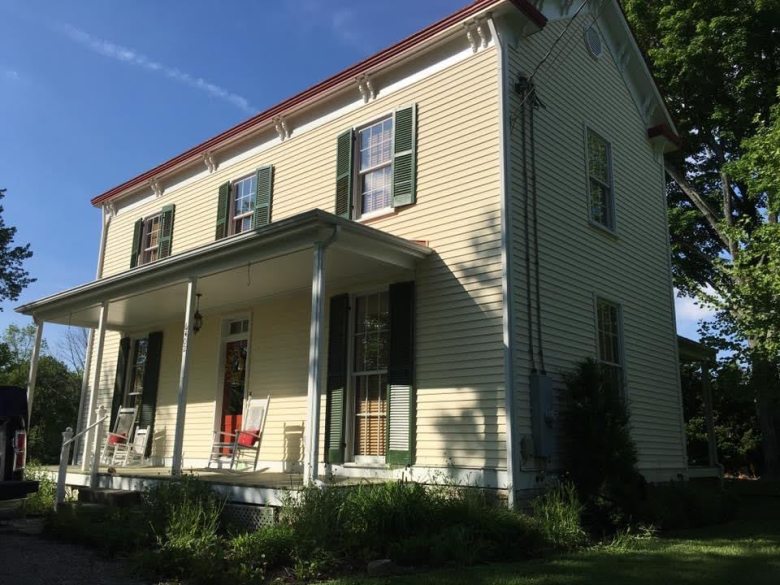
Fully restored, we purchased it in 2015 with that darling yellow siding. 
We were in LOVE! 
Just a few years living here and the 100+ year old massive tree in the front yard, lost a a significant sized branch (the size of a tree itself), falling onto the electrical lines next to the house which in turn ripped the siding all the way down the right side of the home. 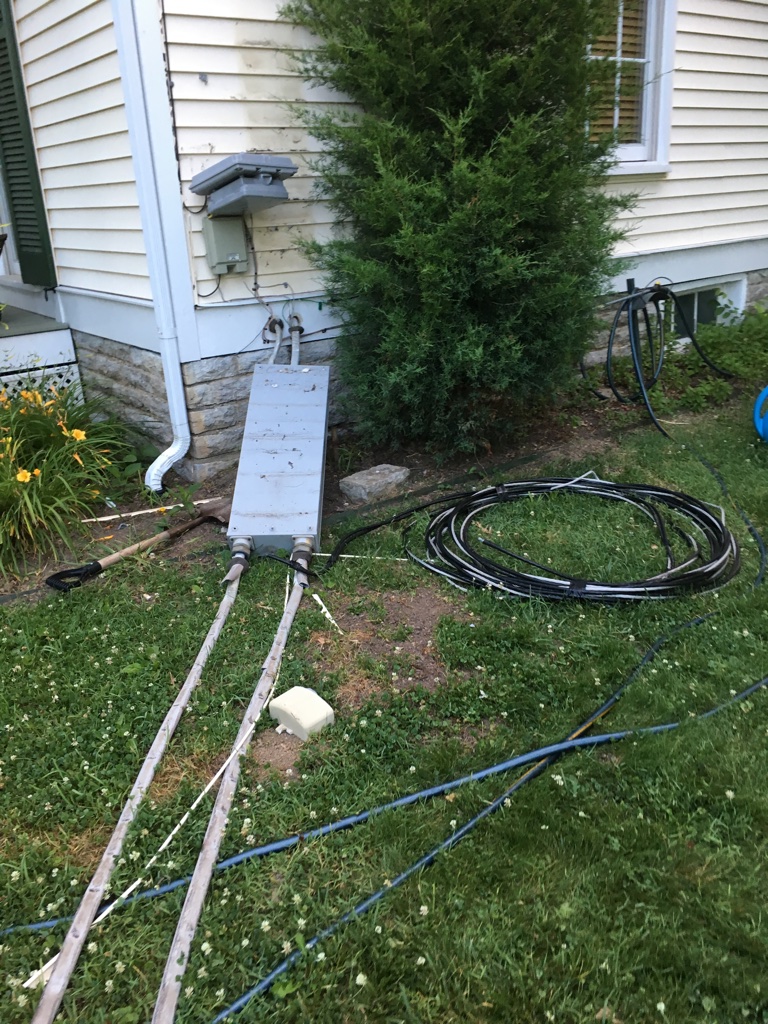
Due to the damage and the lack of matching siding, we had to choose an entirely new color to have the home resided. 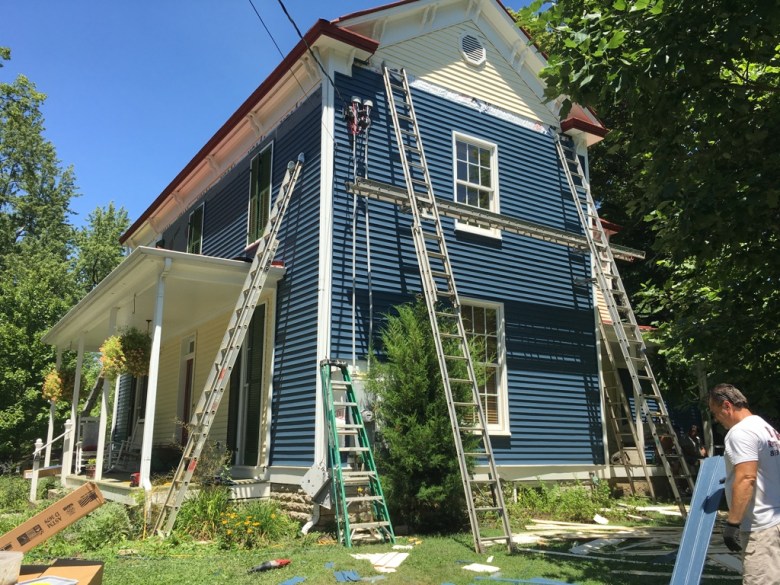
Out of the current options that were available, we could not find a yellow we were happy with. After much debate we decided to return the home to its roots found in first photo we shared of the home. A deep dark blue grey. 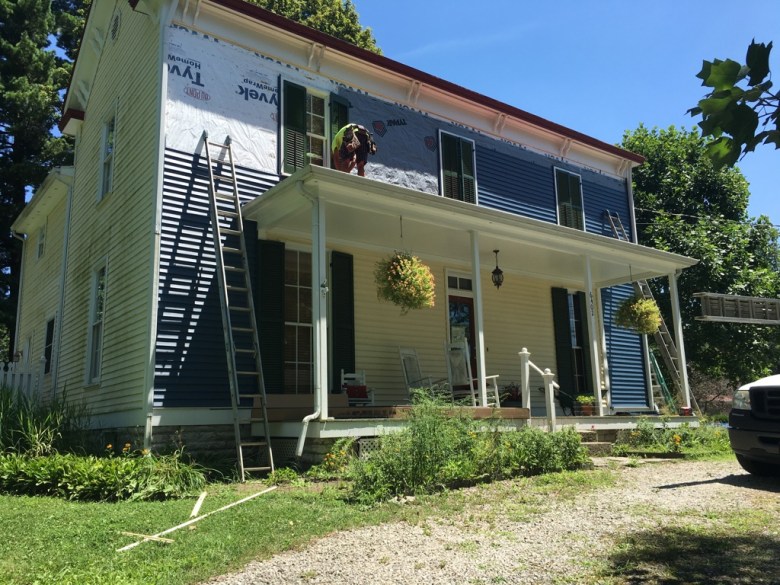
While it was hard to say goodbye to the yellow, the bold move paid off, paying homage to its original color. 
The massiveness of the branch. God truly protected us, the night it fell there was no wind, no storm, just a sudden dropping of the branch which was a constant path we walked to check our mail. 
After that, we felt the risk factor was too large. Since moving there the tree had damage from a previous lighting strike with a large split down the center of it, I never trusted it to begin with so we had the rest of it cut down. 
Took a good while to get the wood cleaned up but the new siding was on. 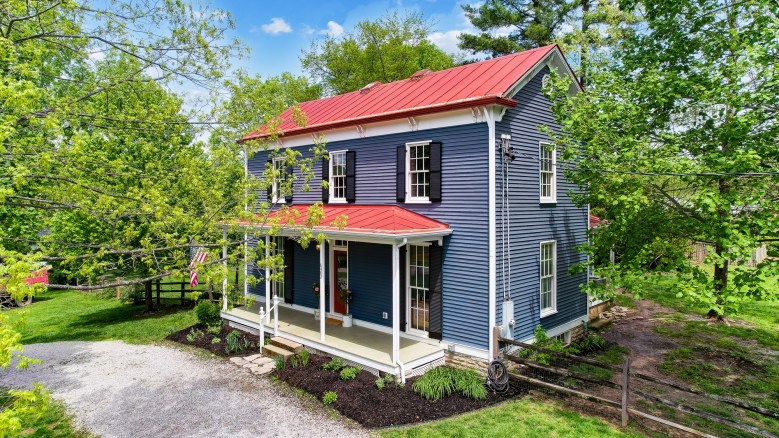
The finished result and her beauty. 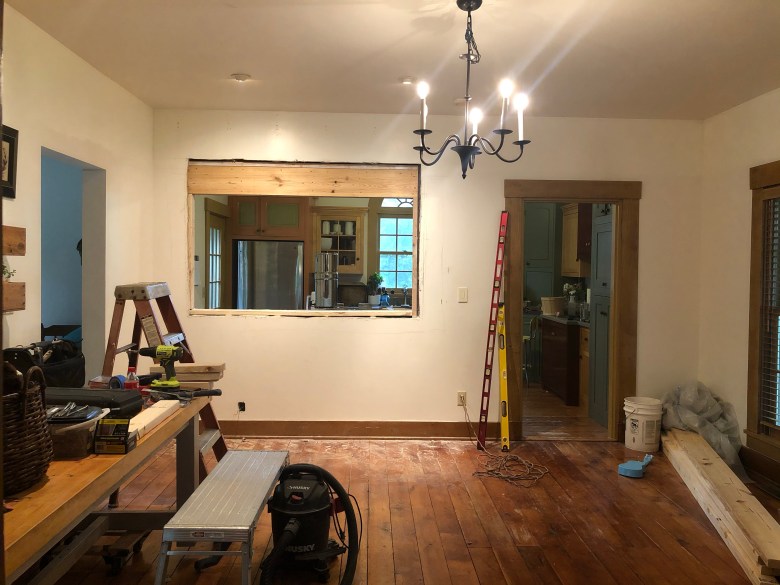
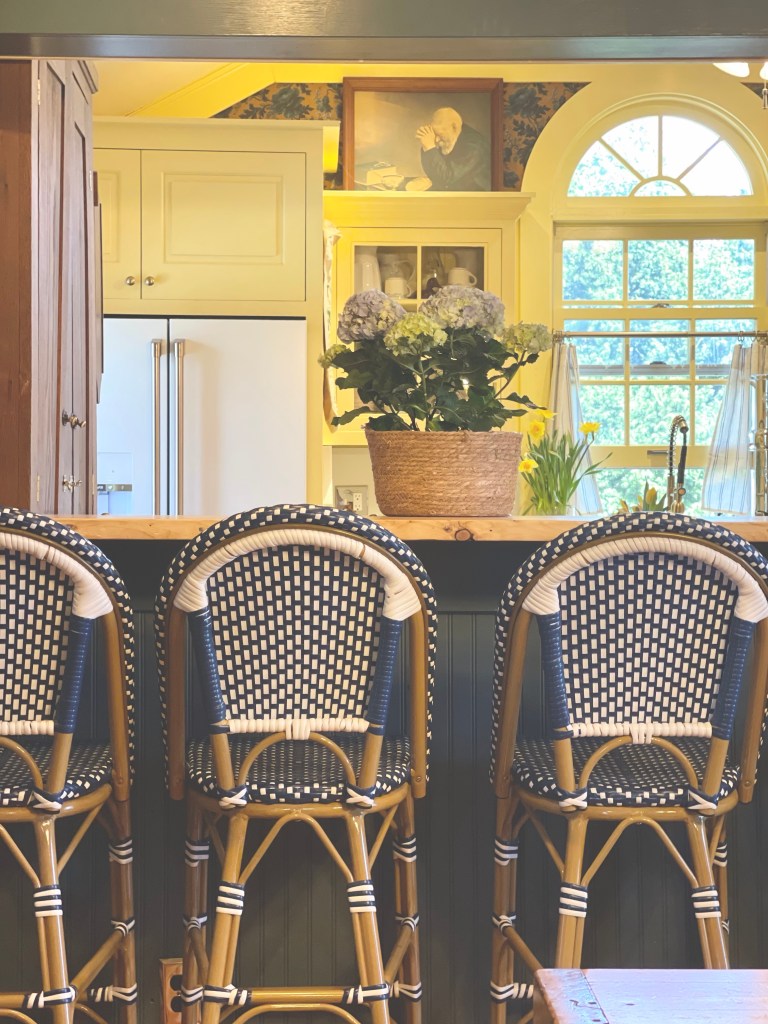
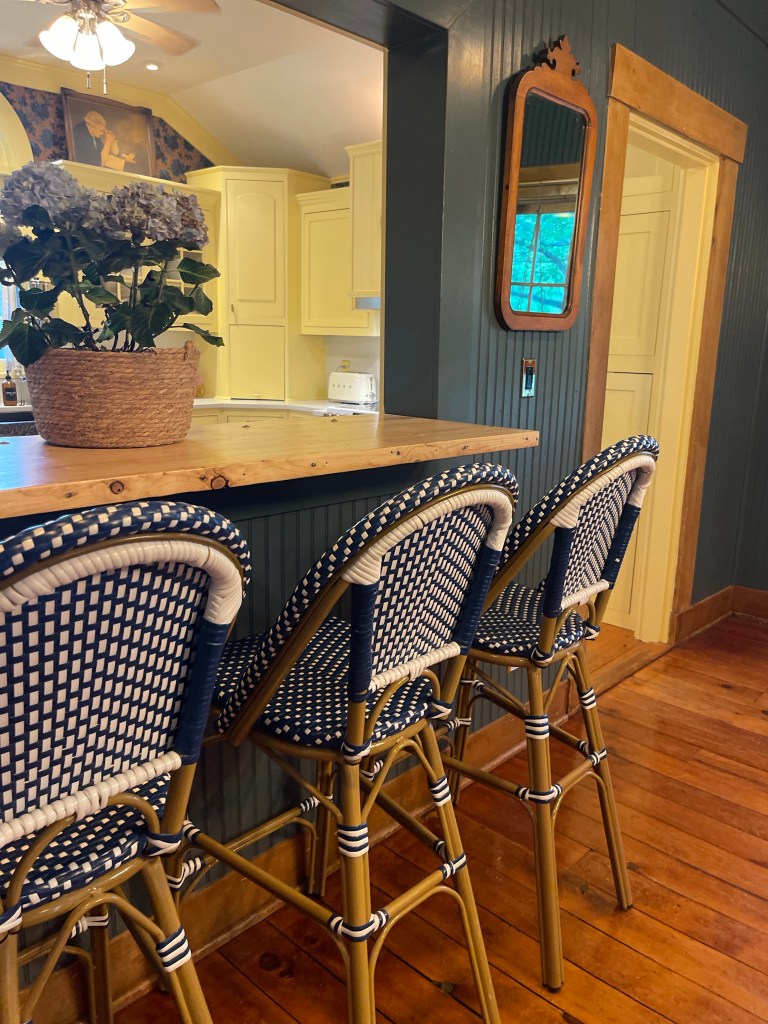
Back to the interior kitchen. Cohesiveness and calm was needed. Especially, because, this space was directly affected by our choices we had already made in the dining room, to open up the wall between the rooms with a breakfast bar. Giving visibility to the rest of the home and making it more functional as a mom of four.
There is significance in history. These nods to the past helped guide us in our decision making. Our finished dining room reflecting the original, and now new siding of the home, and the kitchen, well—you’ll just have to keep reading to find out how it pays tribute to the history of the home.
INSPIRATION FOR THOSE PLANS
My research began around those famous bright, country, yellow kitchens. In my initial findings, I especially admired this kitchen example featured in Country Living magazine and online articles. Isn’t it just darling? It utilized a lot of features listed on my wishlist.
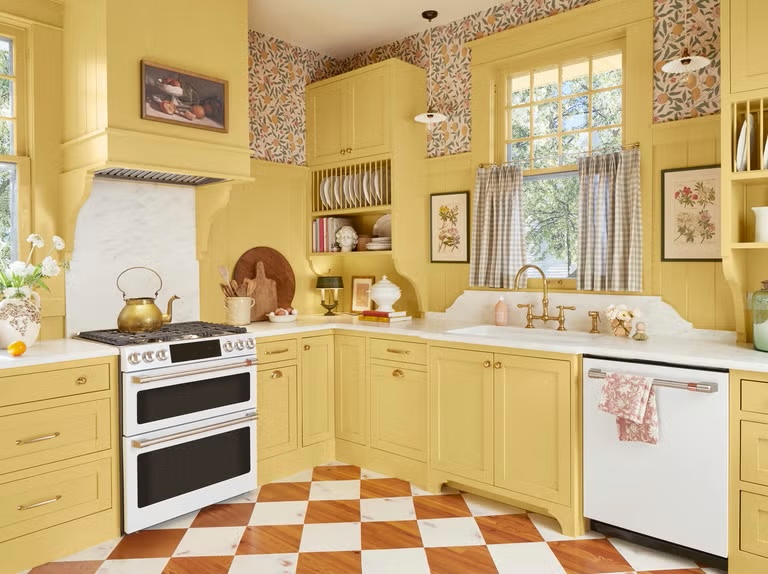
There were many other examples I adored and mulled on for many weeks, heck—months, as I formulated my own kitchen’s future.
WALLPAPER A MUST
You all know I had been dying to utilize some wallpaper. I finally felt that the kitchen was the place to do it successfully and it would be the key to tie both the dining room and kitchen designs together. For months I studied wallpaper options while absorbing living and walking from all angles of the two spaces, constantly analyzing my options to see what felt right. Some wallpapers I was considering were too modern or too poppy, too loud, or too calm—I needed the perfect wallpaper that looked like it had been here all along in our 1855 home, while still being able to carry on a fresh clean look for today.
They say, you will know when you know, and it’s just true. I absolutely knew when I laid eyes on the wallpaper I picked, she was the one. Deep and rich in design and depth, established, mature, historical with radiant beauty. The deep blues picking up the perfect hues to tie in our gorgeous dining room colors. It was everything the kitchen needed and more, while also being able to compliment the concept of a yellow-buttery kitchen. Or, maybe, pay that tribute to the yellow siding we had originally purchased the home in.
WALLPAPER PICKED, CHECK
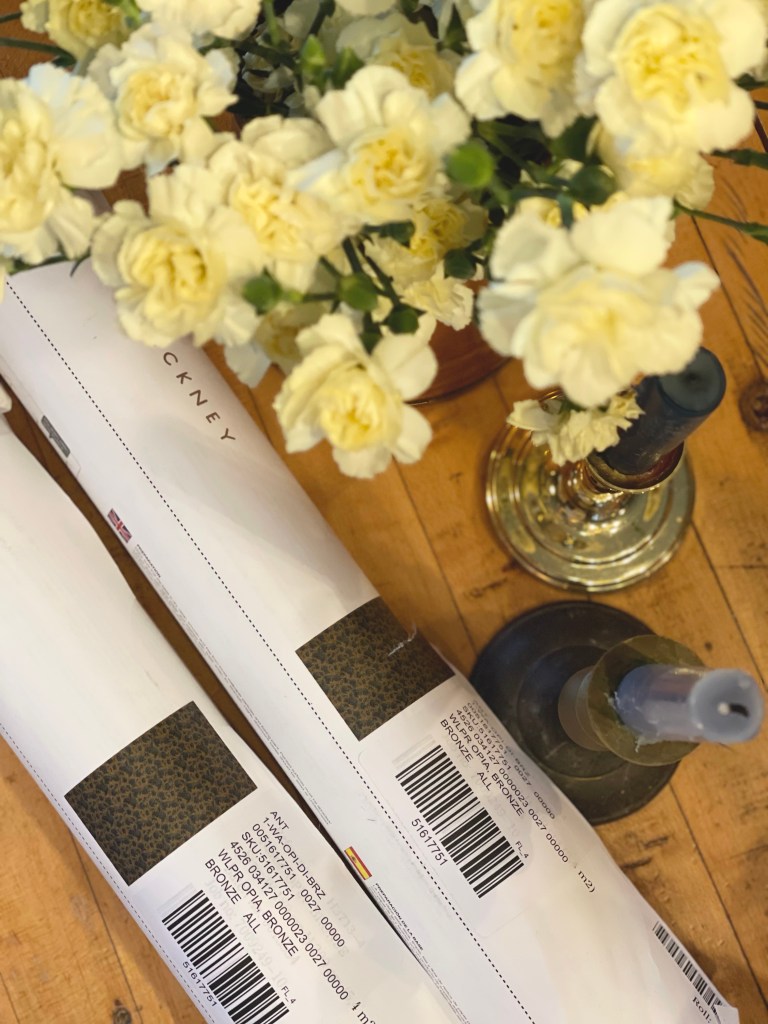
What. A. Beauty.
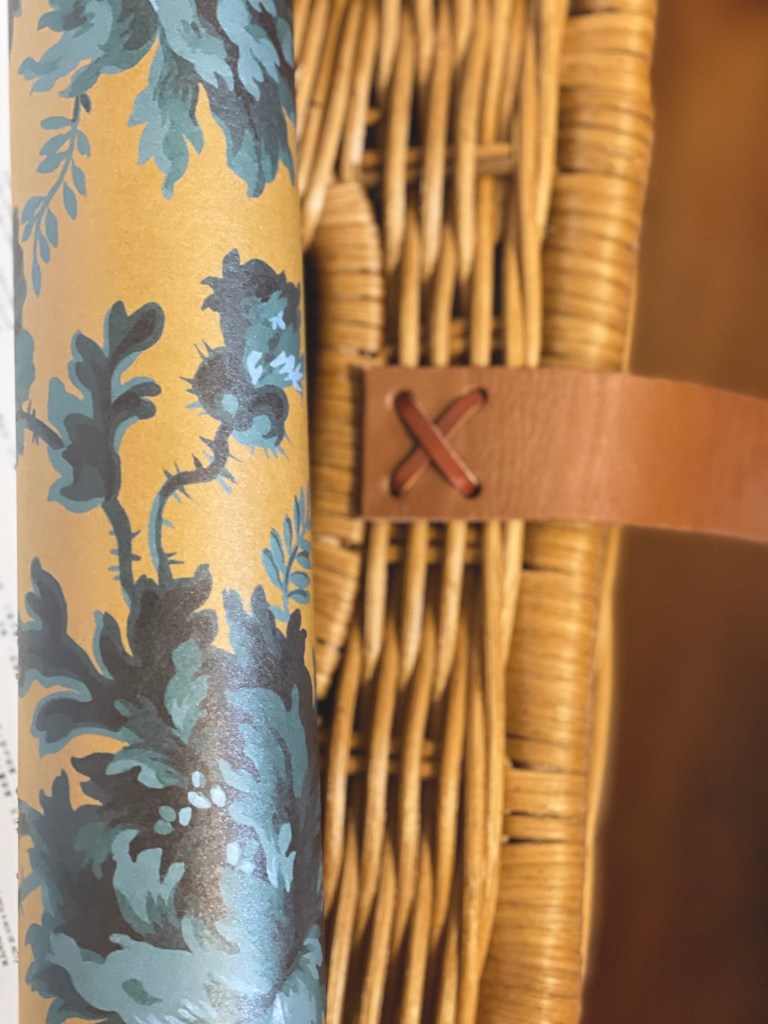
CHOOSING THAT PAINT
Nailing down the color of the kitchen based off the wallpaper choice, was now of upmost priority for progress.
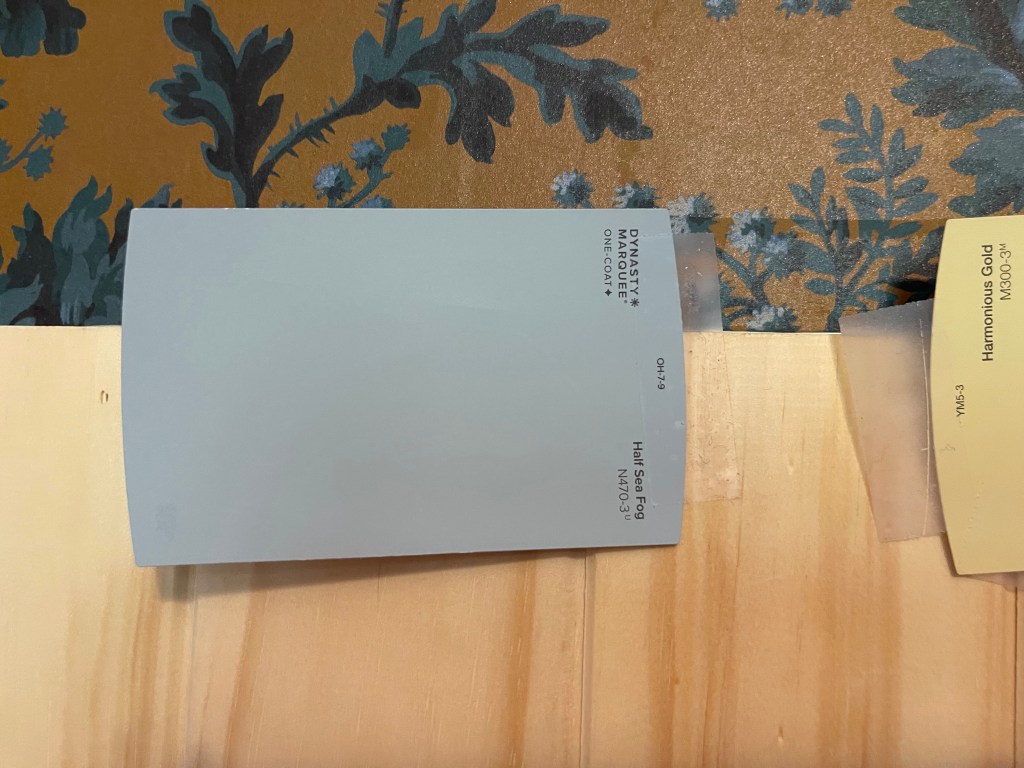
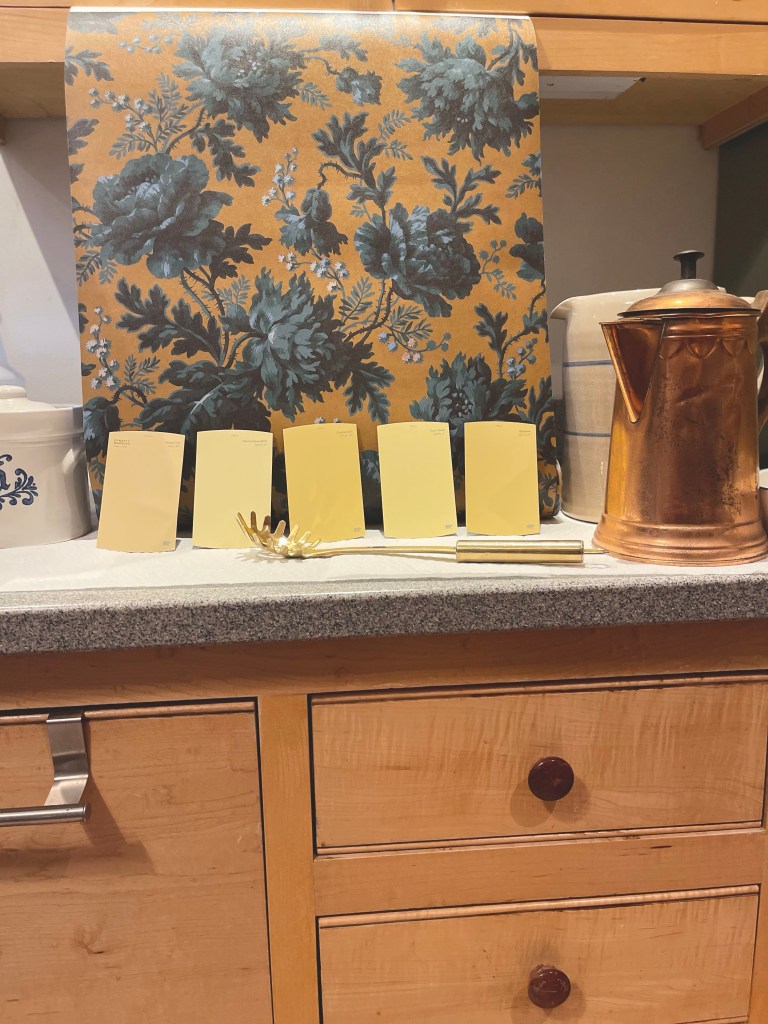
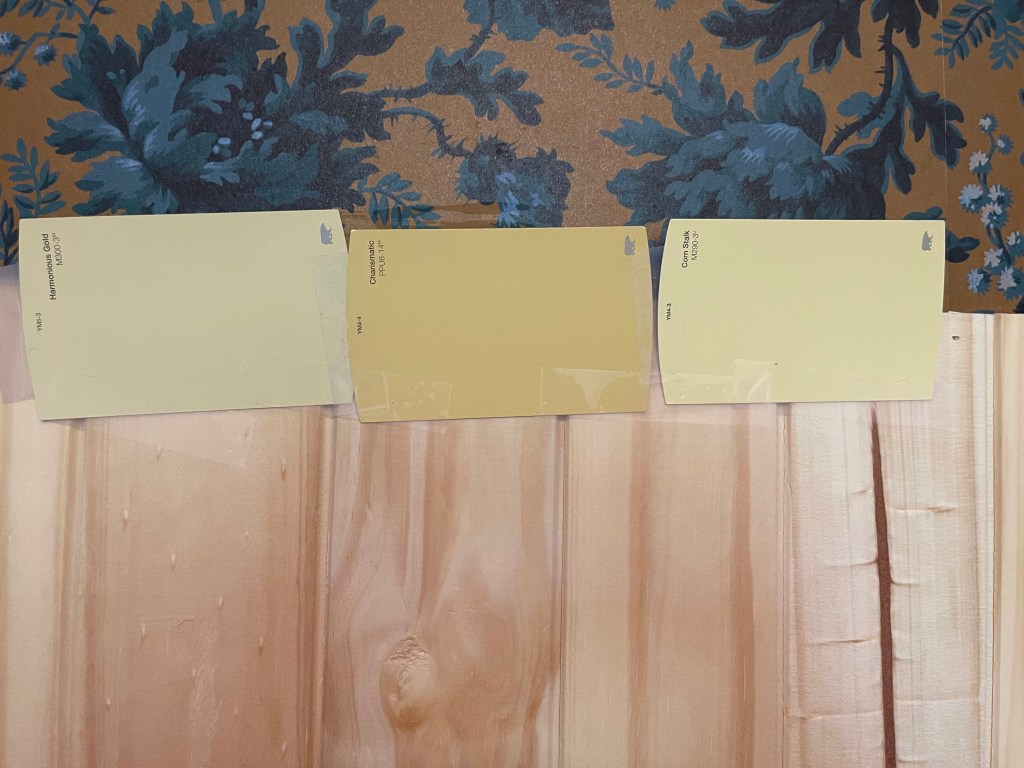
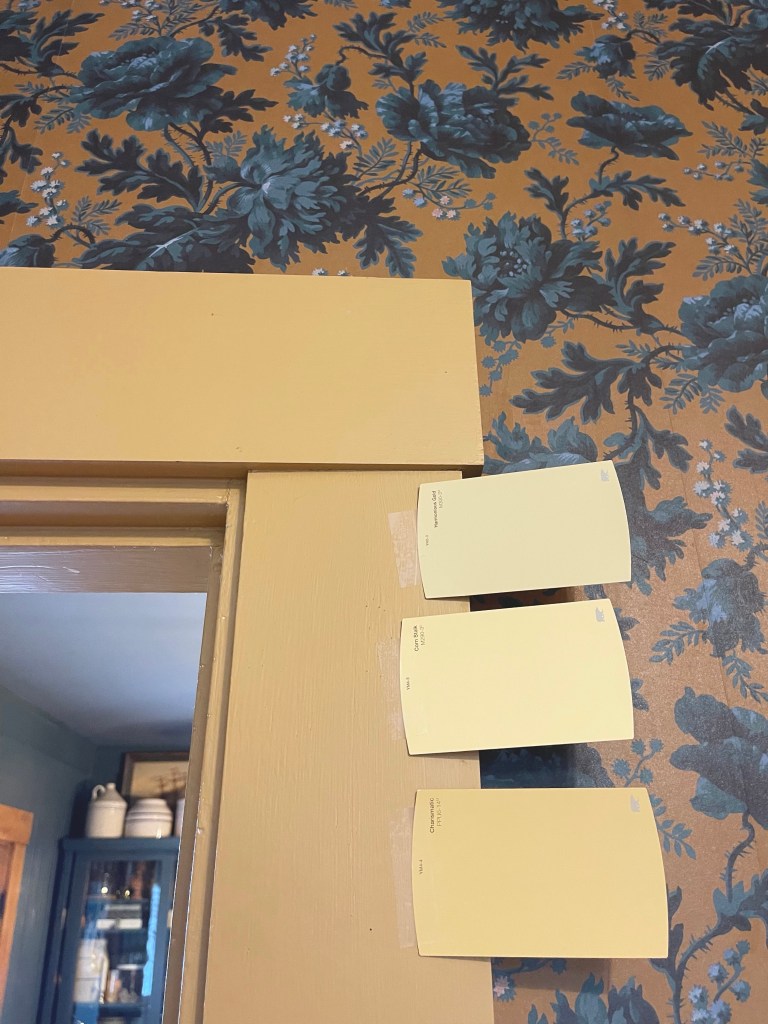
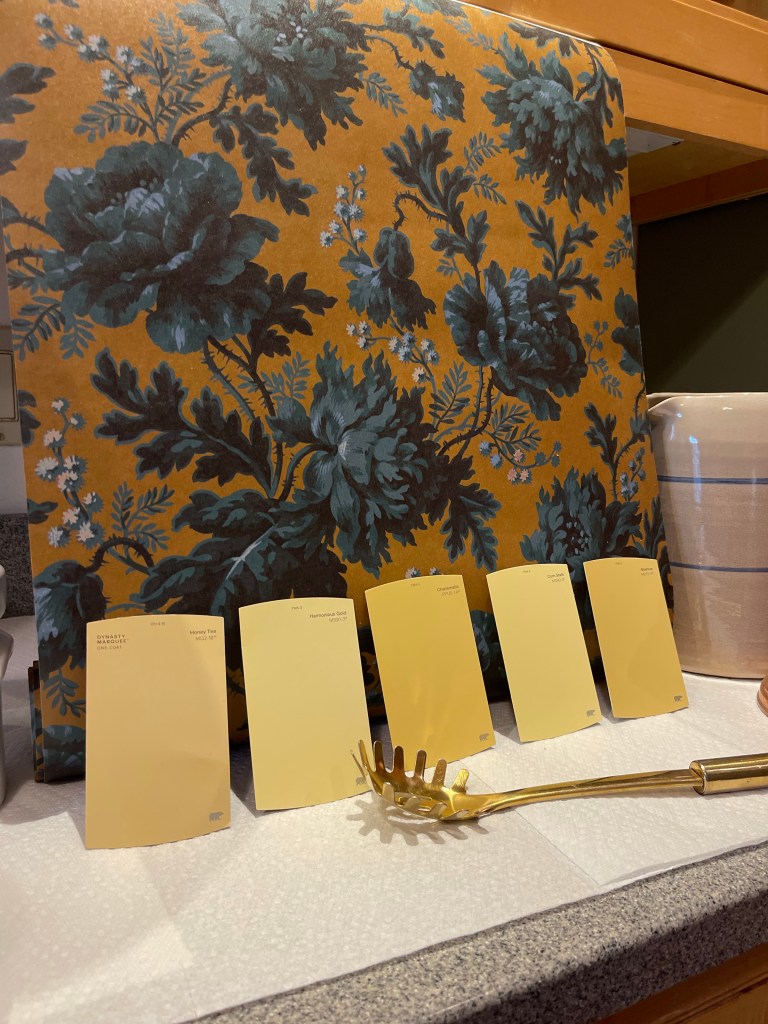
I laid out all the optional colors from a range of yellows to even considering a blue to see if it tied better with the dining room. I wrestled with that one for a while. In the end of the elimination process however, I decided that yellow was in fact what this kitchen needed. Our dining room was so moody, dark and deep (which is what we wanted), but I knew for the kitchen—off that, something sunny was in demand.
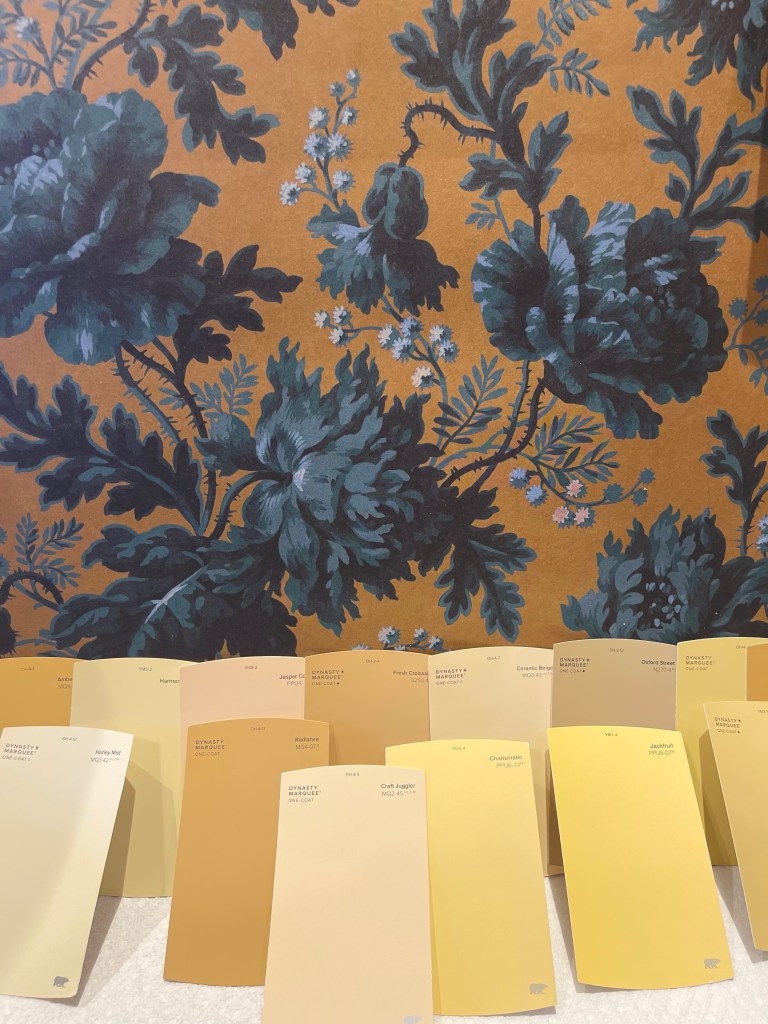
So I pulled a very messy picture of our kitchen into Illustrator and just quickly mocked it up to see how it felt with the colors and wallpaper. Something to give the final approval or not.
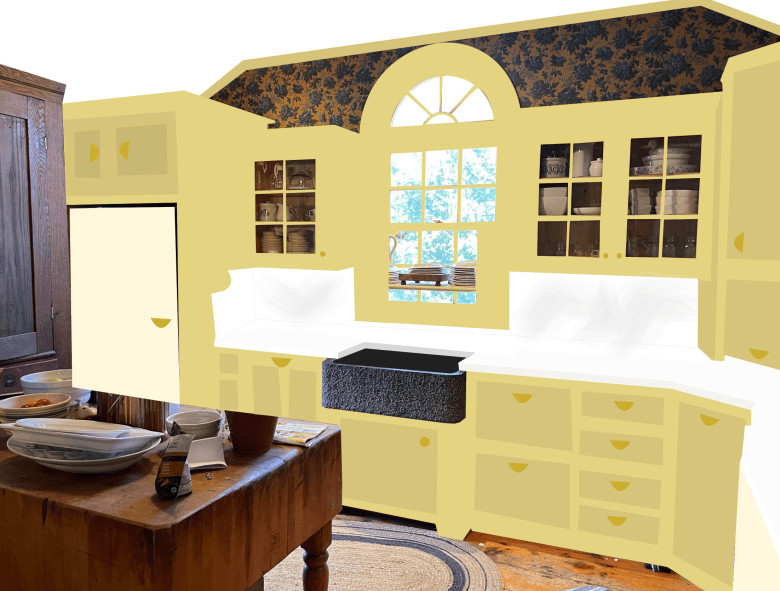
With an exciting flutter, it was a yes, choosing a creamy, buttery yellow from Home Depot.
PAINT PICKED, CHECK
PROGRESS FROM CHOICES
With the big decisions made, work could officially begin.
Chaos ensues before the calm. Bear with us in the process of each piece of this kitchen coming together towards the vision as we add additional layers of character building.
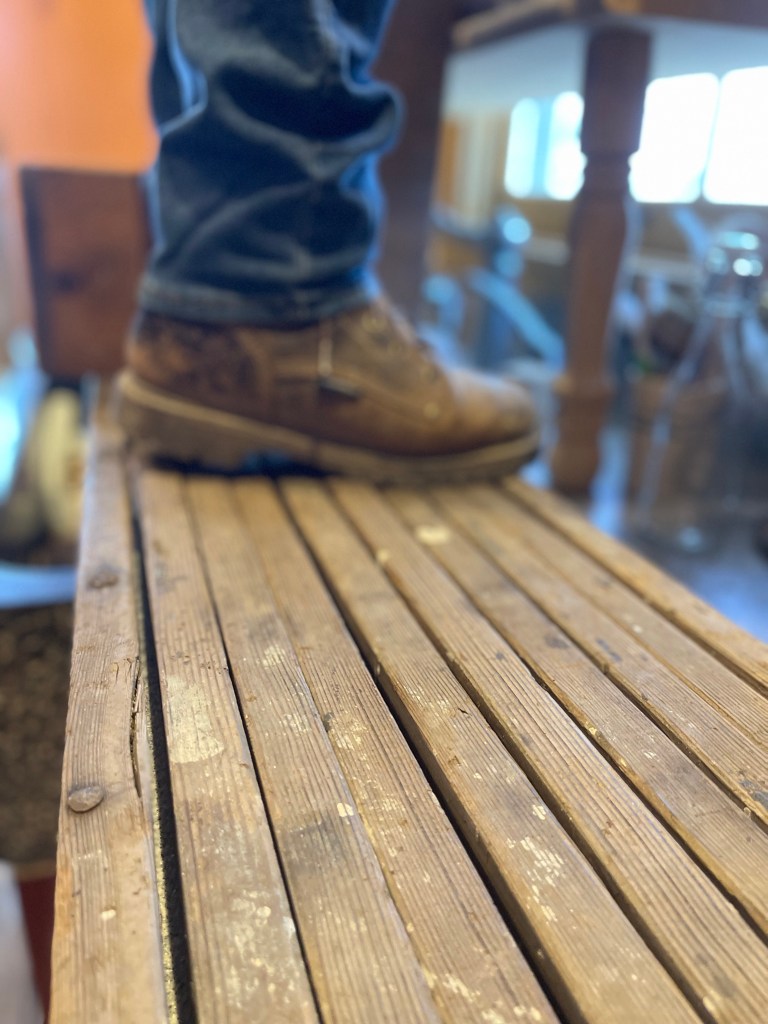
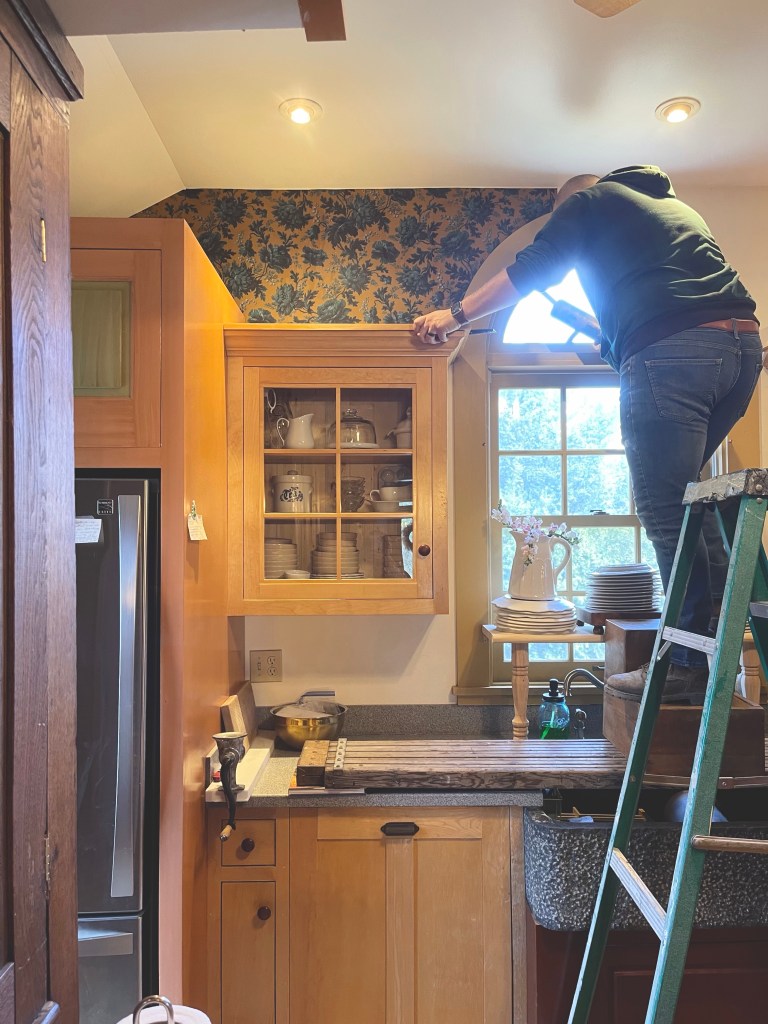
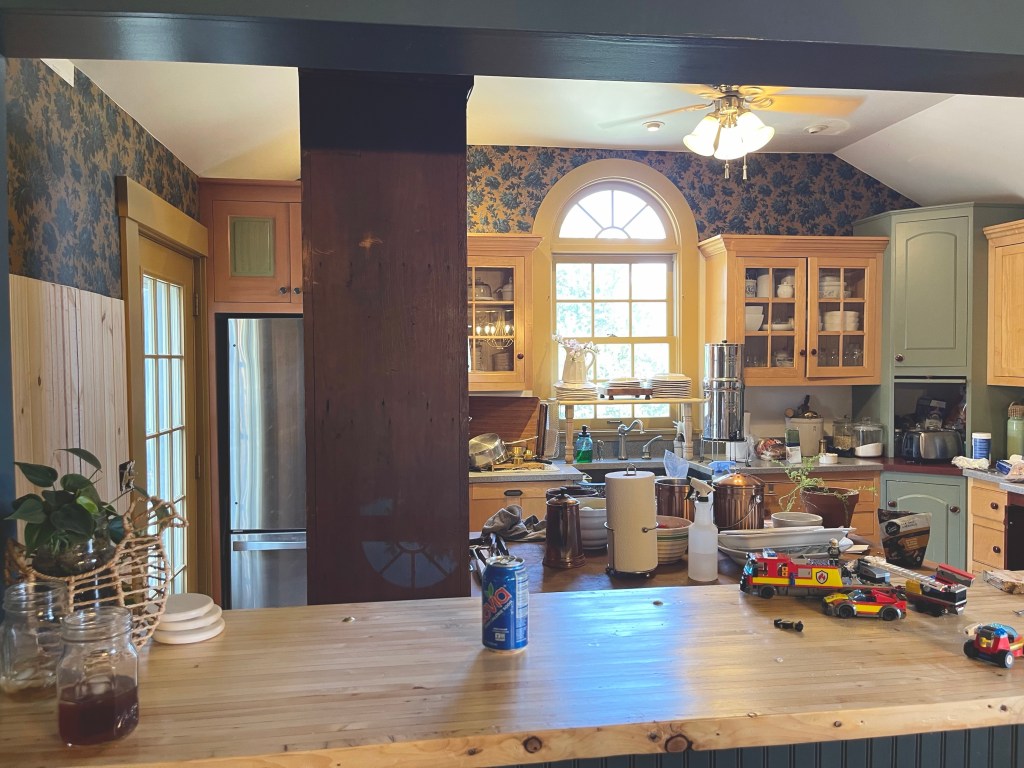
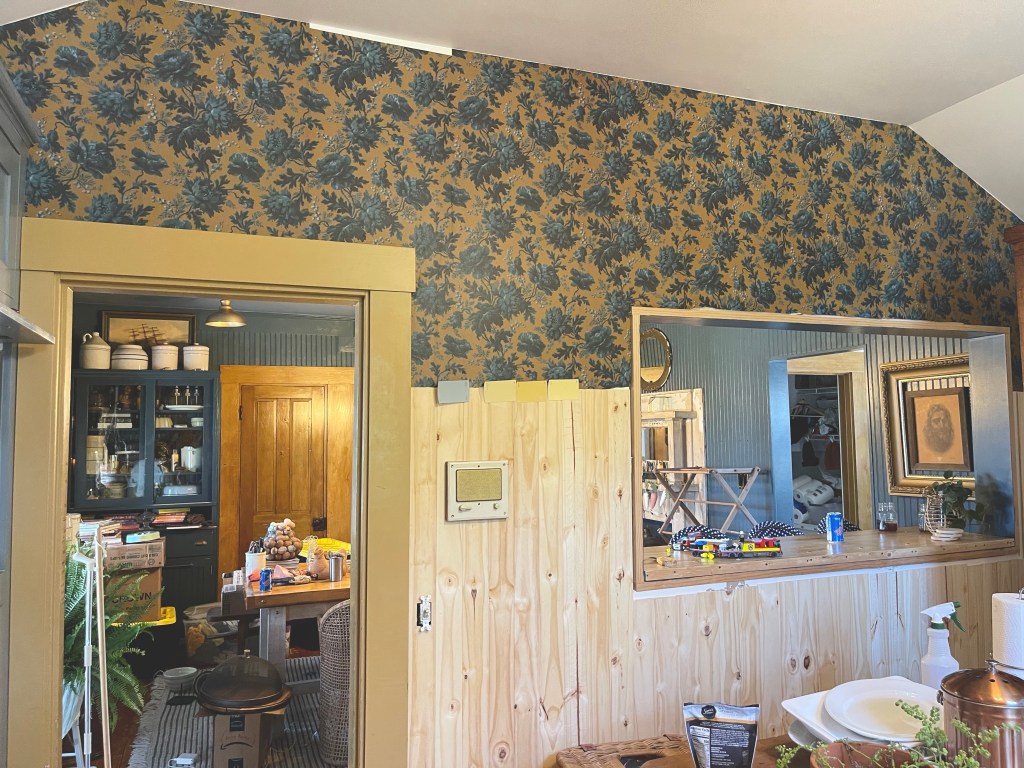
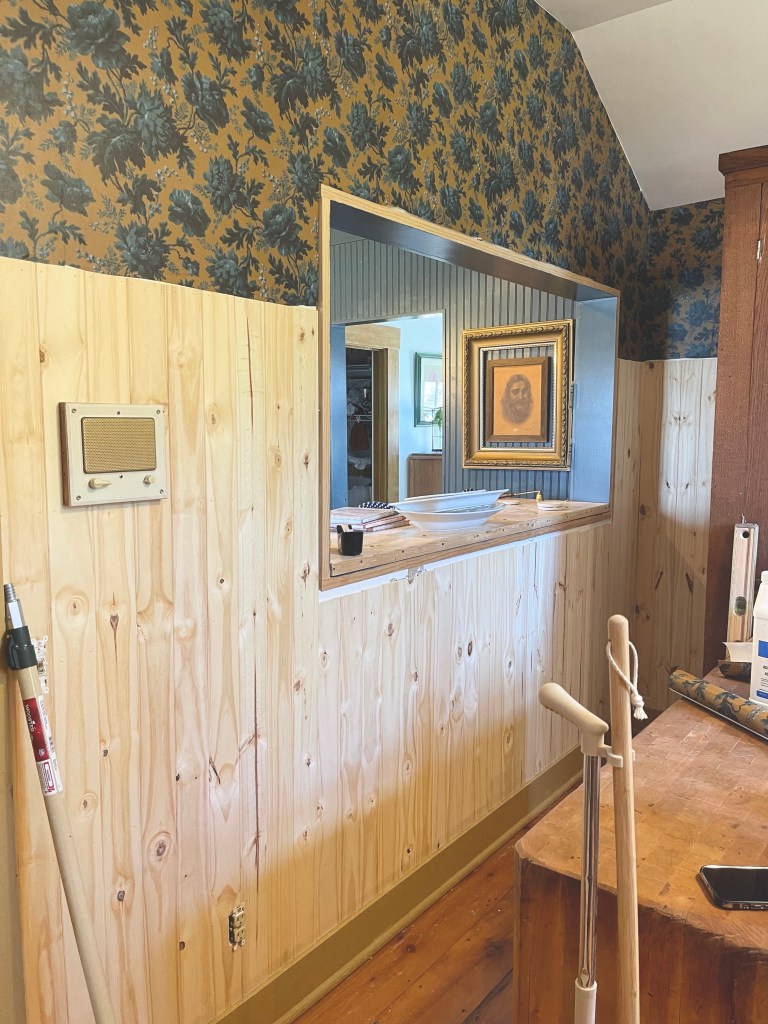
WALLPAPER INSTALLED
Tom installs the wallpaper having just enough to complete the kitchen. The wallpaper already proudly singing harmony with the deep blues of the dining room.
V-GROOVE BEADBOARD INSTALLED
The flat walls are no more by installing high v-groove beadboard. Charm building baby.
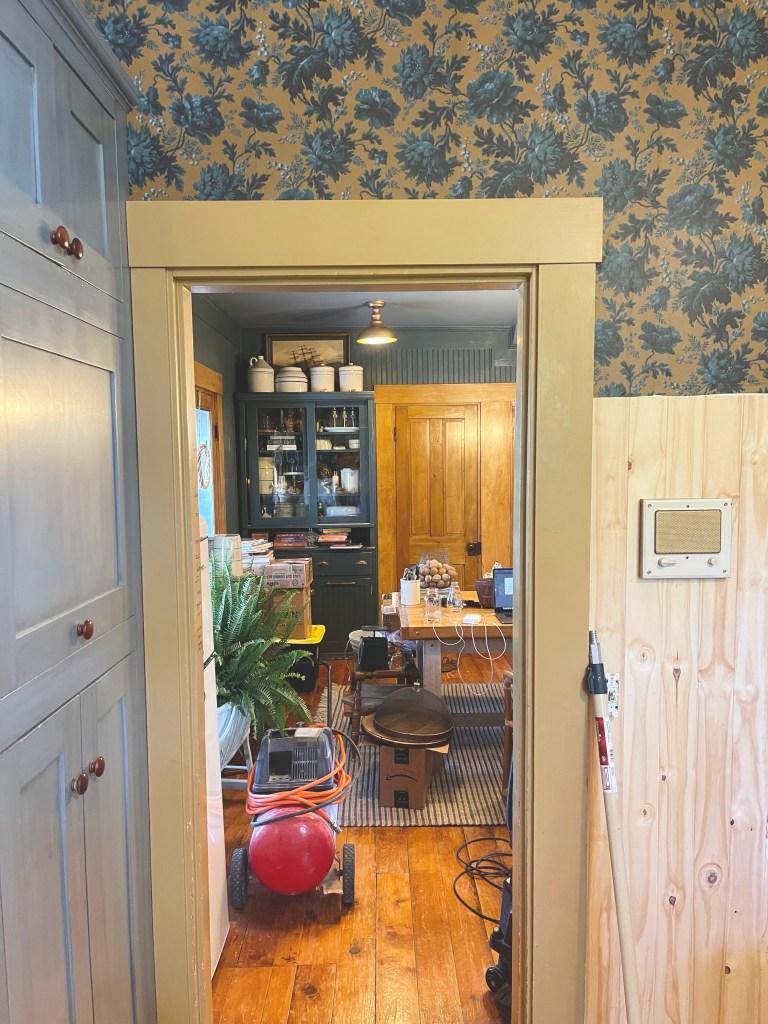
VINTAGE SPEAKER COVER RE-INVENTED
We customized our wall even more by utilizing this vintage speaker cover we had picked for a fun project. Tom creatively cut out where the old phone line was and aesthetically hid Alexa’s new home there. Personality at its finest while reusing history for something practical.
TESTING HARDWARE
Amongst the to-dos were testing out hardware before the cabinets were getting painted to ensure all the holes were correct and nothing needed patched prior.
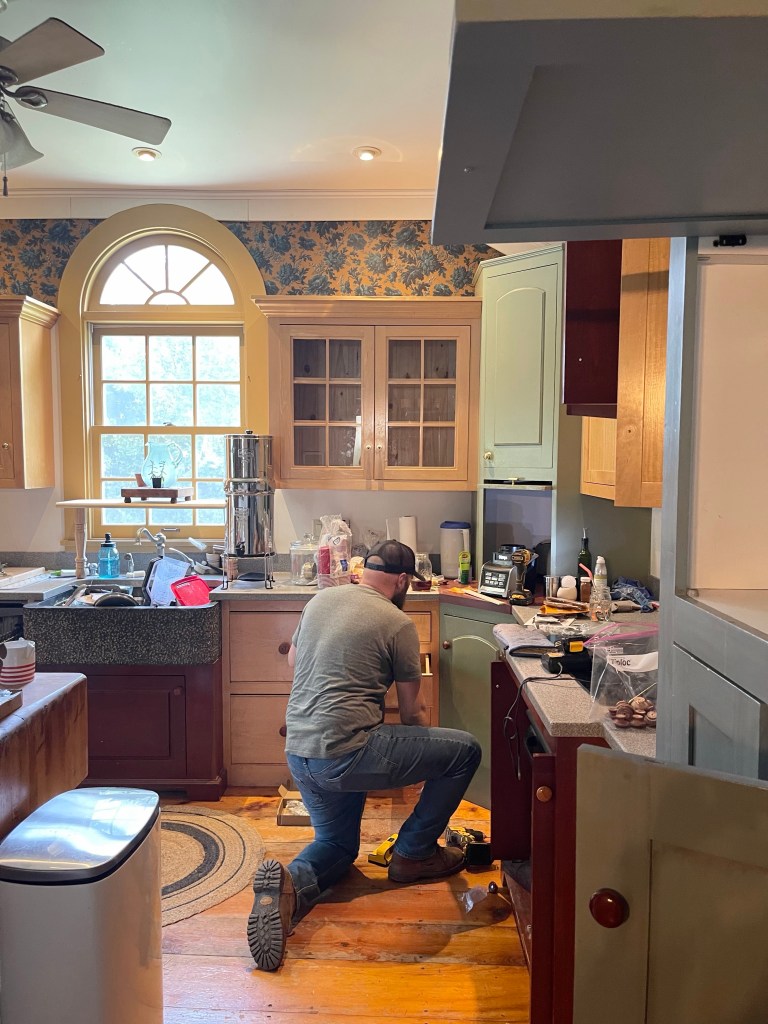
In the end we went with simple brass drawer pulls and knobs and had made our final decisions (final not shown in pic).
FINALIZING TRIM
In addition, we finished off the trim along the ceiling using a thick base and smaller detailed trim on top. We then added a wainscot cap along the high v-groove beadboard before paint.
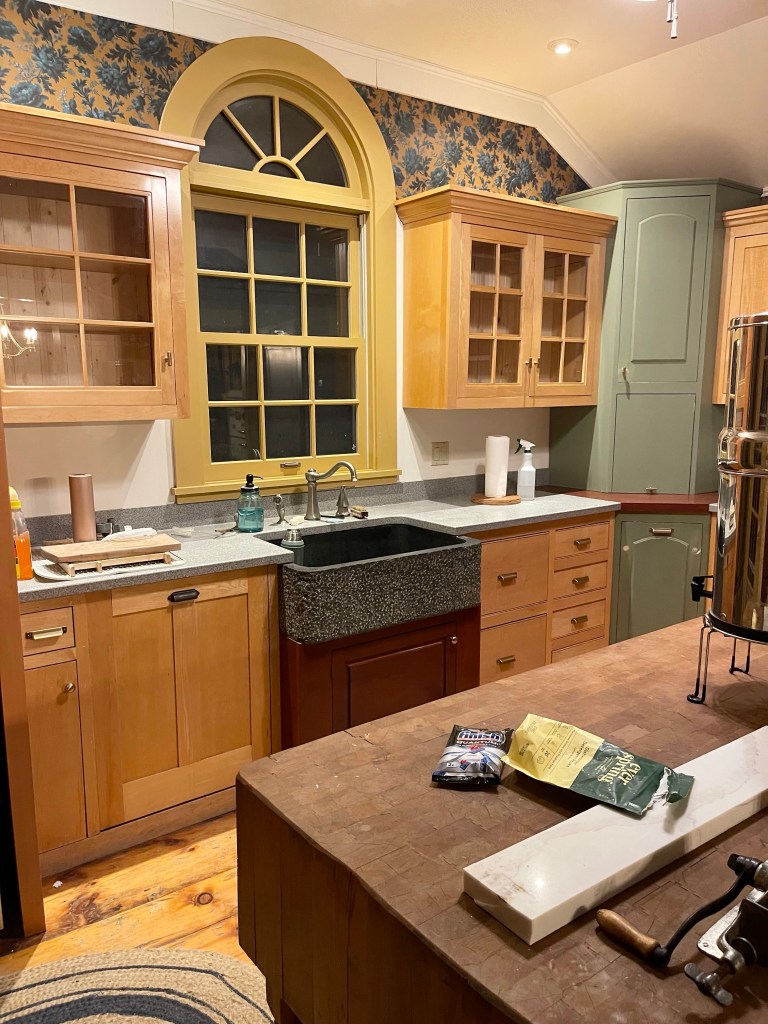
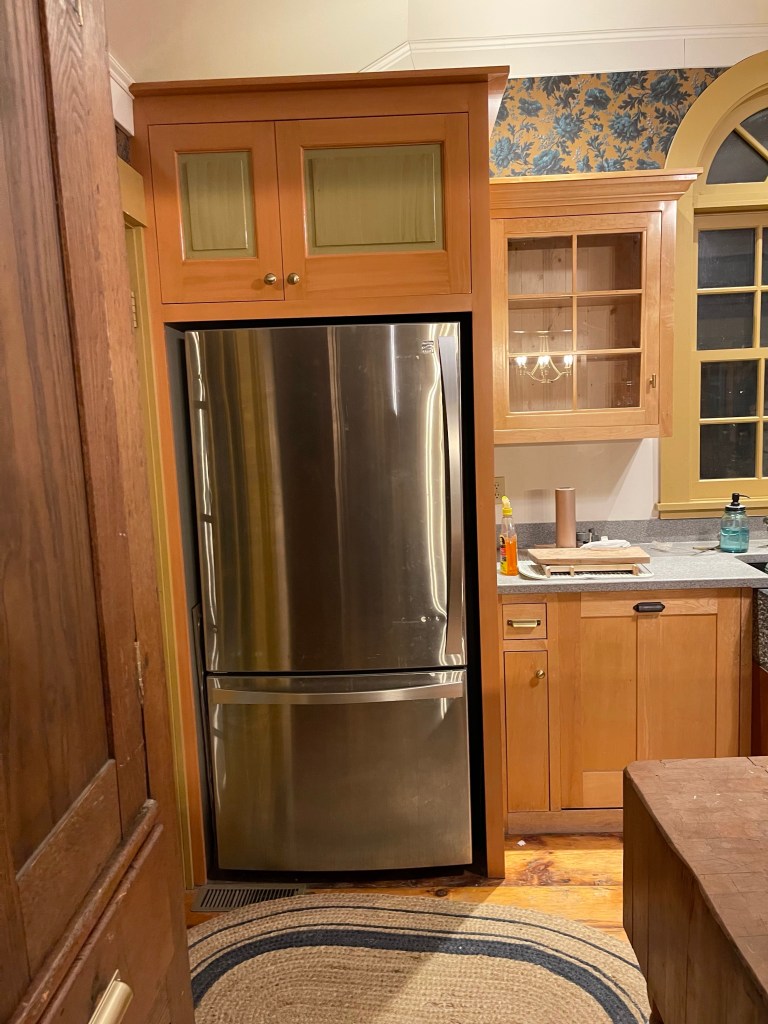
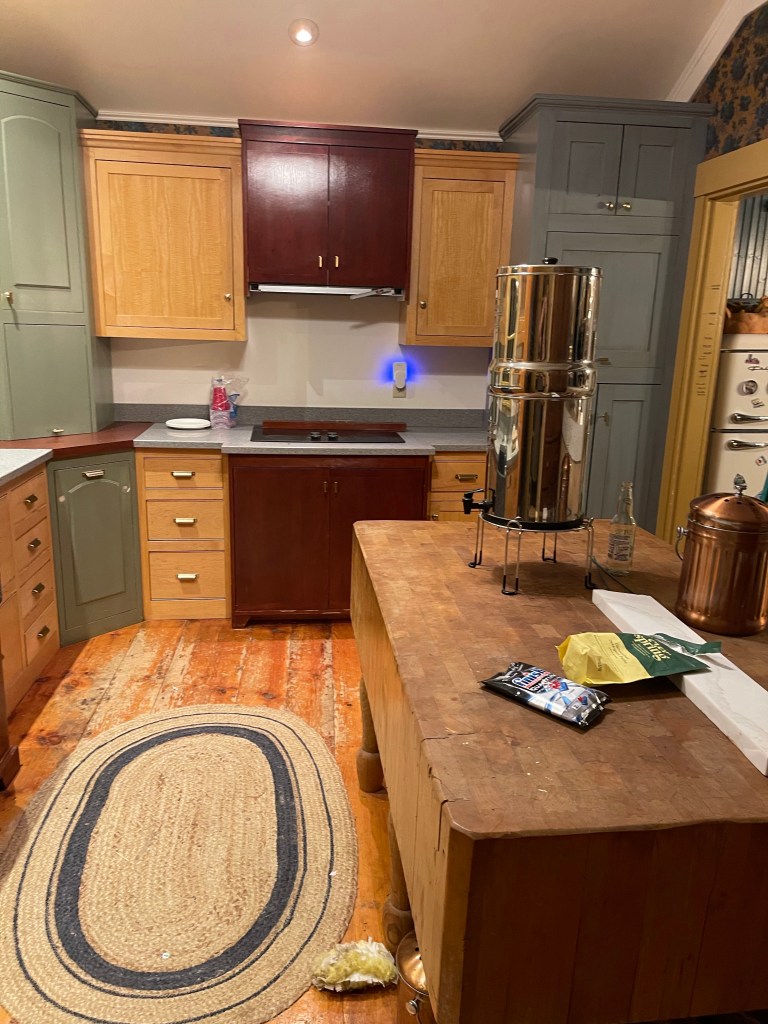
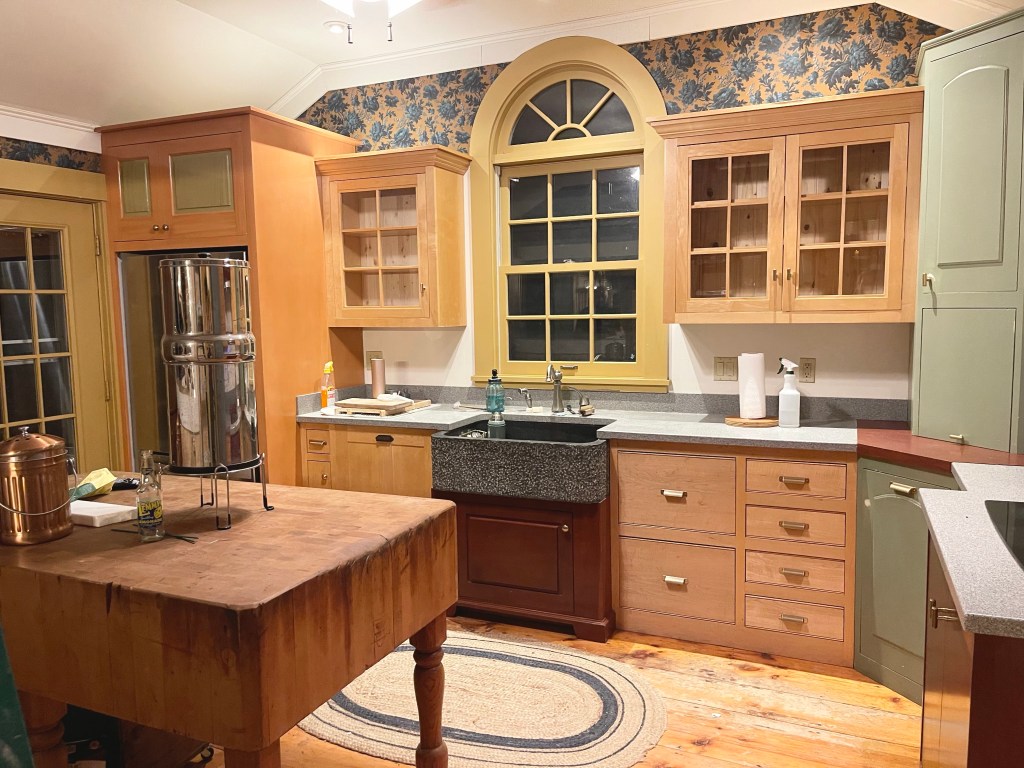
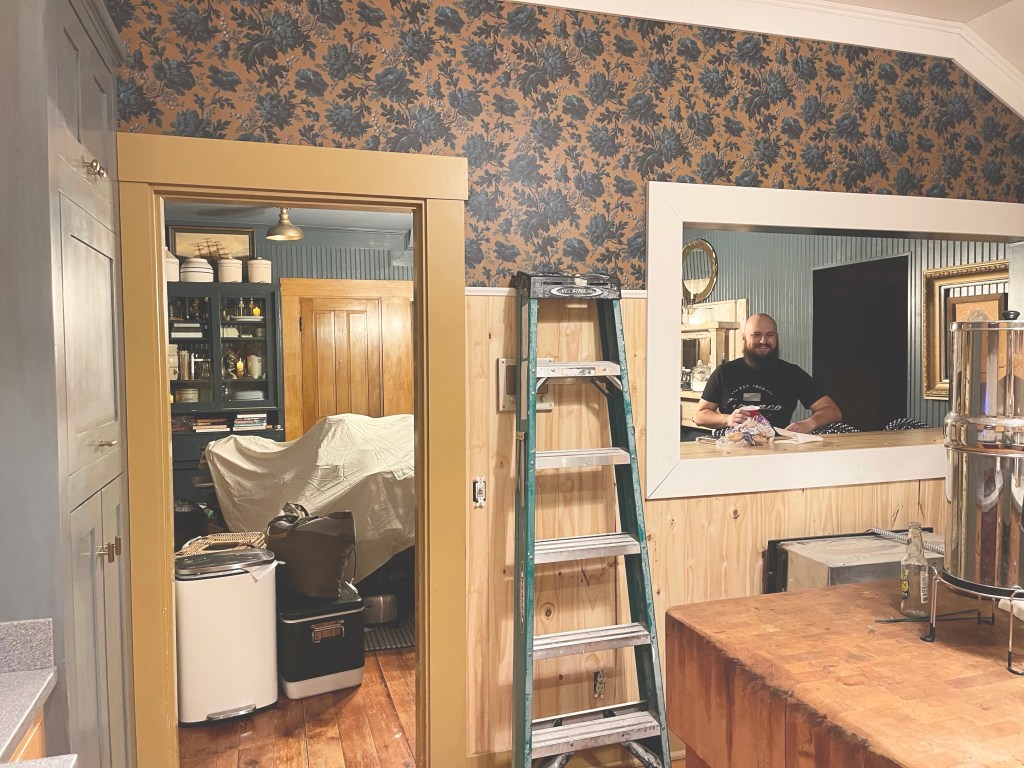
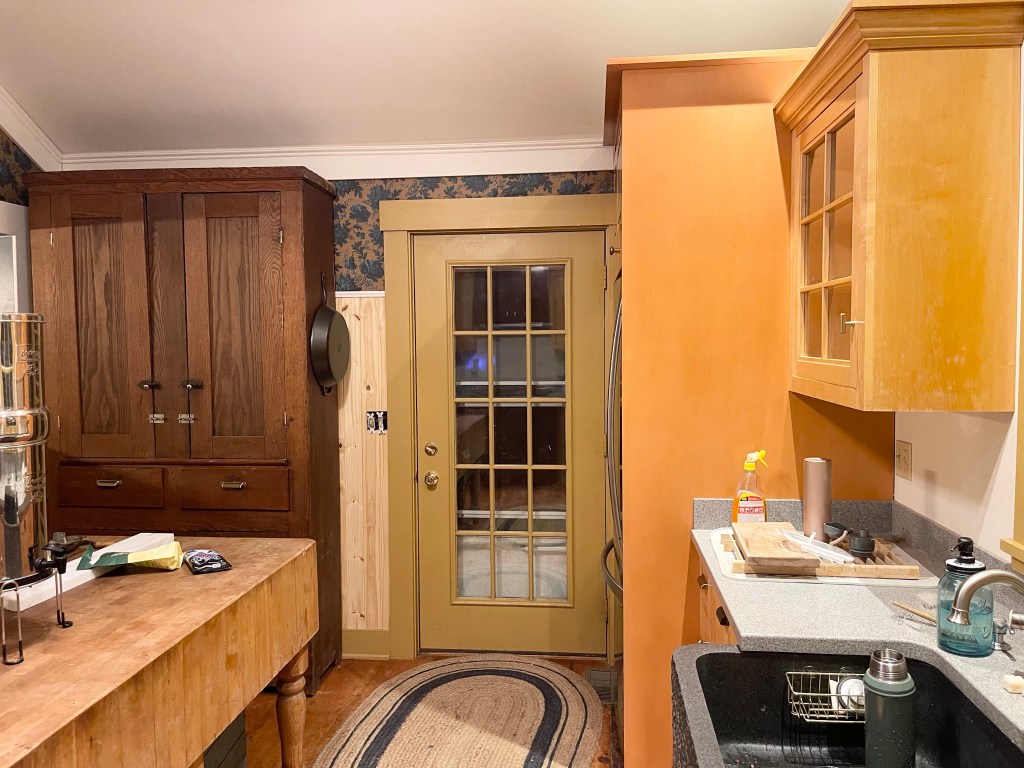

MAJOR CUSTOMIZING COMPLETE, CHECK
PAINT JOB
Next it was on to the real paint prep. We removed all the cabinet doors and hung them in our basement in preparation for the painter.
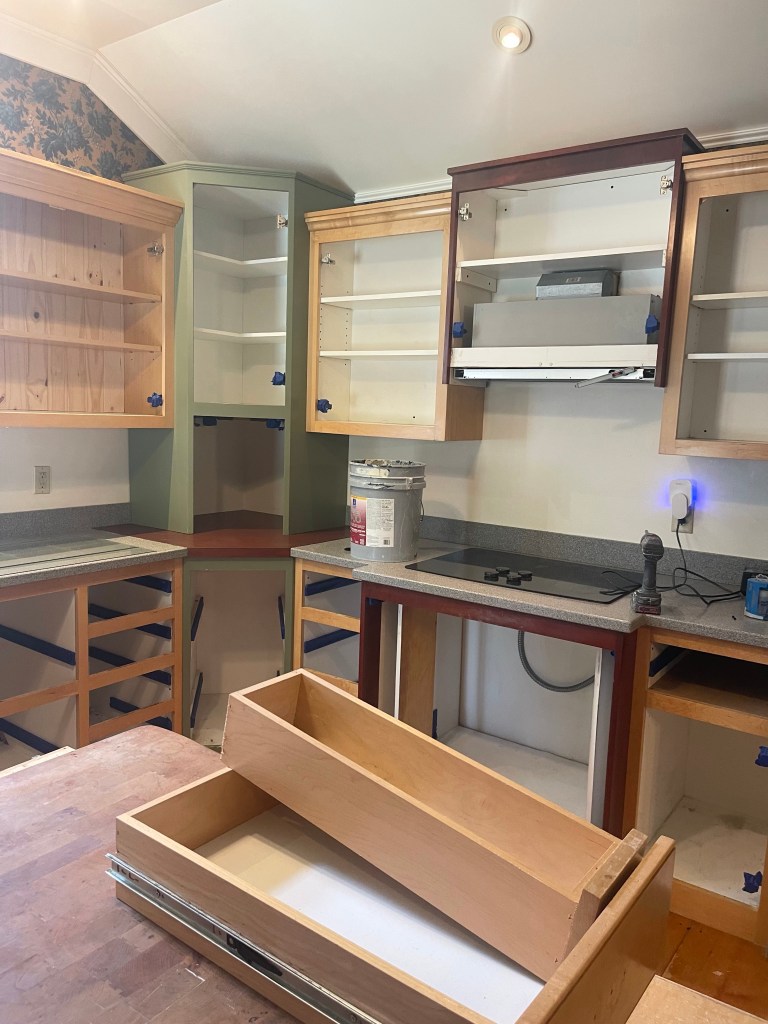
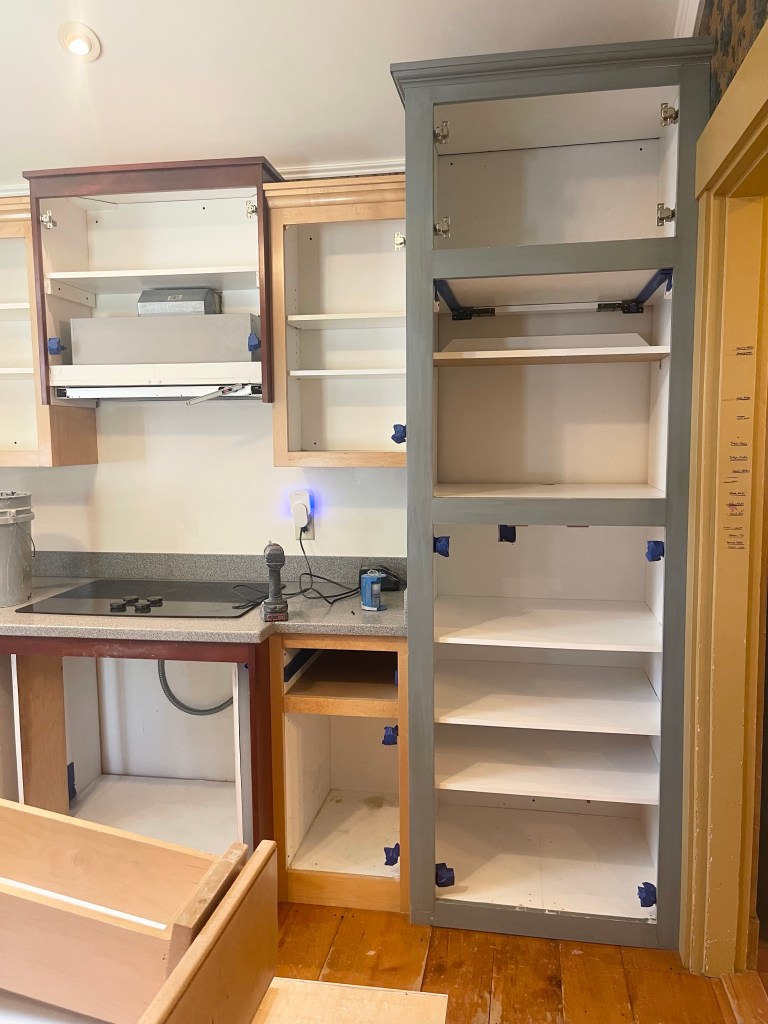
A fellow friend and old-time student who attended our youth group years prior, who at the time was running his own painting company did an excellent job on our cabinets. We were proud of the excellency in his work.
PAINT JOB COMPLETE, CHECK
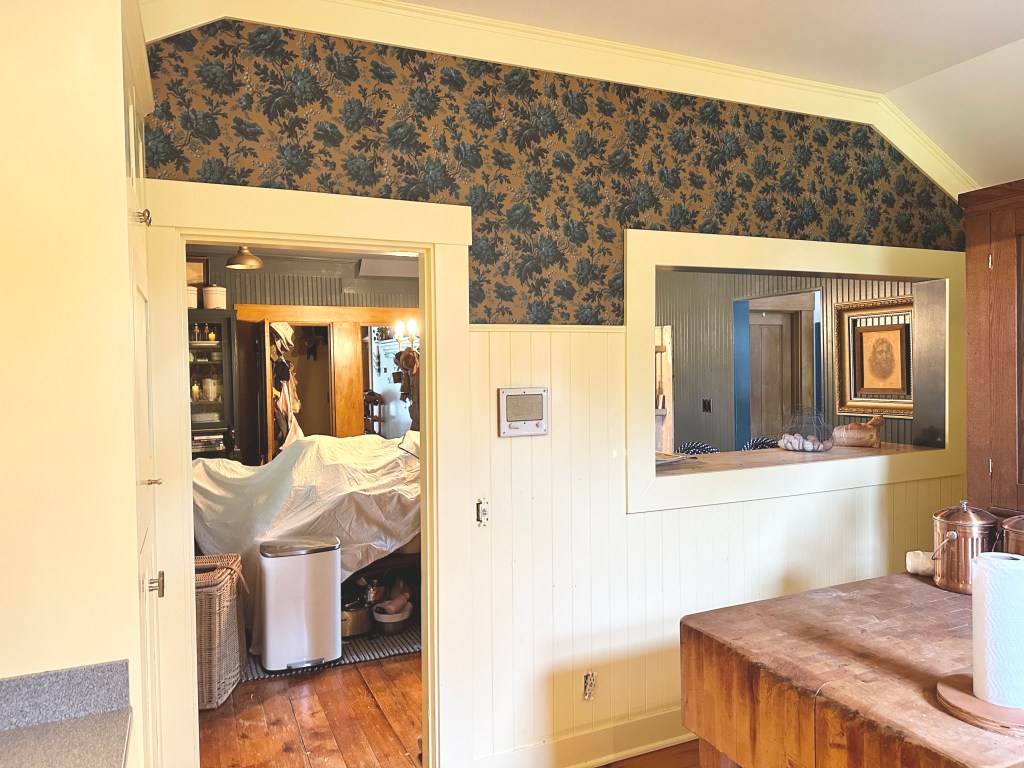
And, one step closer to a calmer kitchen.
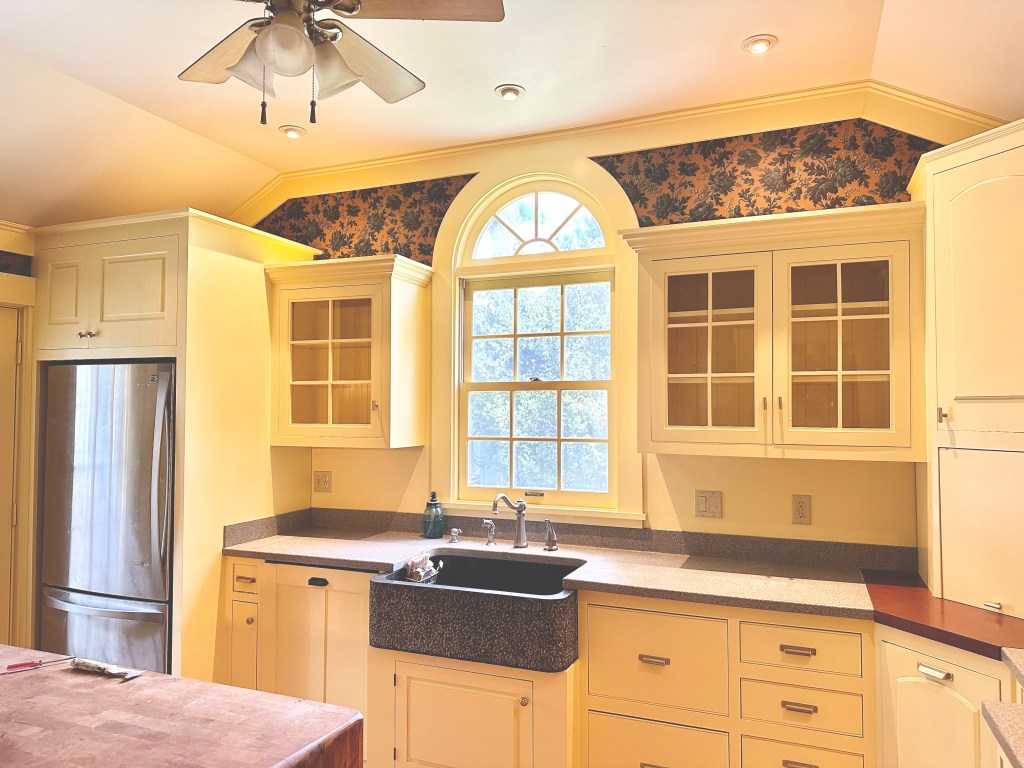
While satisfying progress had begun, those counters, faucet, appliances, ceiling and ceiling fan were standing out as issues majorly needing to be addressed.
ADDRESSING THE ISSUES LEFT
COUNTERTOPS, BACKSPLASH & APPLIANCES
The next logical step was ripping the countertops up and choosing new appliances. Continuing towards that sunny kitchen dream.
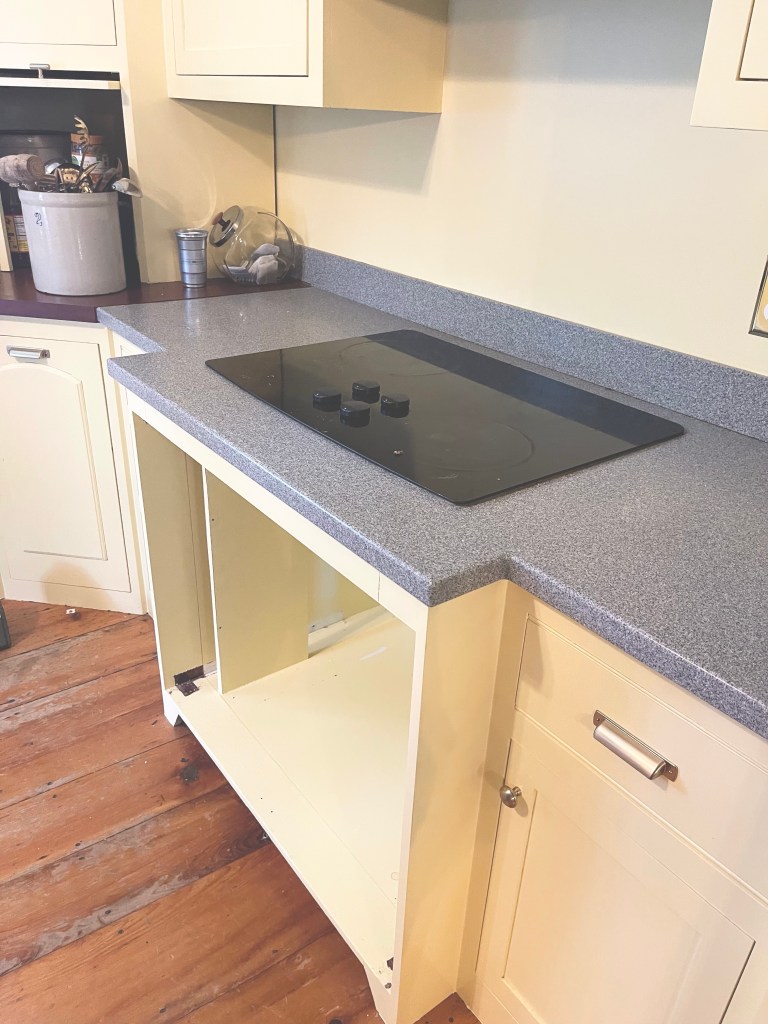
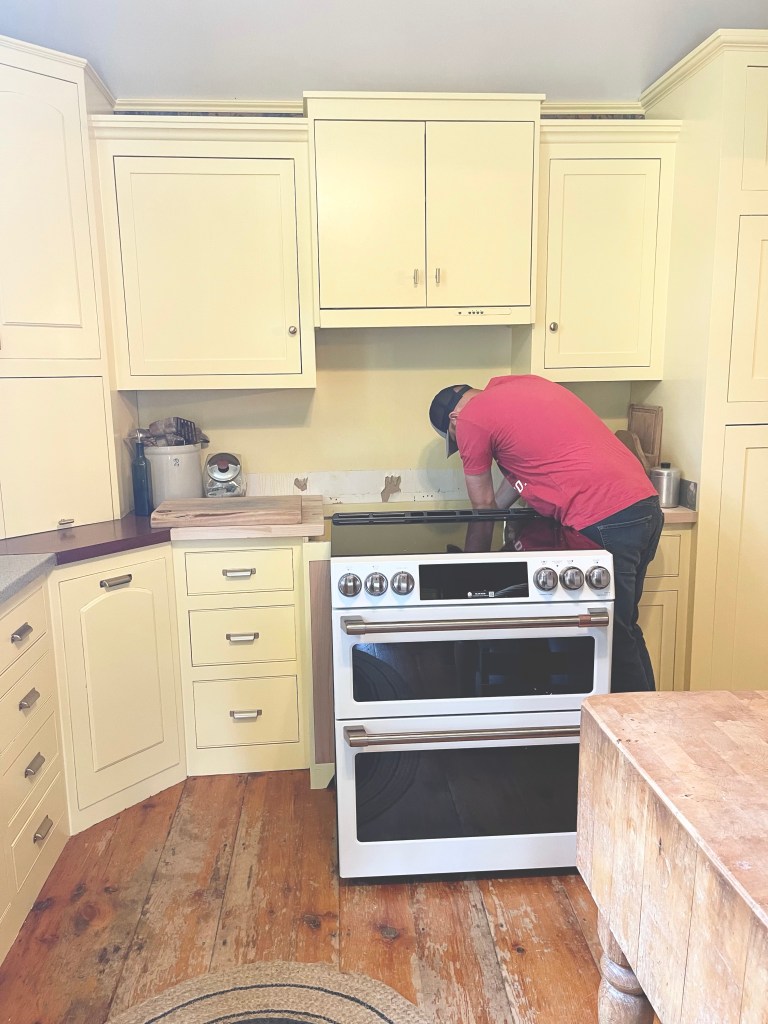
It was in fact a creamy, buttery yellow.
Just a little more chaos. Meanwhile, we still had to fully use this kitchen for our family of six.
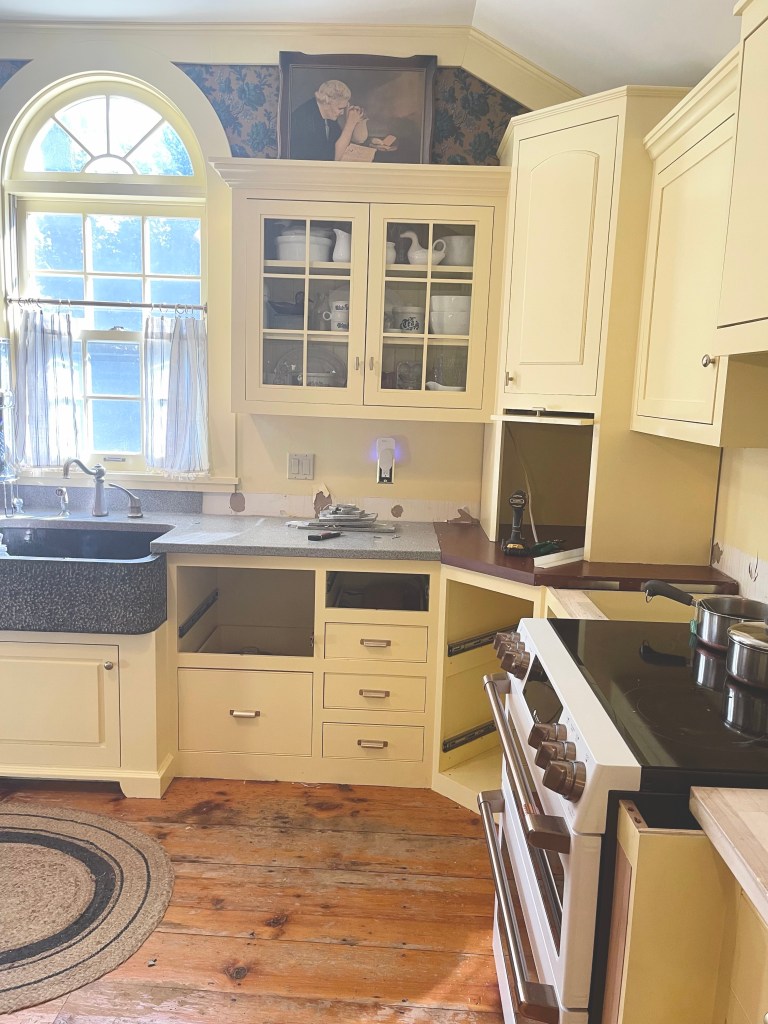


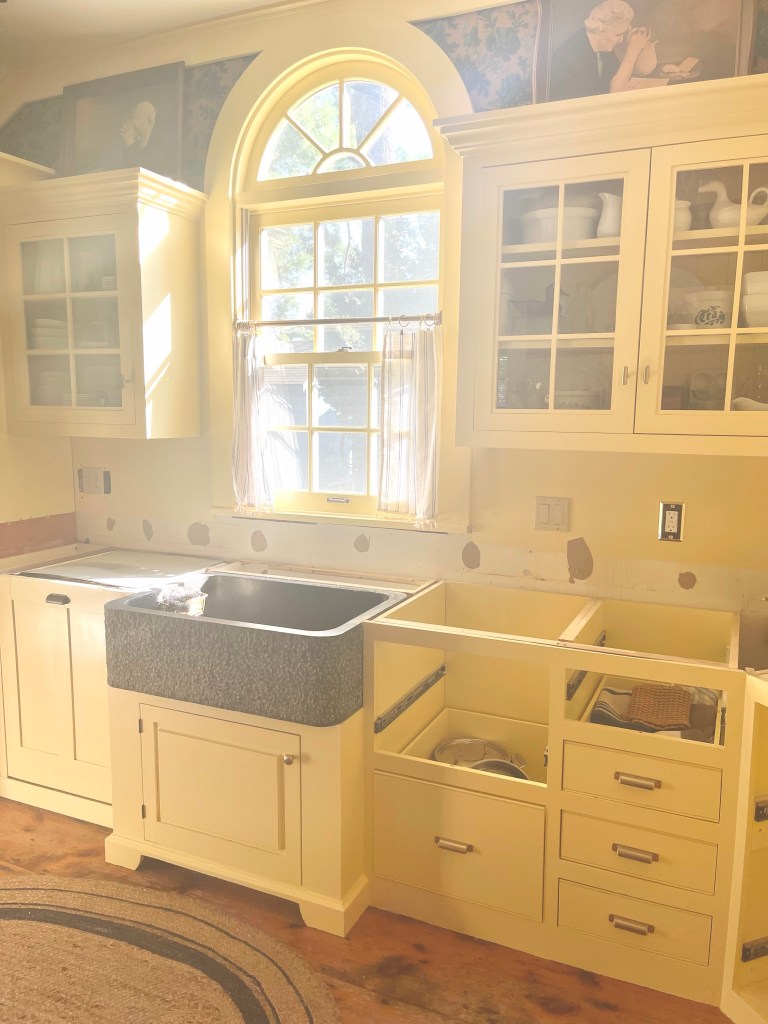
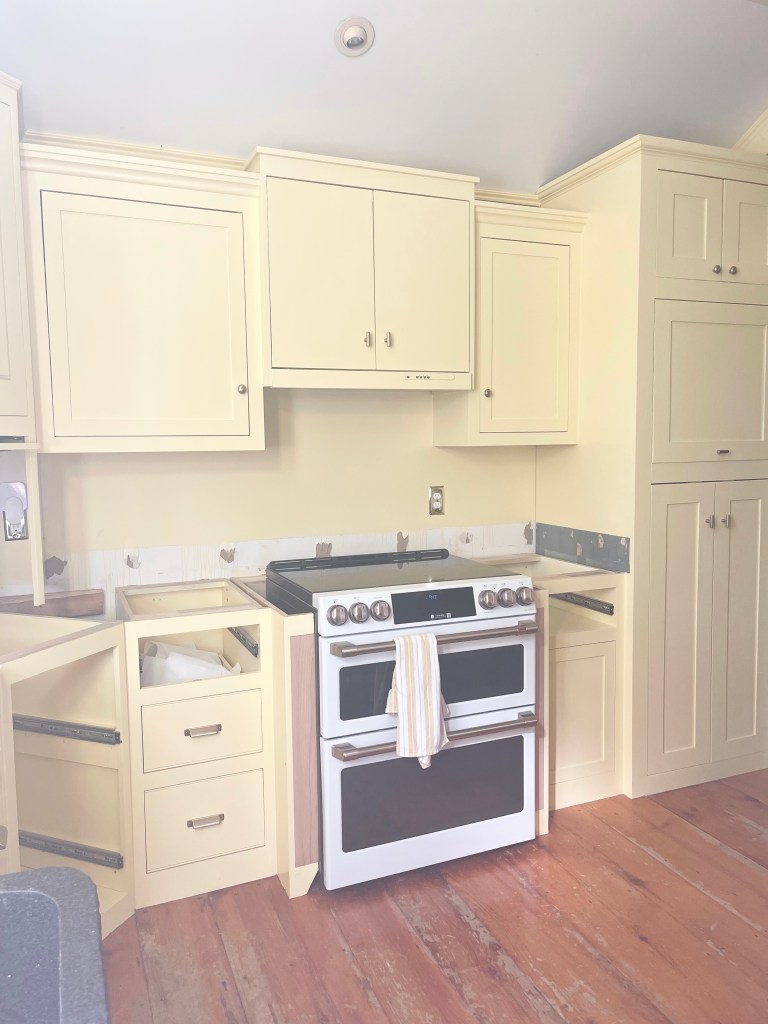
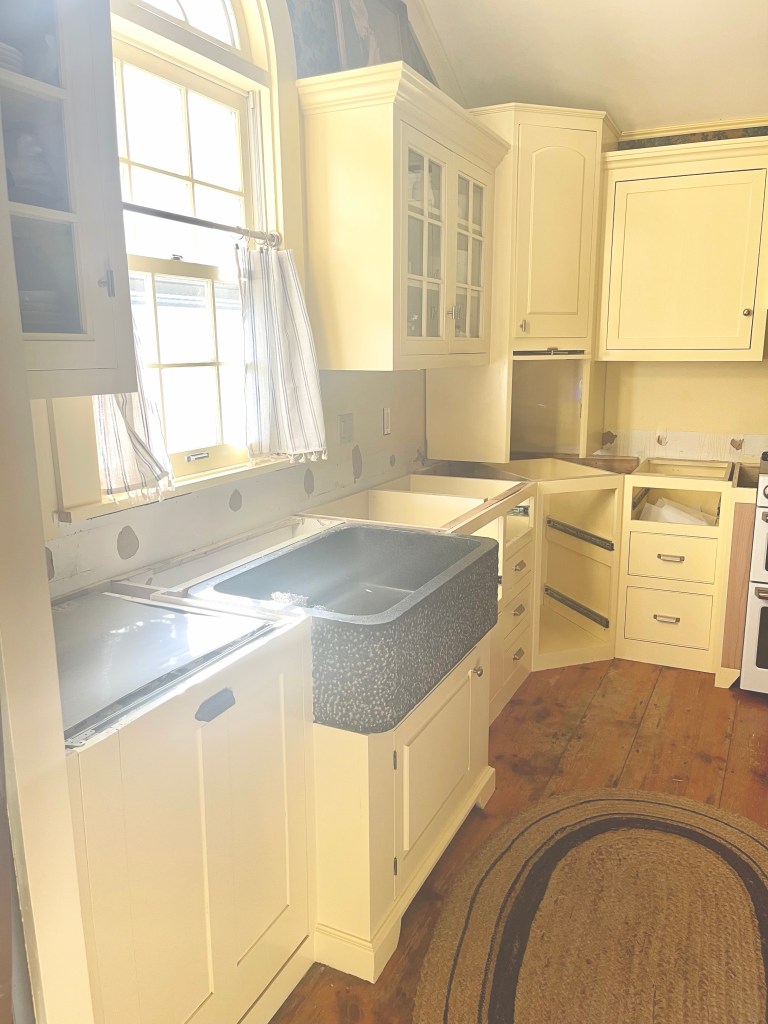
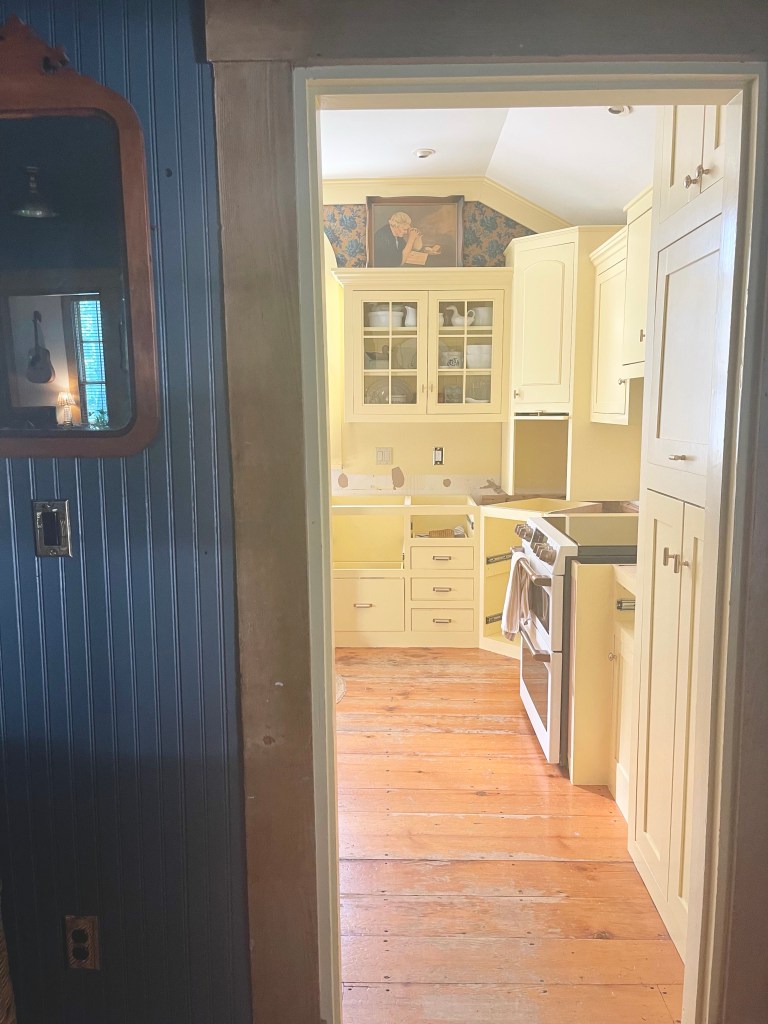
Despite how it looks, we were feeling hopeful for completion.
Going with a simple quartz, we finally had the countertops installed and I felt the most adult I had ever felt in my life.
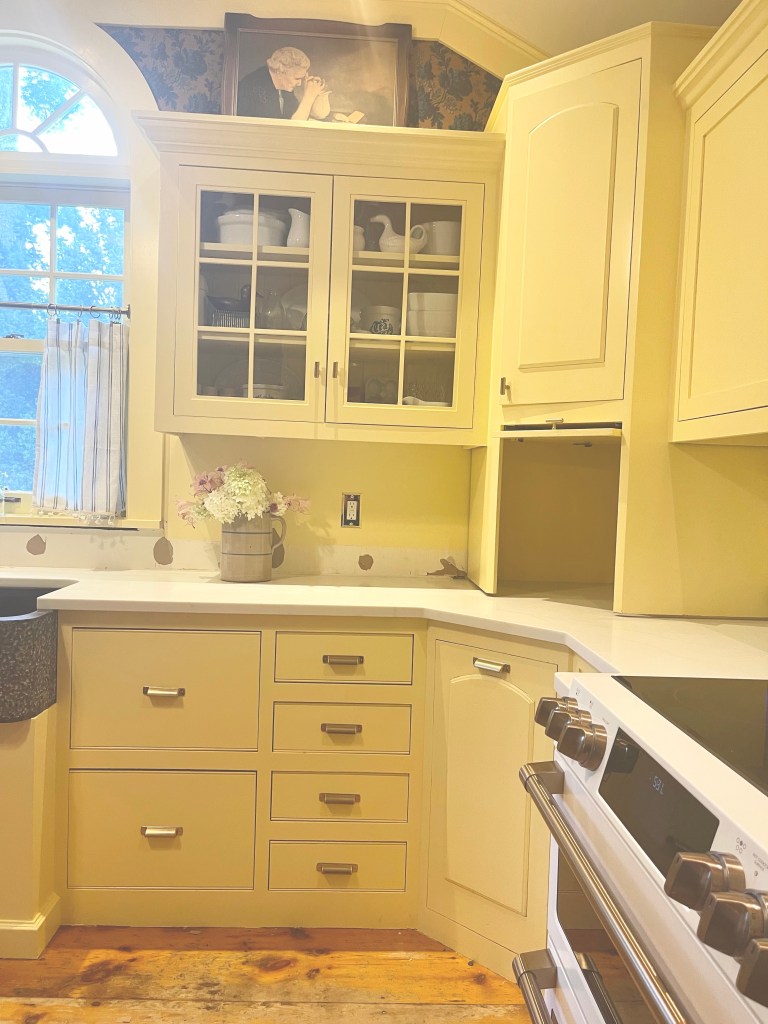
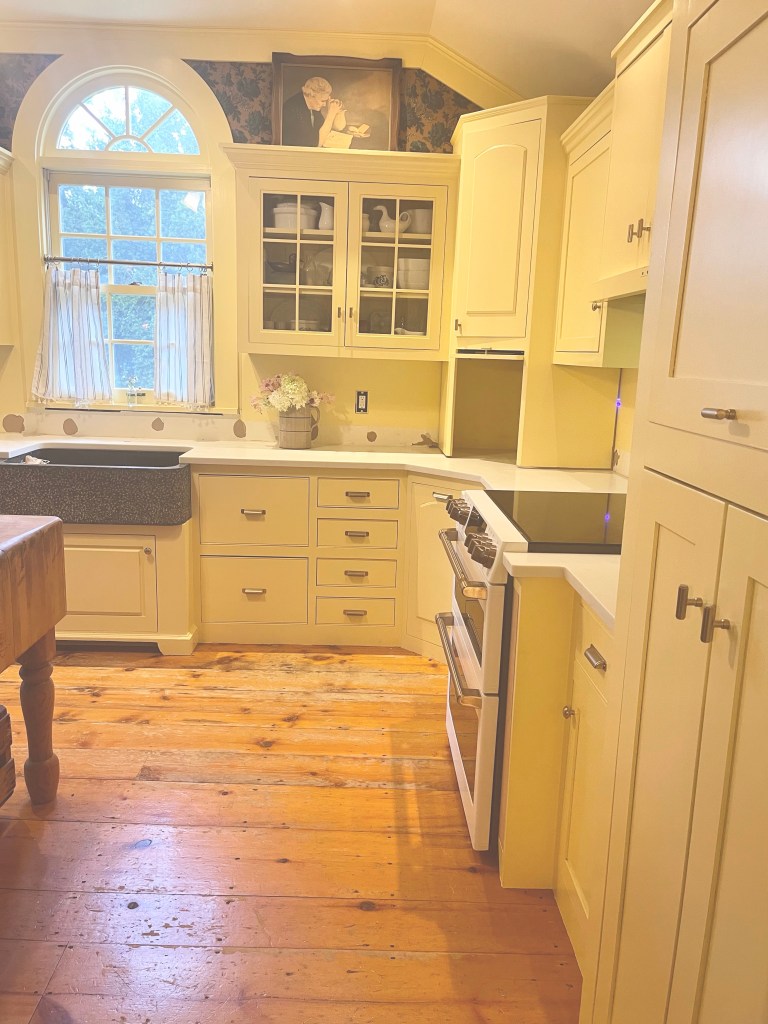
Following that the backsplash was cut and installed in matching quartz with our choice of unique cuts. I was thankful to have a clean, calming countertop compared to the mismatch we had previously.
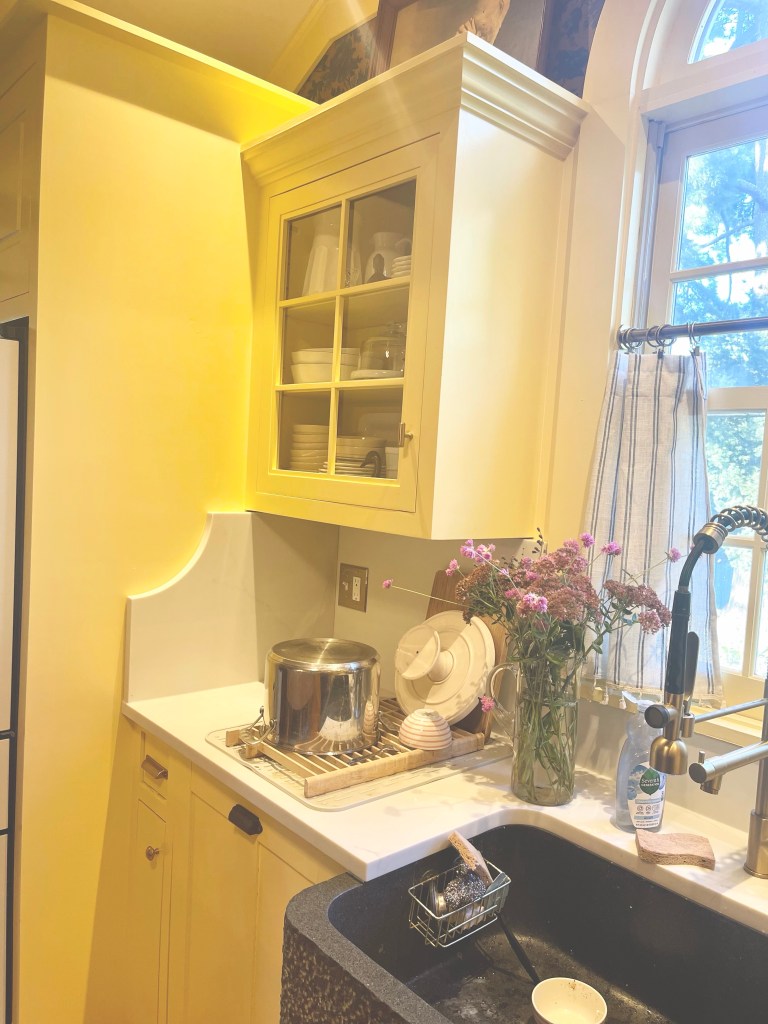
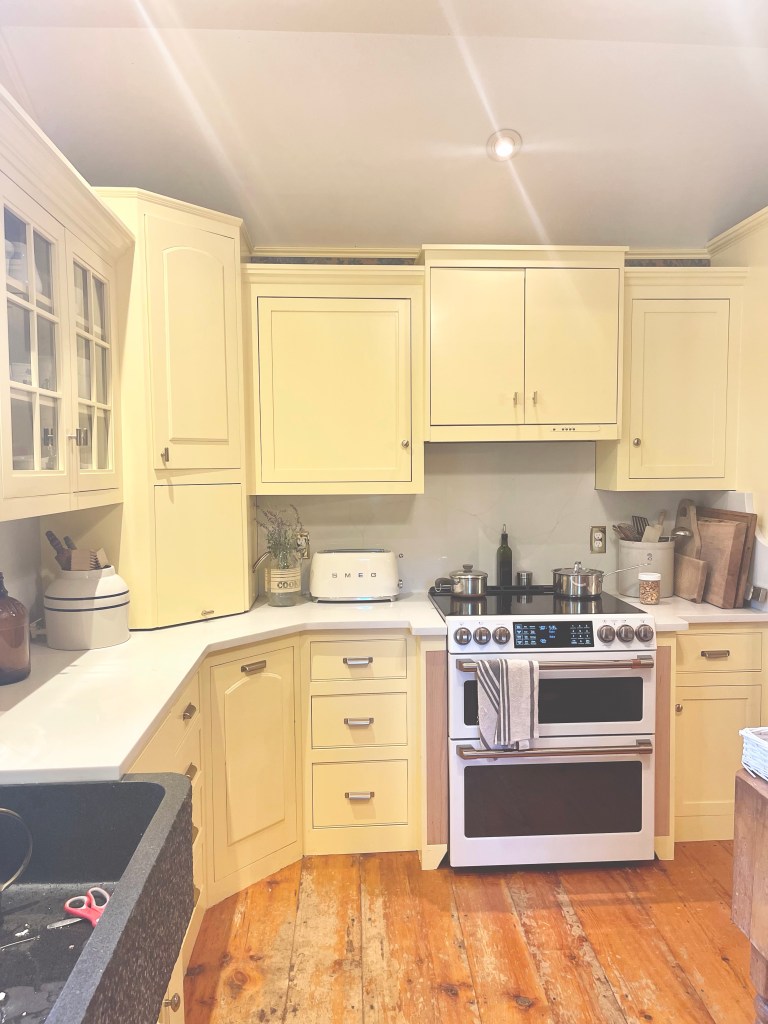
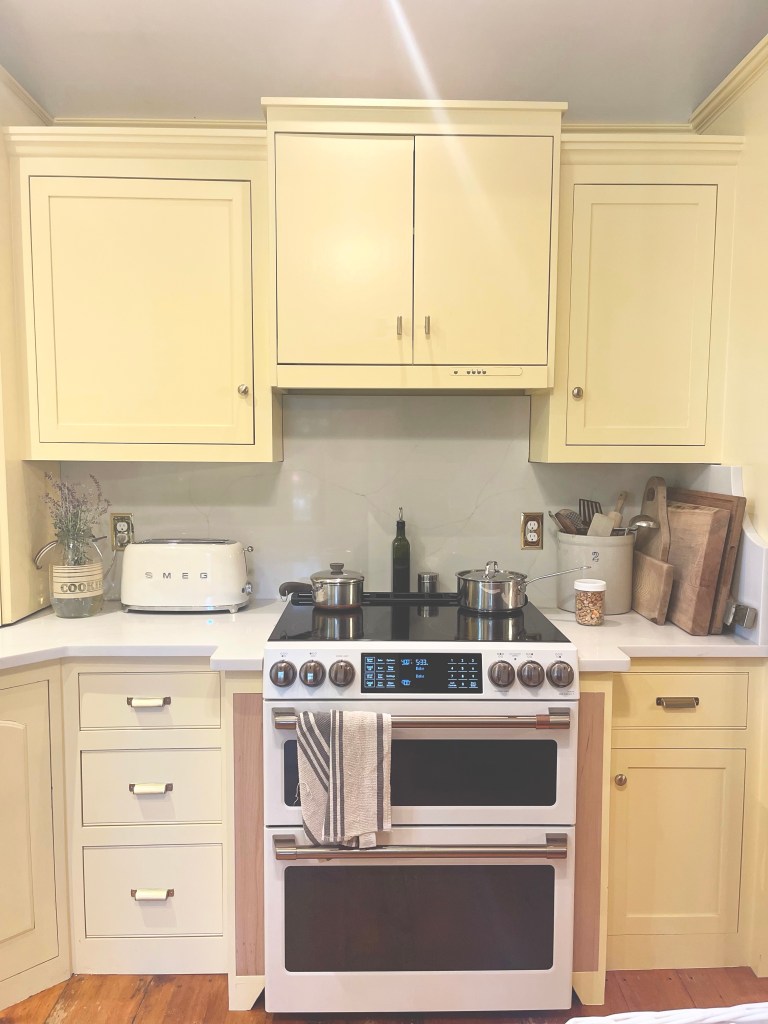
Another step closer.
WHAT THE HOOD
Like turning the page, we were on to upgrading that hood. A super slow turn that is, because it took us a good while to get to. Hence, why we had the old one painted until we could get to it. But, as soon as that demo began Tom didn’t stop until he completed it.
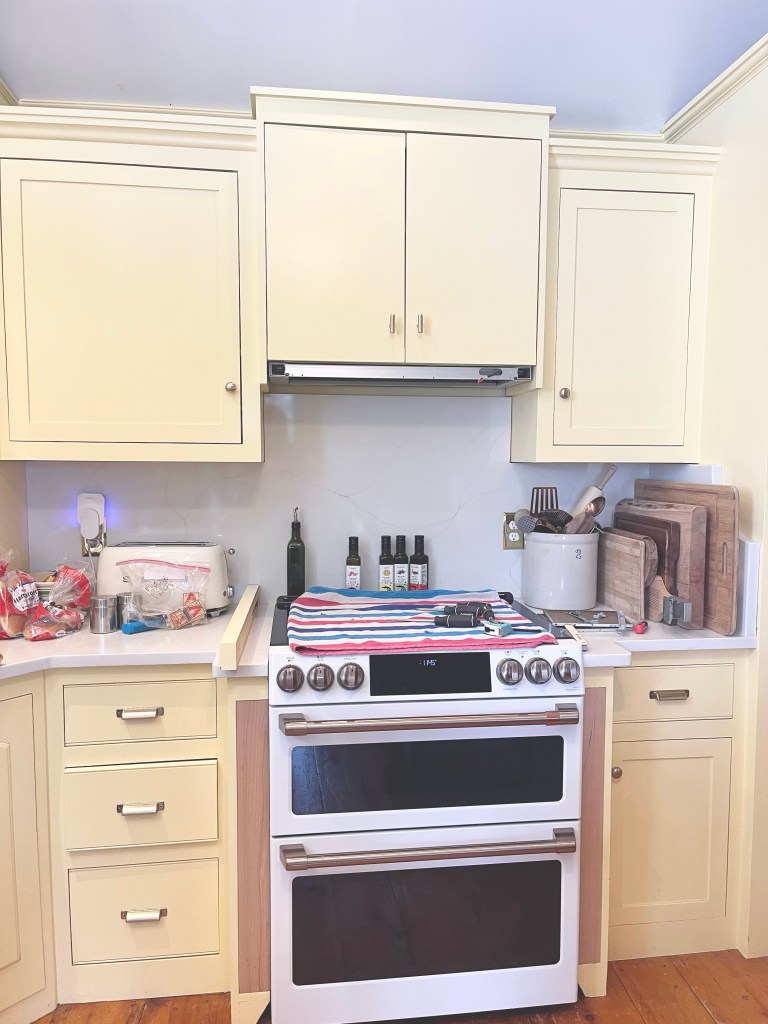
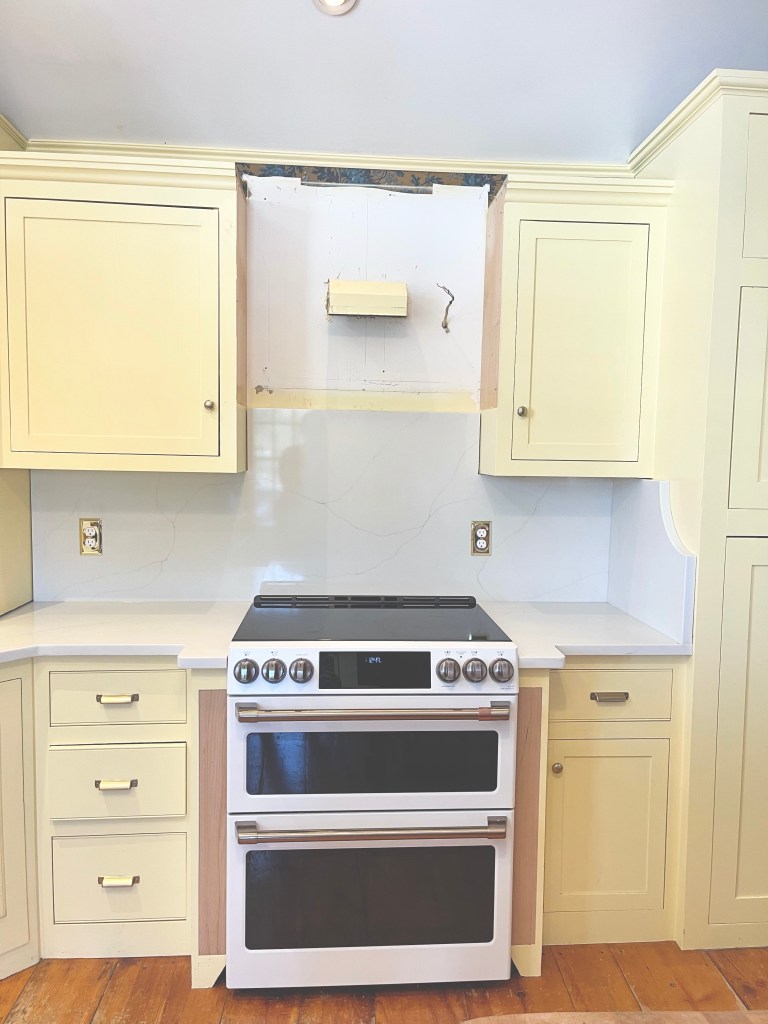
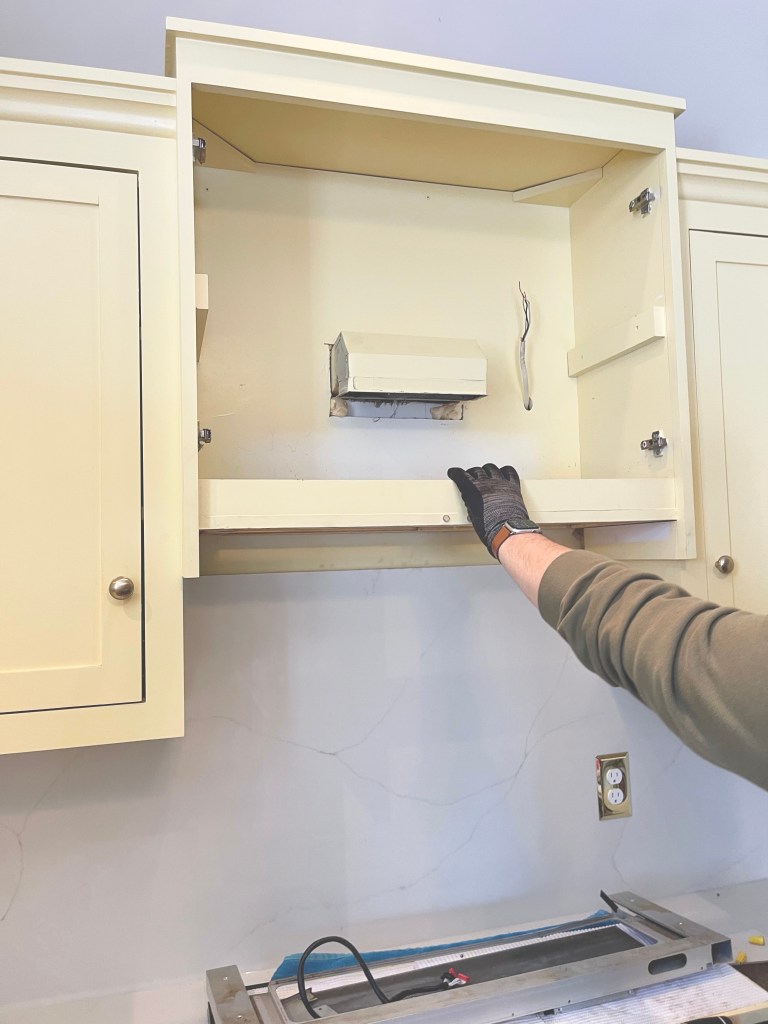
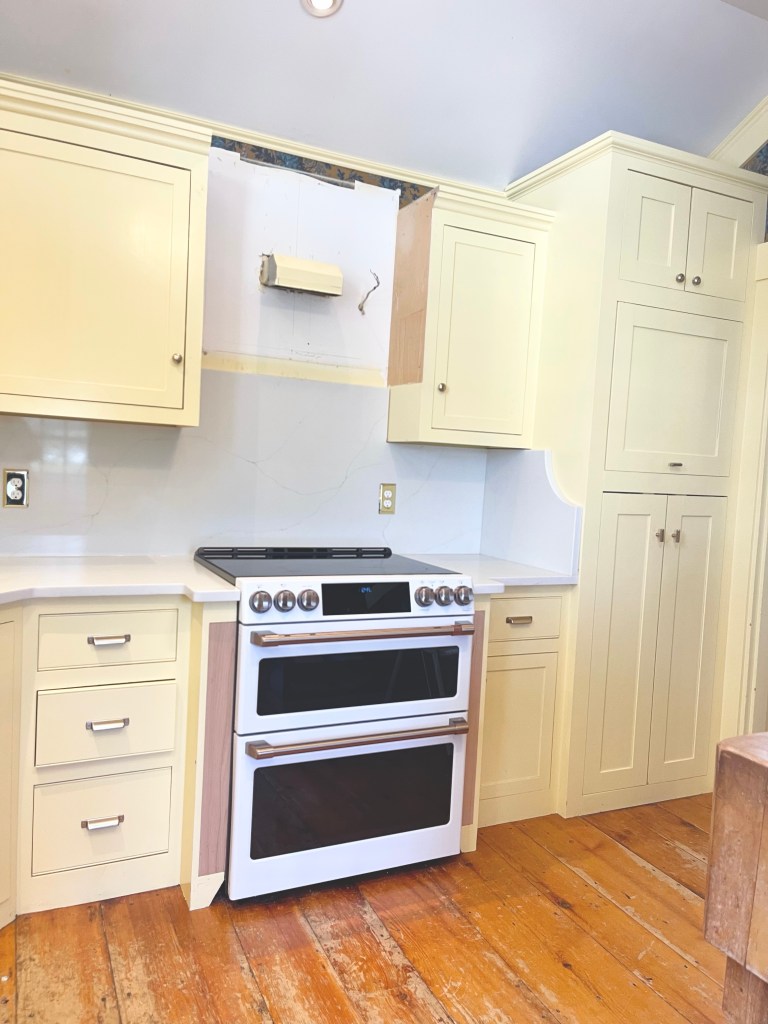
For his own need to keep things in order and his desire to complete my visions, he made it happen. Step by step he made my sketch a reality. He impresses me every time. He can’t hardly tell me he can’t do something, because I really know he can.
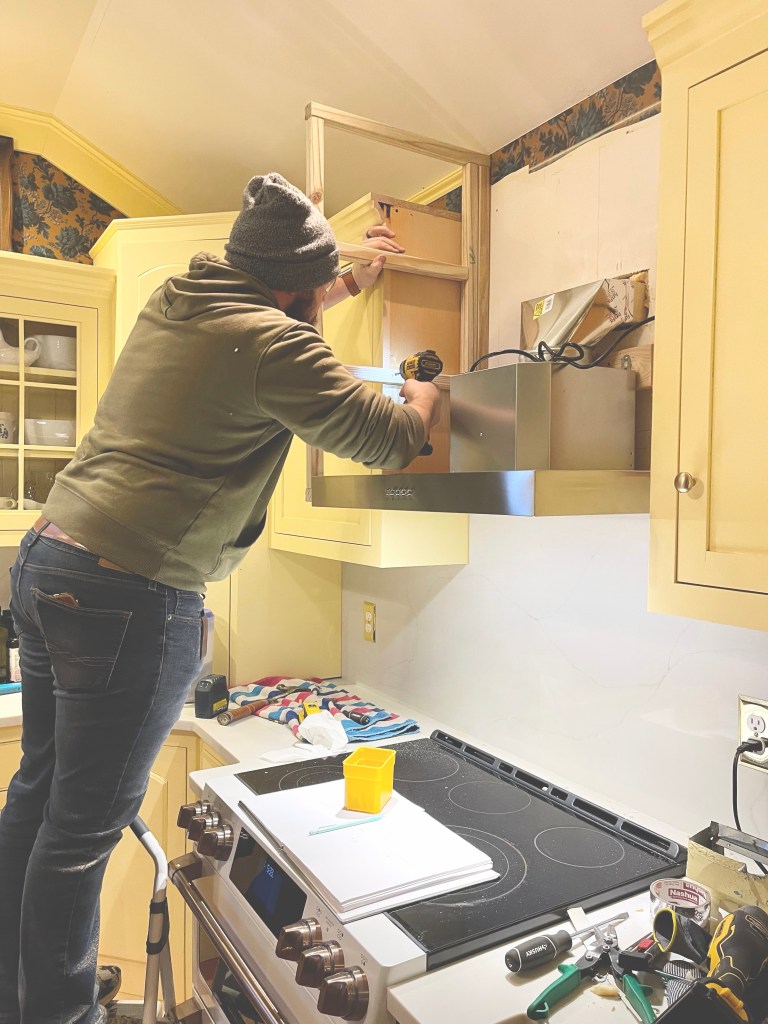
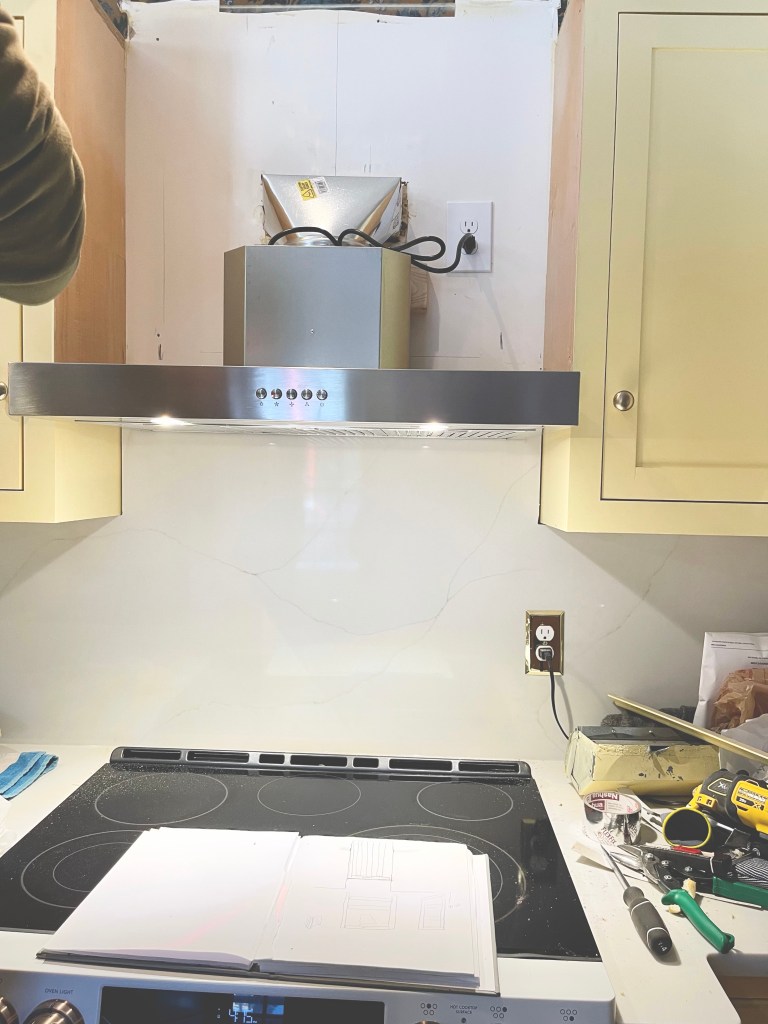
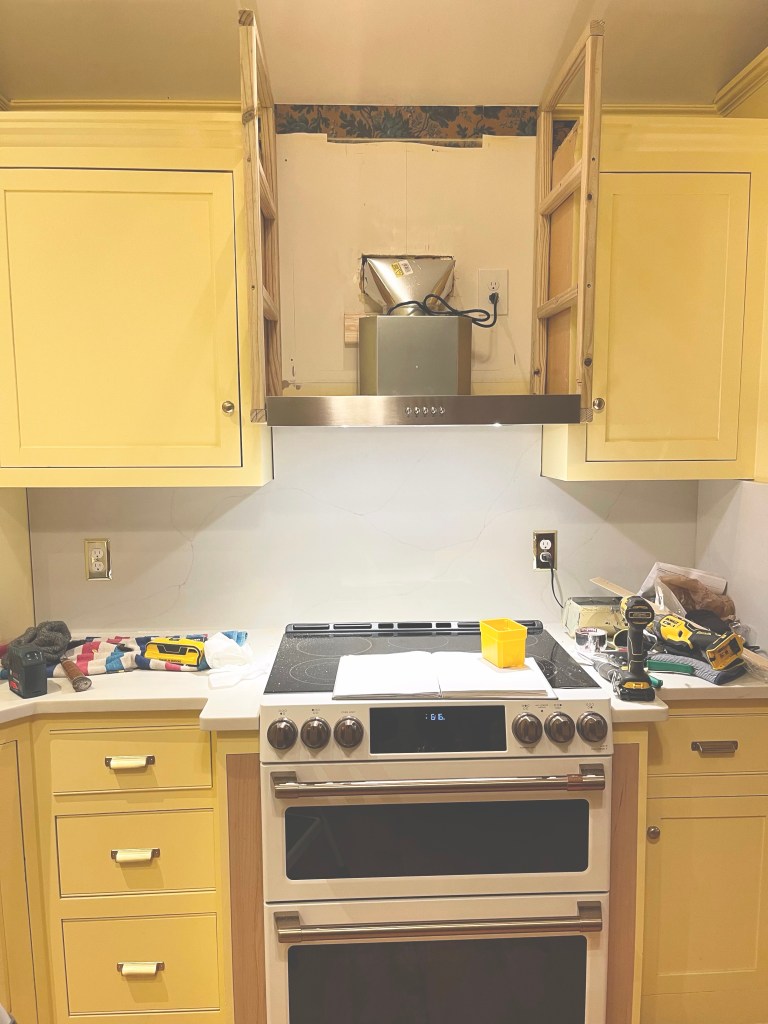
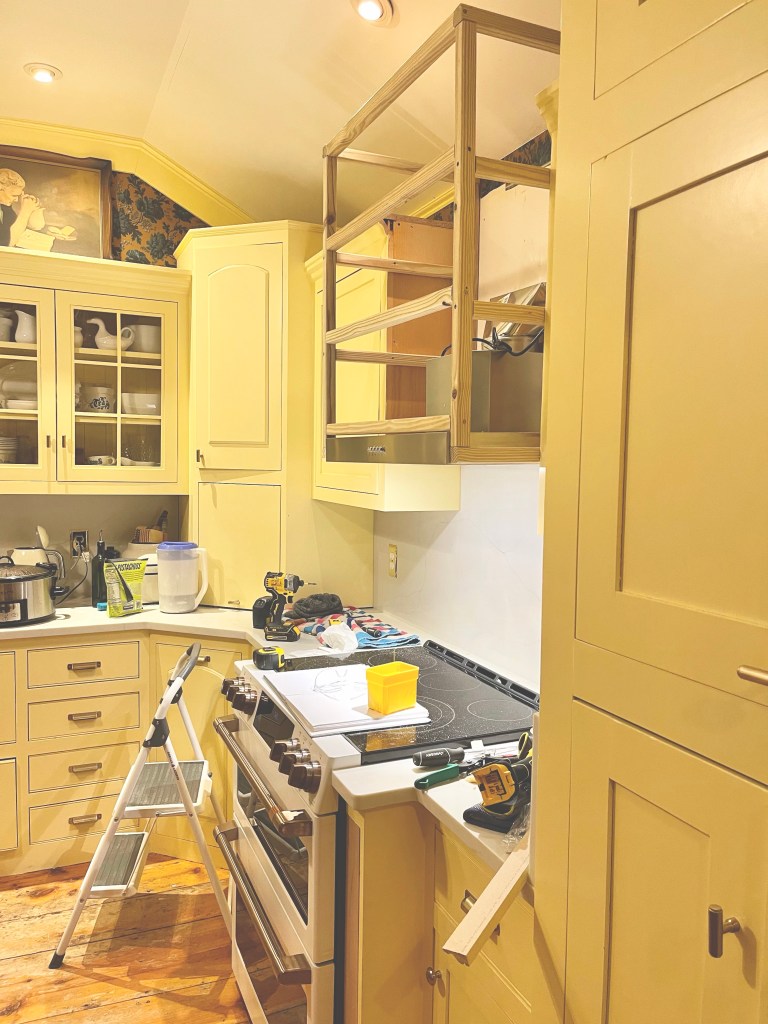
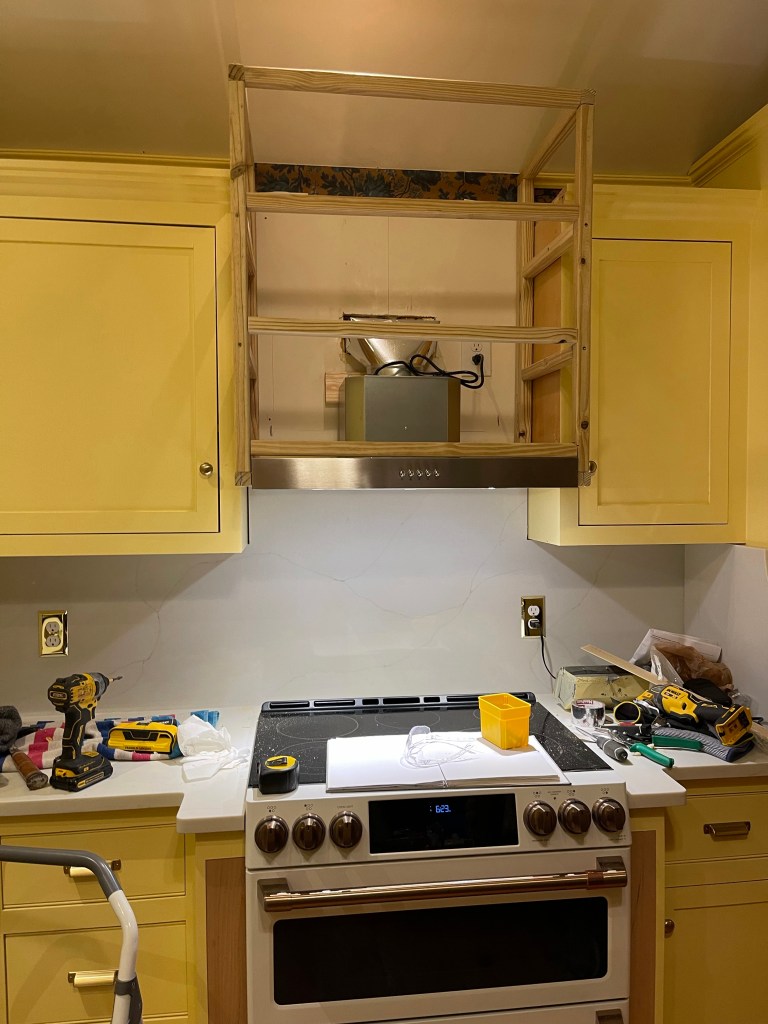
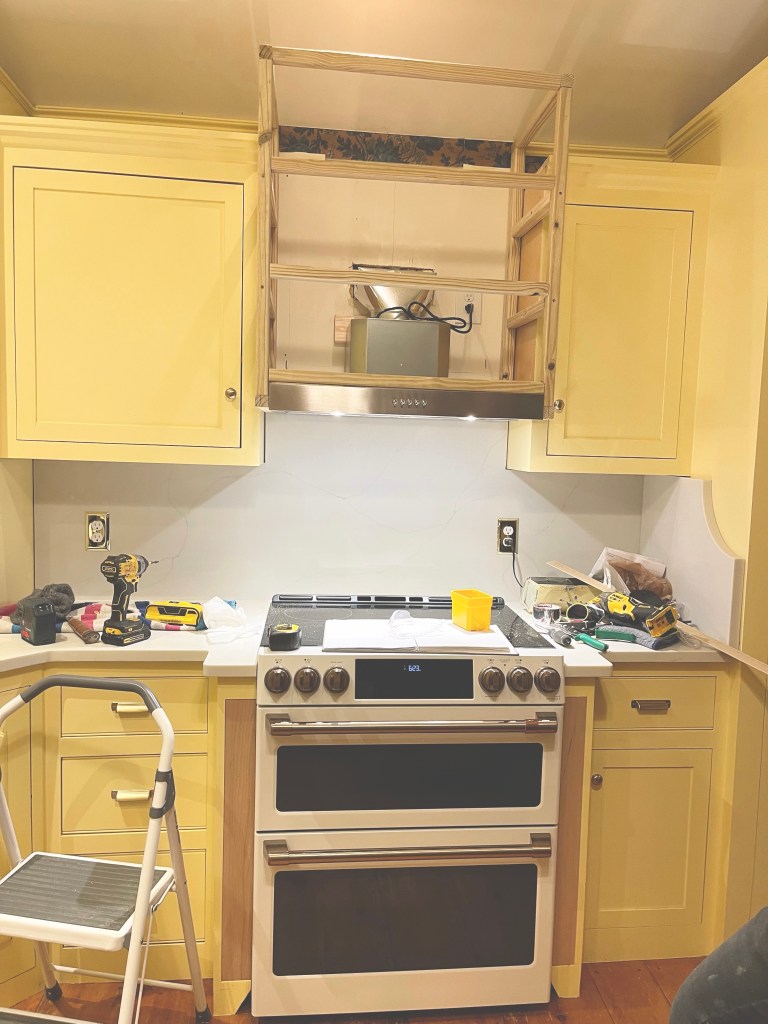
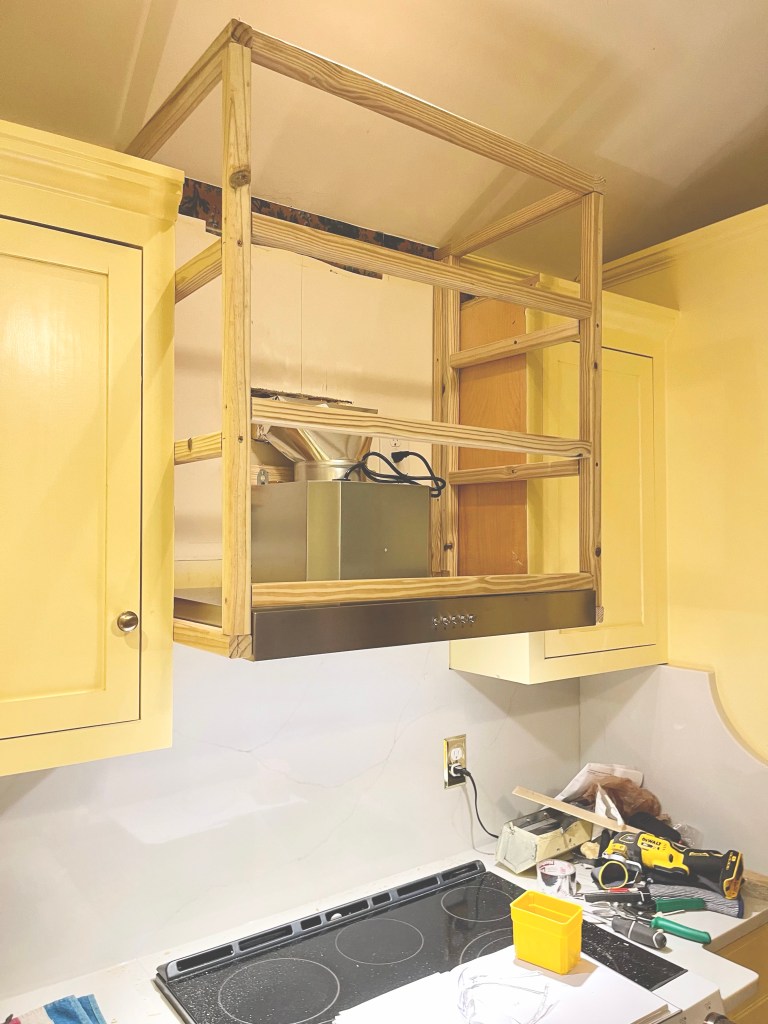
Once the framing was complete and the new vent hood was installed, I wanted v-groove beadboard incasing it for that seamless look with the rest of the kitchen.
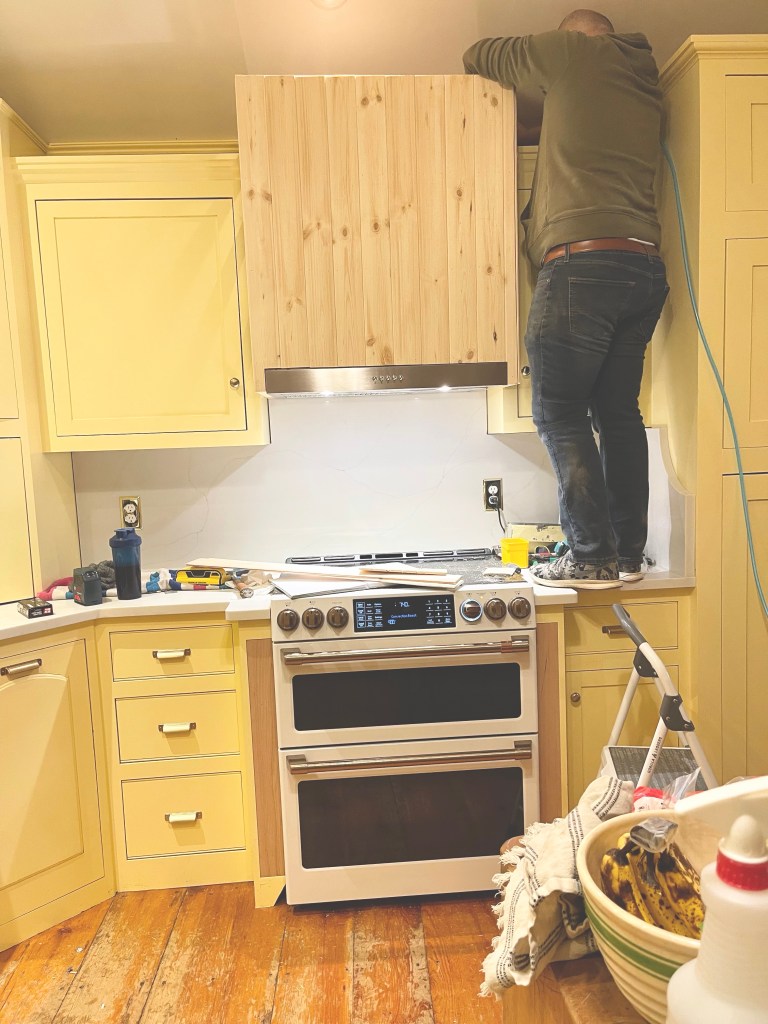
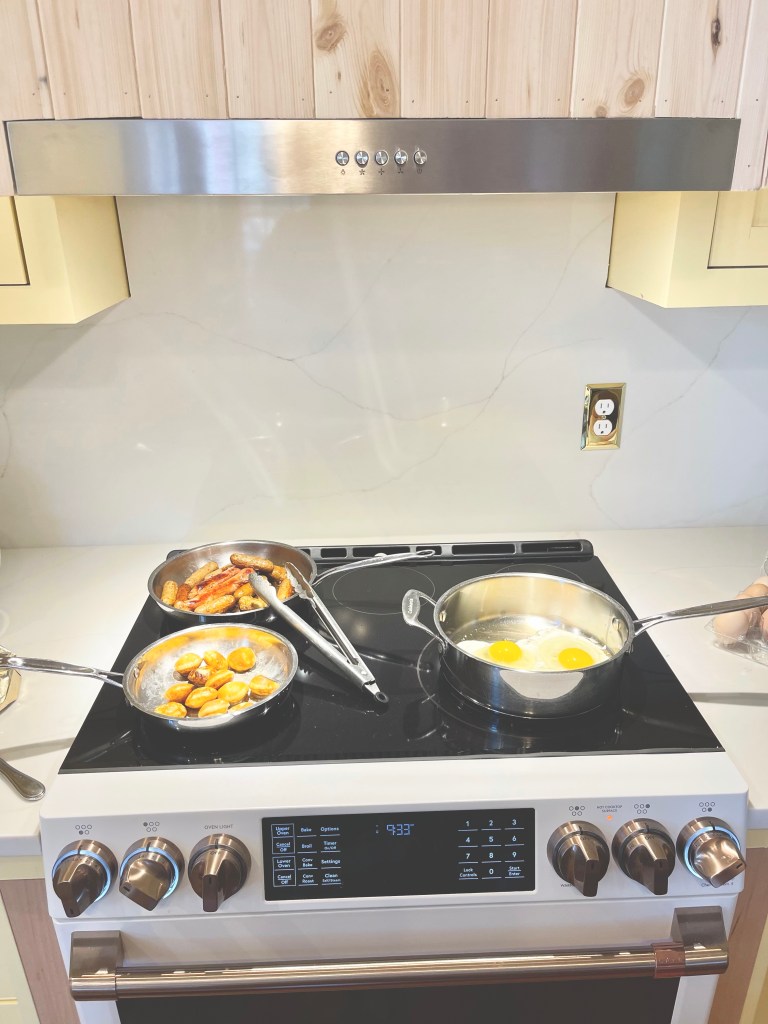
Layer by layer things were moving and we were still cooking along the way happy to be making progress.
Mighty fine work Tommy, we truly make a great team.
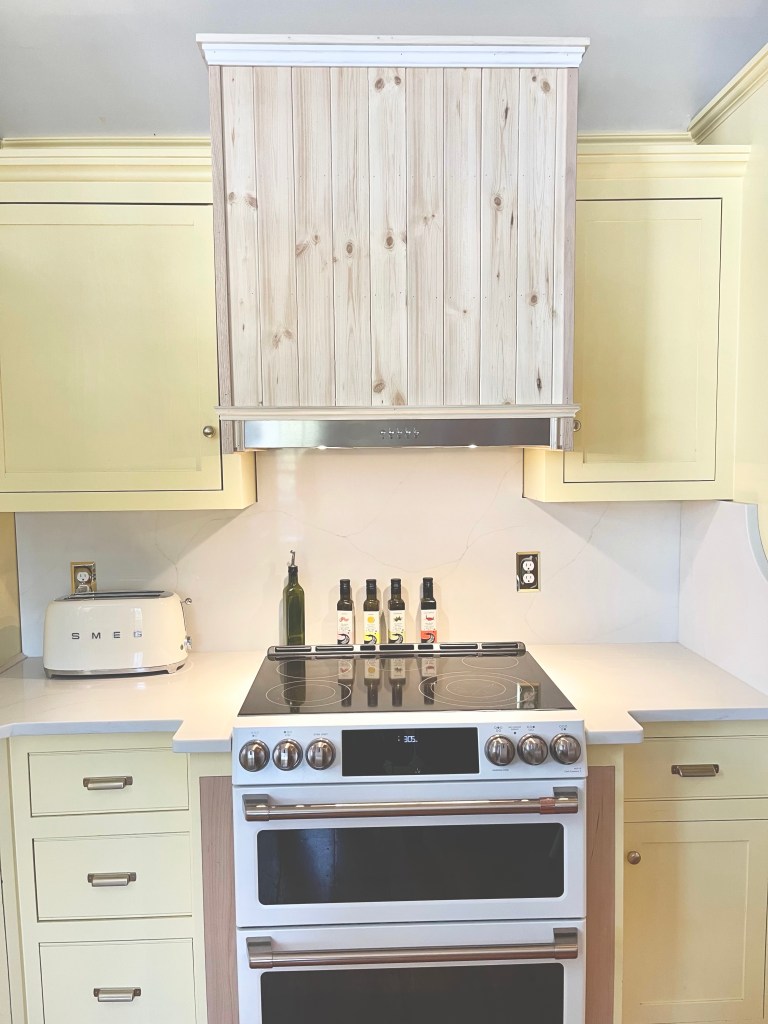
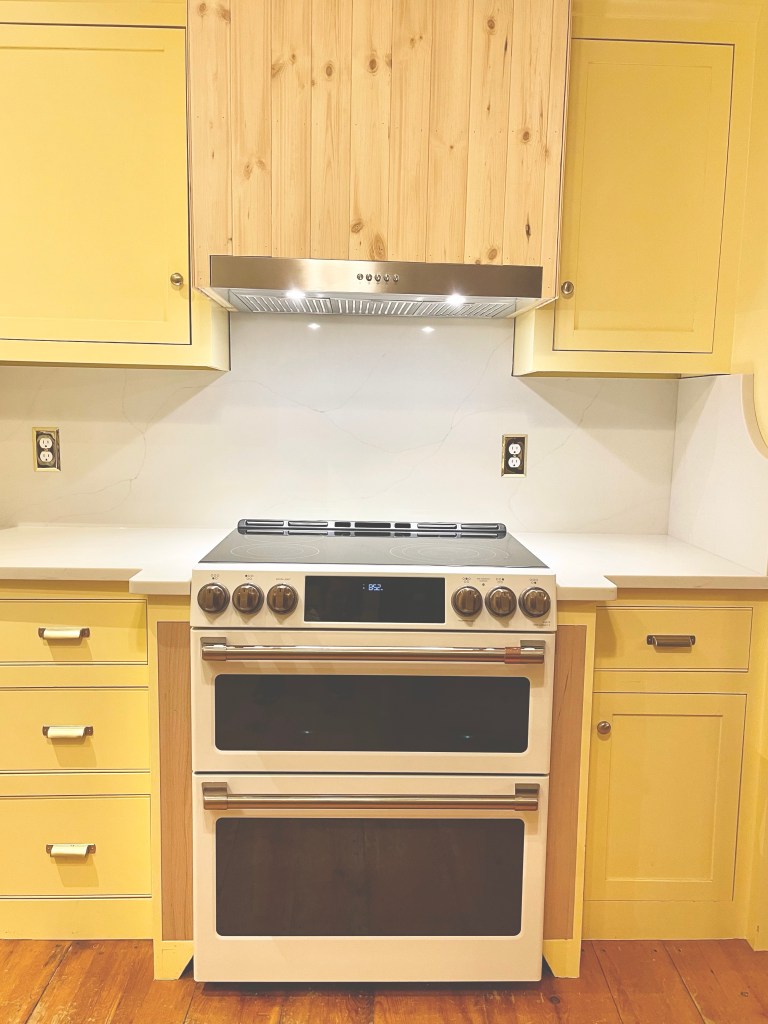
Like a glove, it fit. A new vent hood all trimmed out and ready for paint along with the framed out area next to the stove.
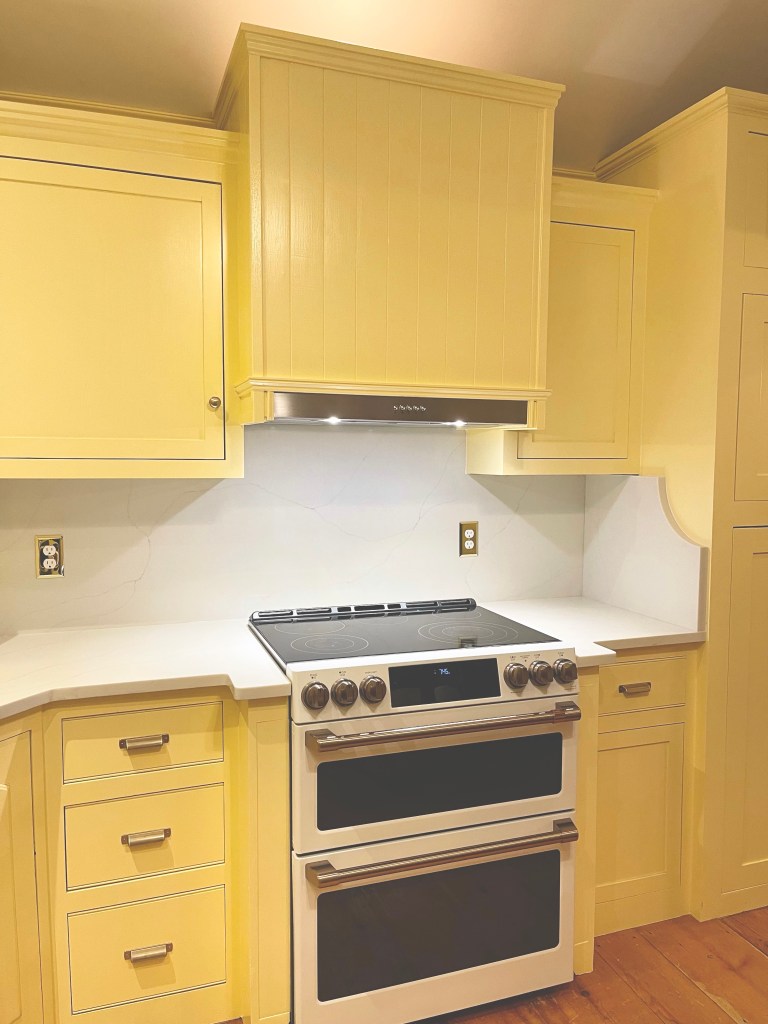
It shined up real nice. Looking like it always belonged.
SUNNY-SIDE UP KITCHEN
COMPLETE-ISH
THE ORGANIZING & STYLING THE SPACE FOR FUNCTION
With the main function of the room complete—it was ready for some styling. My first job was proper placement of all things. I needed it organized to run smoothly.
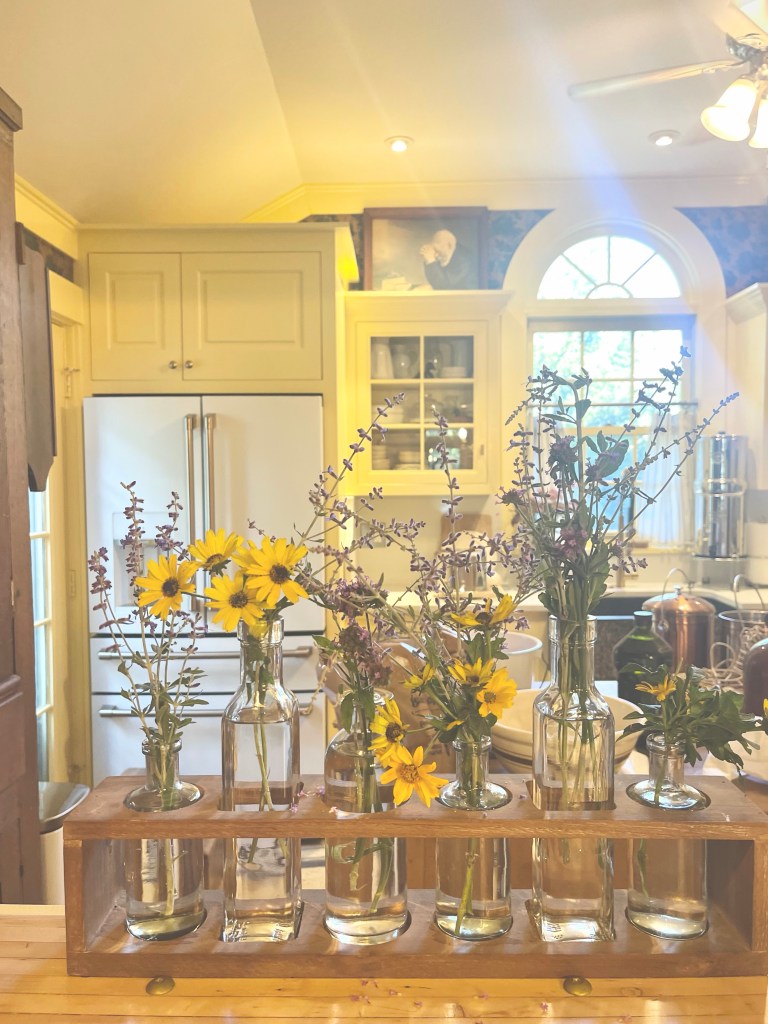
THE CABINET ORGANIZING
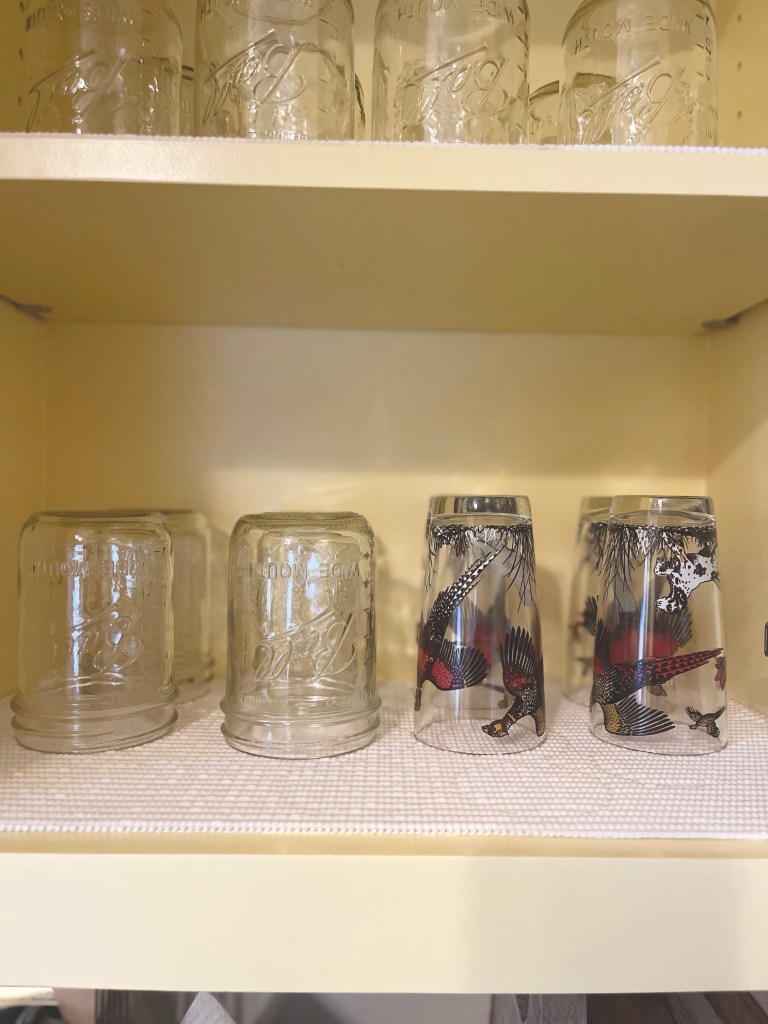
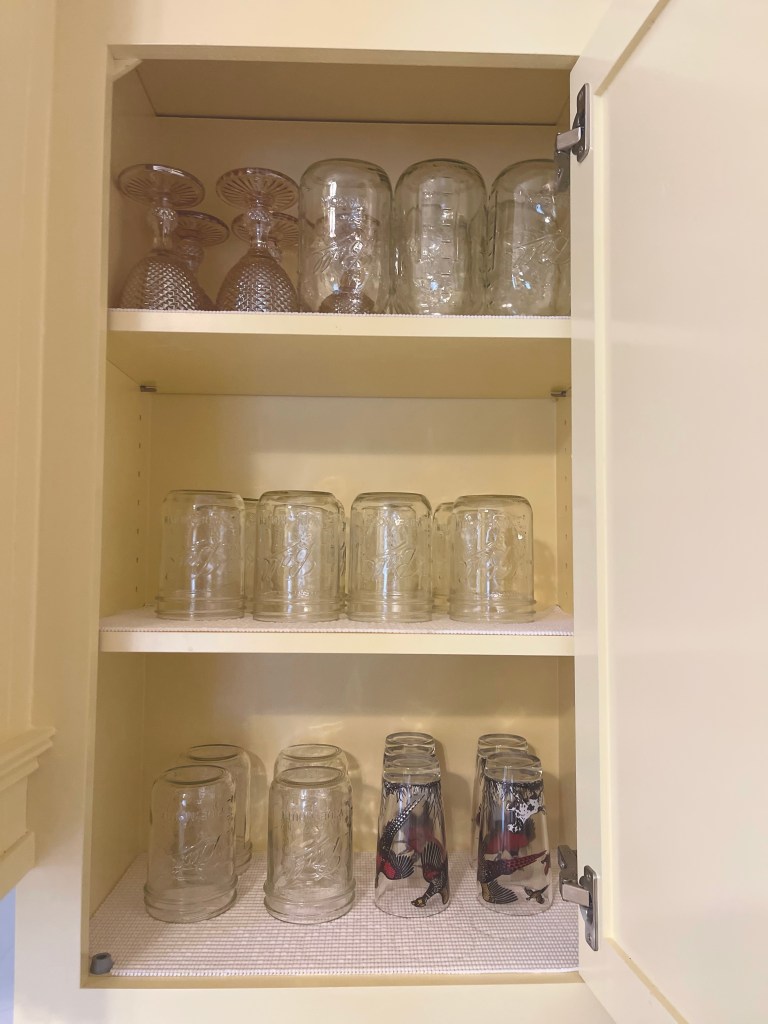
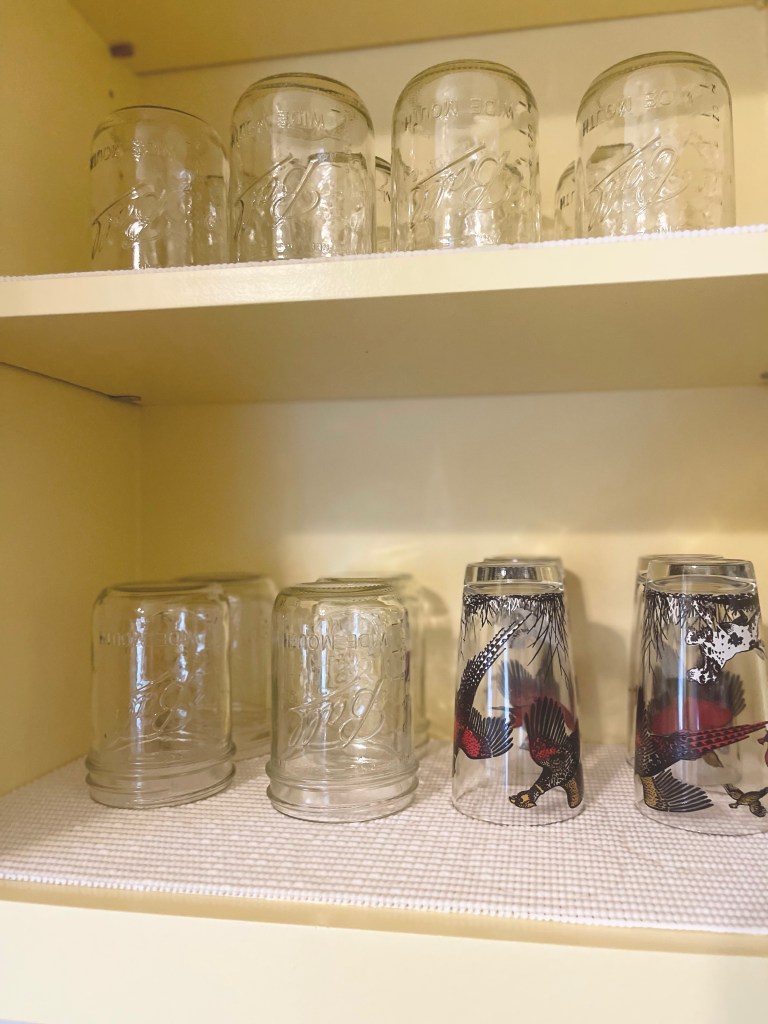
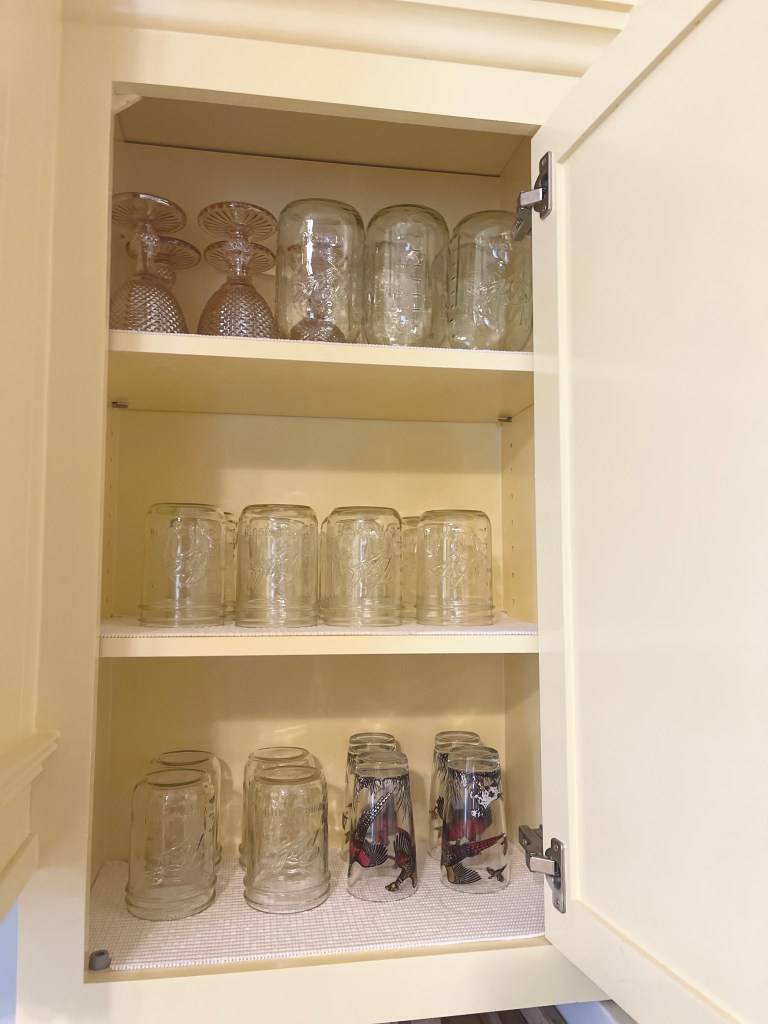
Having the cabinets painted professionally, we really wanted to protect those bad boys. We planned to baby them as much as we could and for the first time we invested in liners we had cut specifically to fit each space. Big thanks to my mom on that, she thrived in that project.
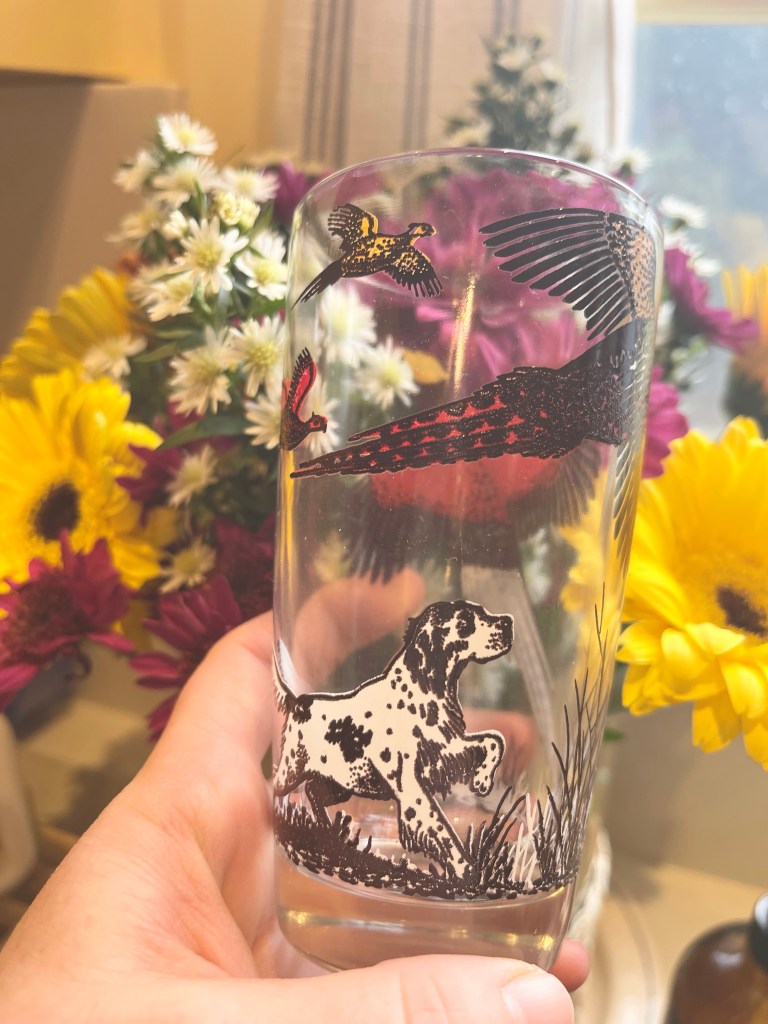
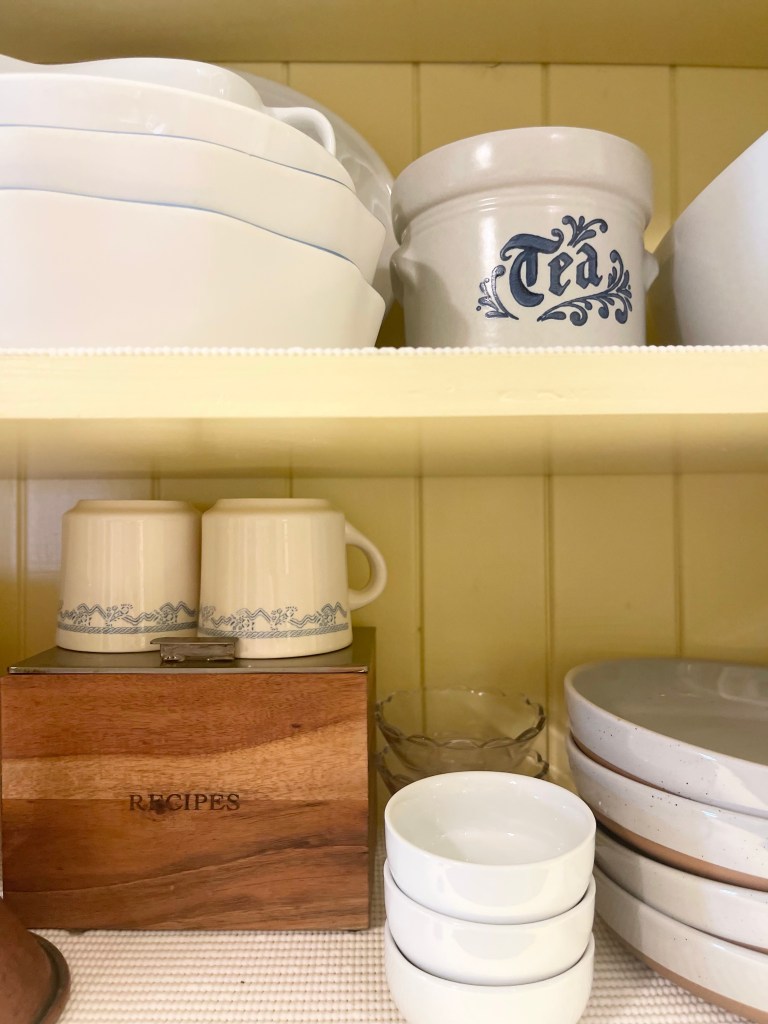
Organizing our drinkware, I worked hard to get it just right. Various mason jars mixed in with our lovely vintage Hazel Atlas glasses. The pretty yellow was the perfect backing. Can you tell I was having way too much fun?
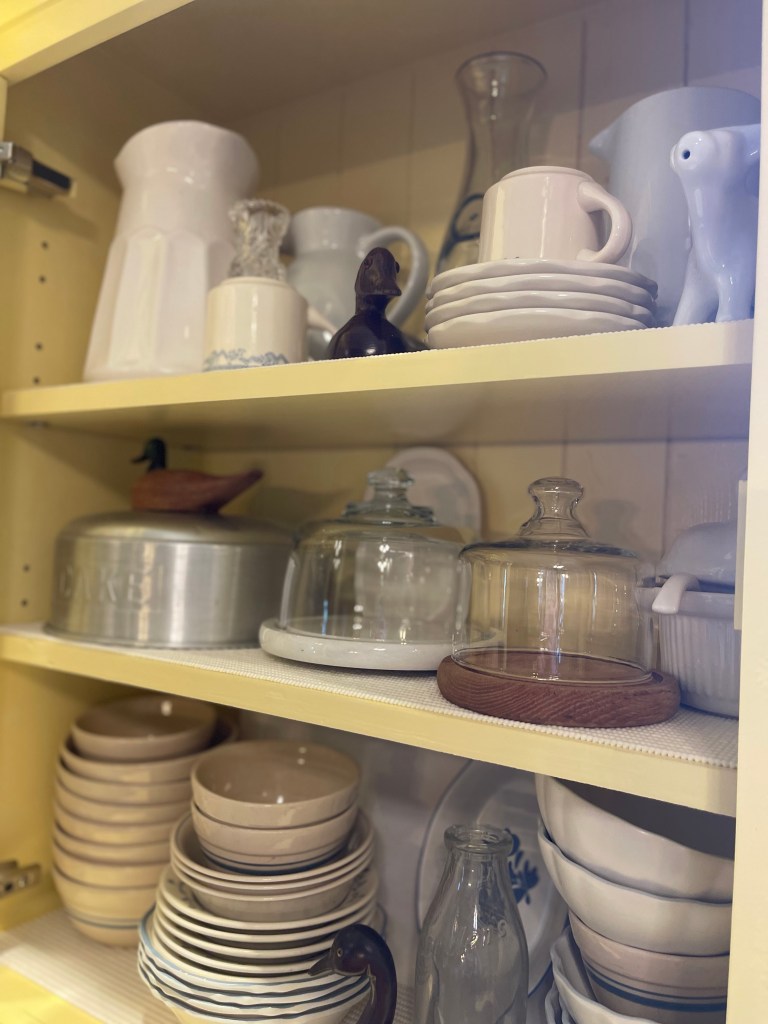
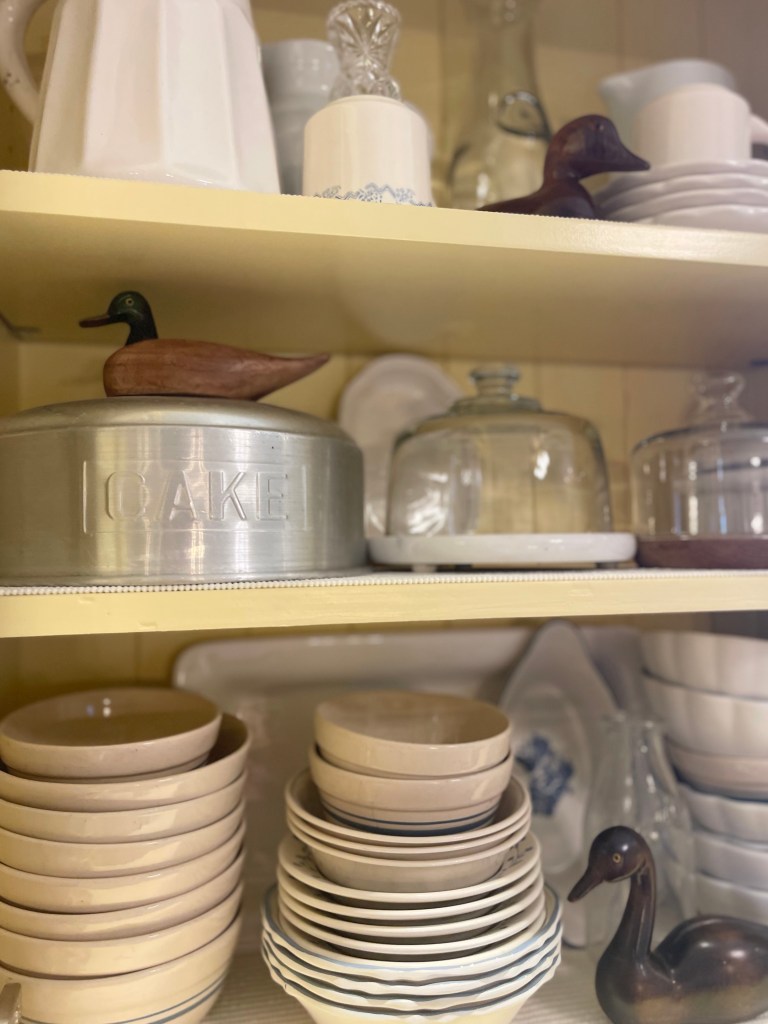
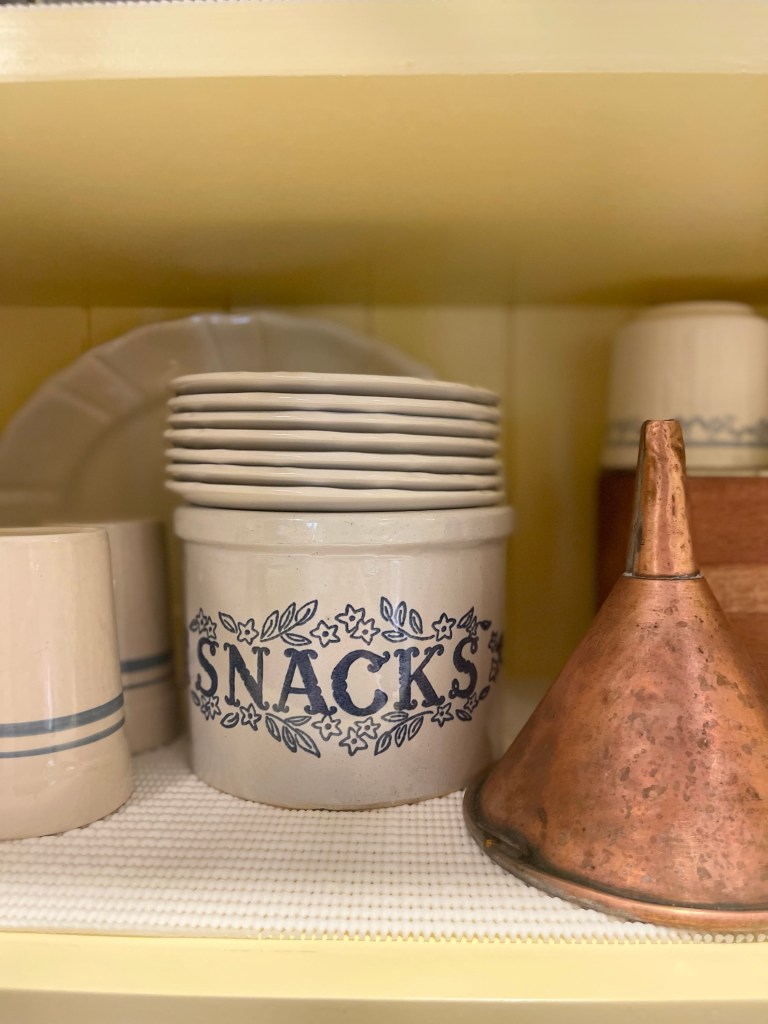
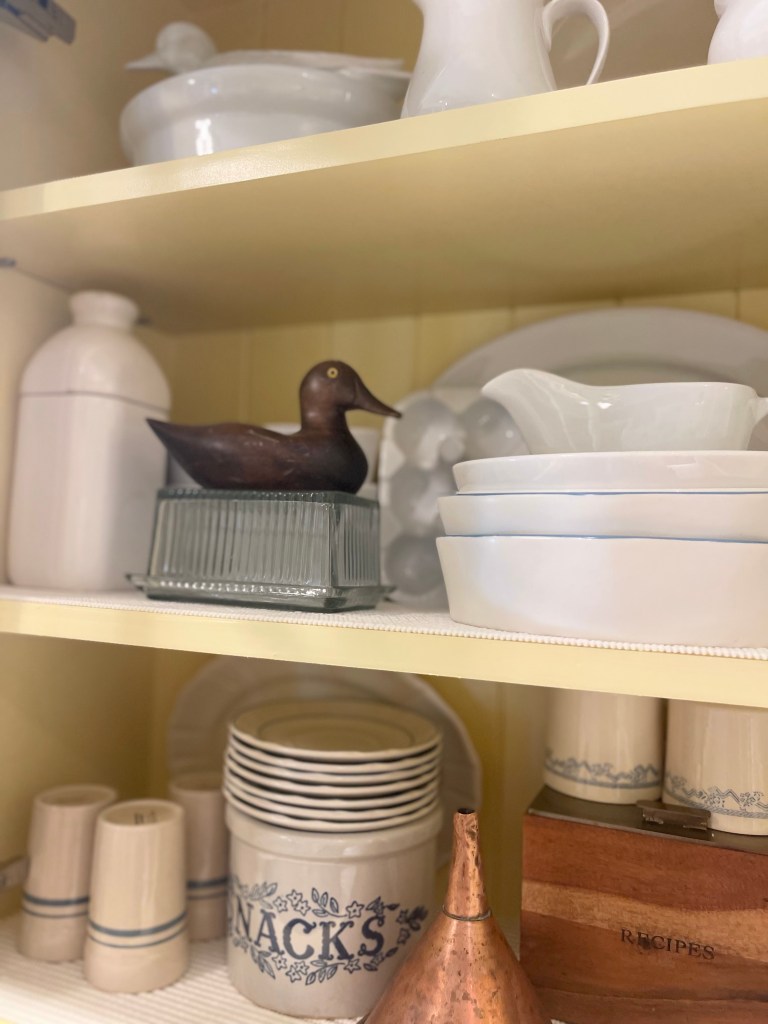
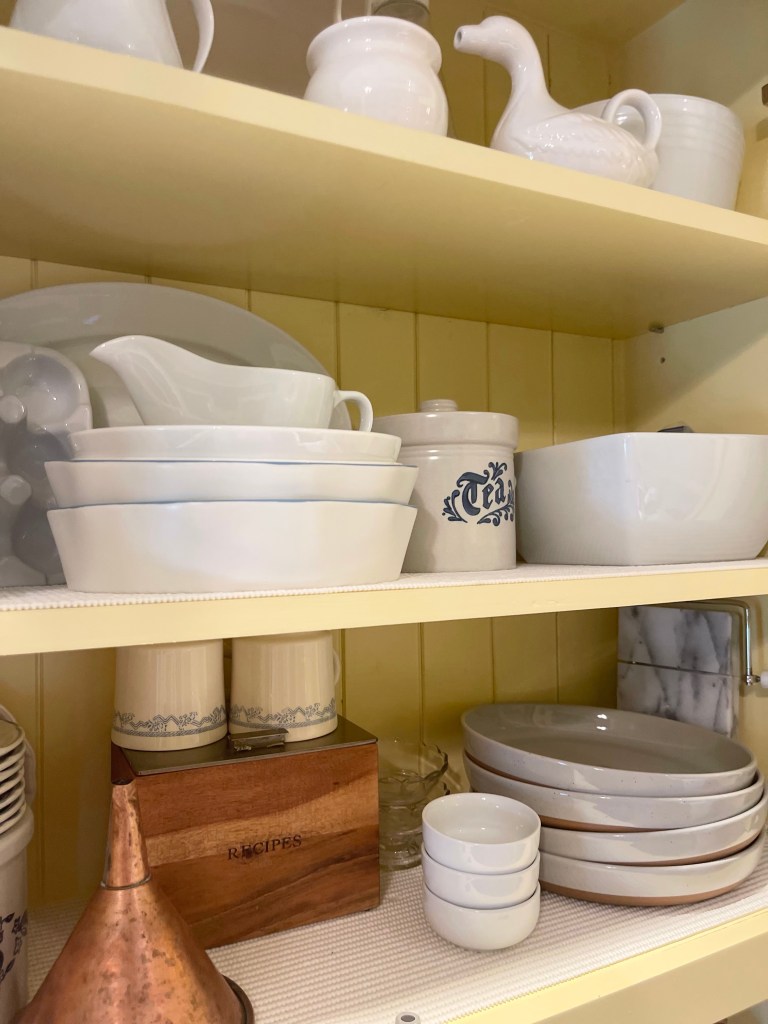
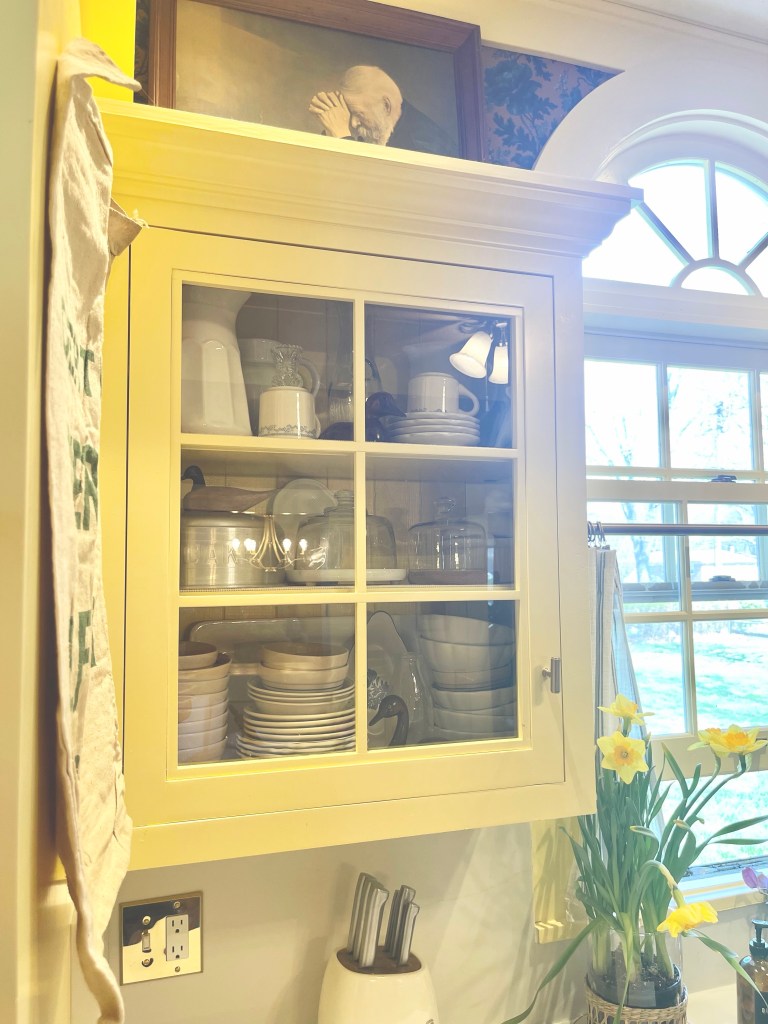
Next, I was organizing and styling a sort of awkward cabinet due to its height and corner location. I placed the things we didn’t get to all the time up top, cake bundt pans, crystal serving dishes, pitchers and cake covers.
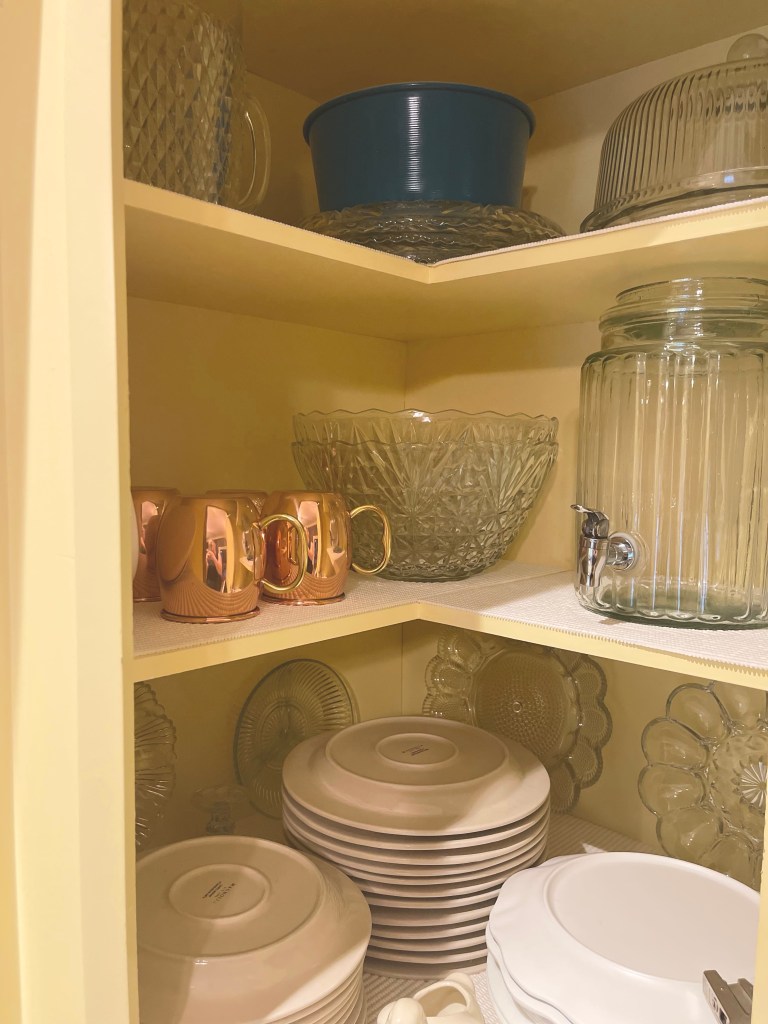
The second shelf, I styled with our glass drink dispenser, Tom’s Grannie’s crystal punch bowls and a collection of copper and brass coffee mugs.
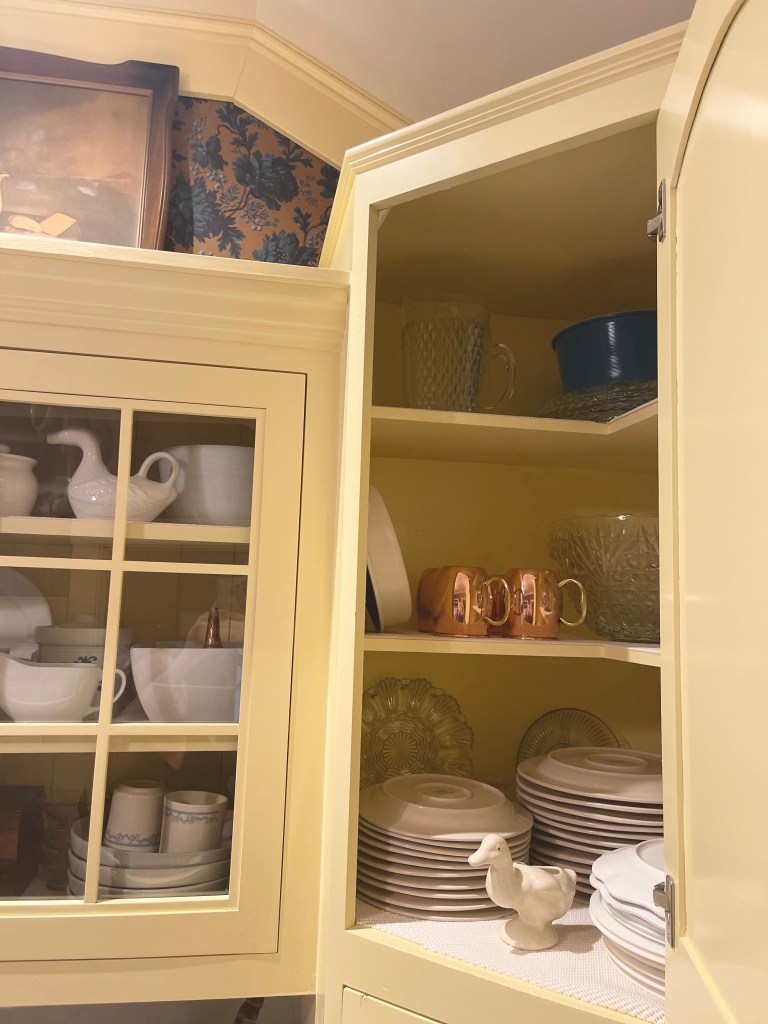
The bottom section I focused on a variety of our everyday use, long-awaited dish set mixed with various blue and white dishes. I had been collecting large and smaller plates. The collection made for fun food styling.
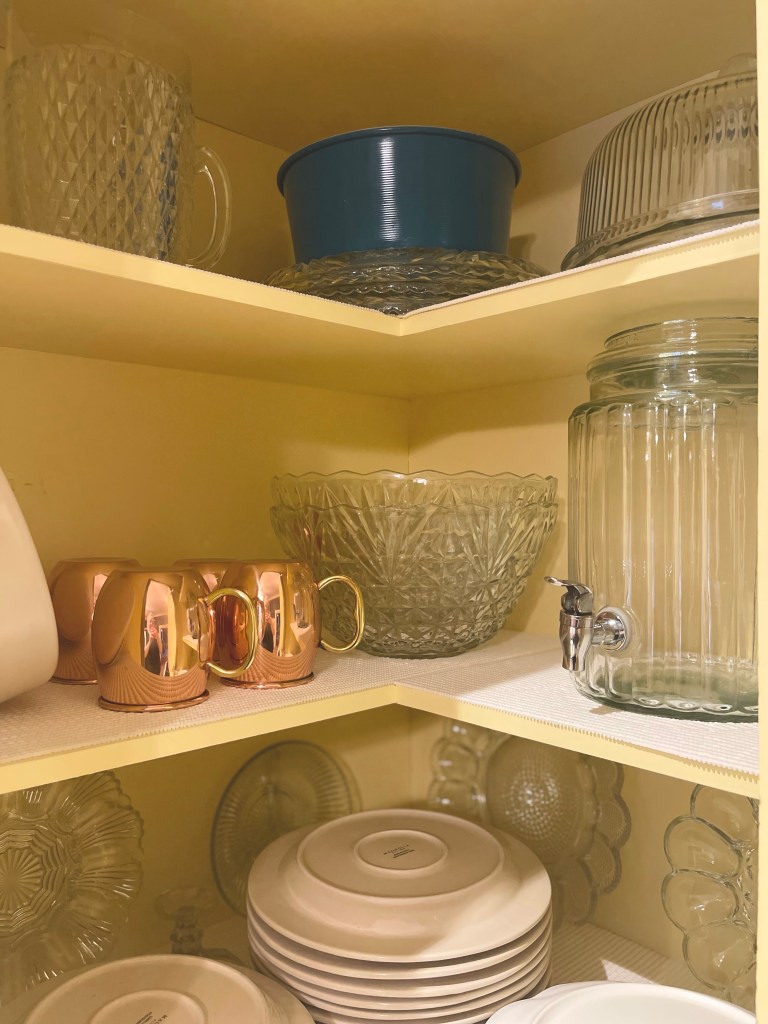
In the back of it, was a collection of deviled egg dishes as well as other serving plates.
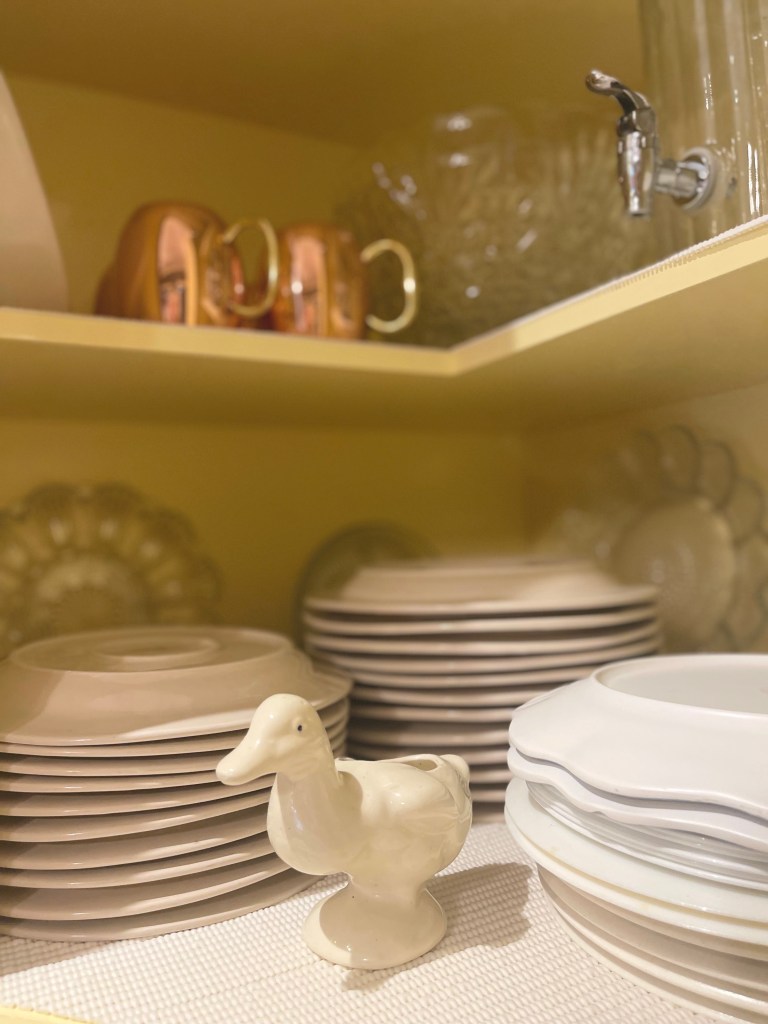
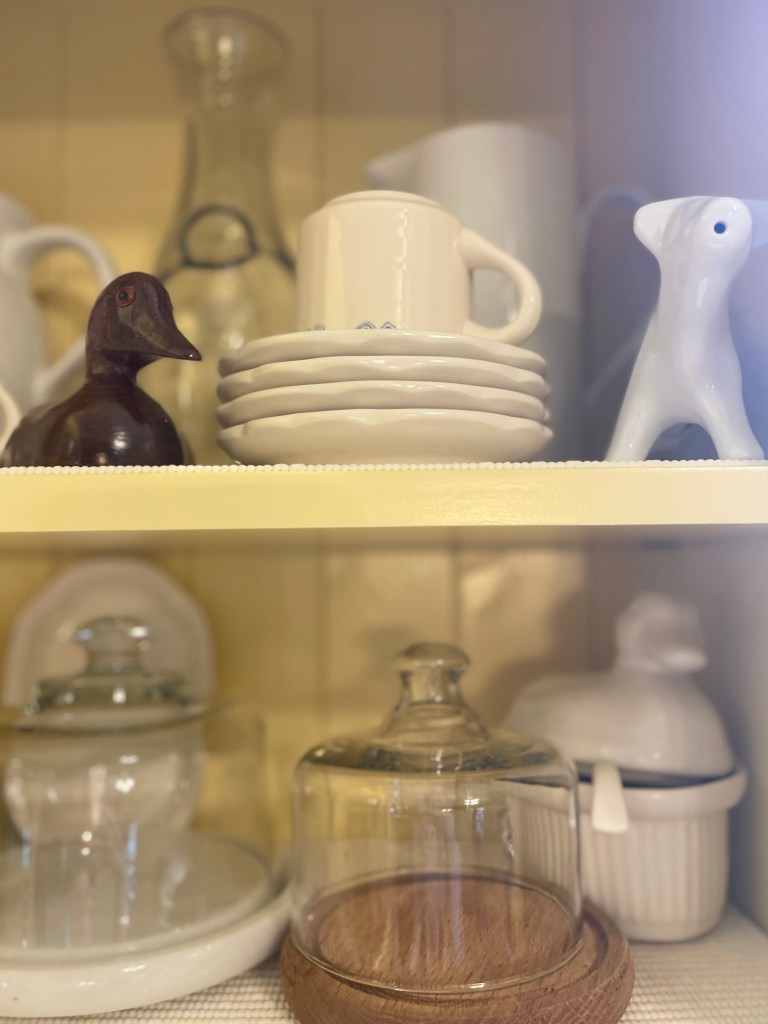
And why not end with something funky? Like my adorable white duck, it could be used for a variety of things. A serving dish, plant holder, soap holder…it was still up for debate in my mind.
THE CABINET ORGANIZING CONTINUED WITH THE ALLURING CHARM OF GLASS CABINETS
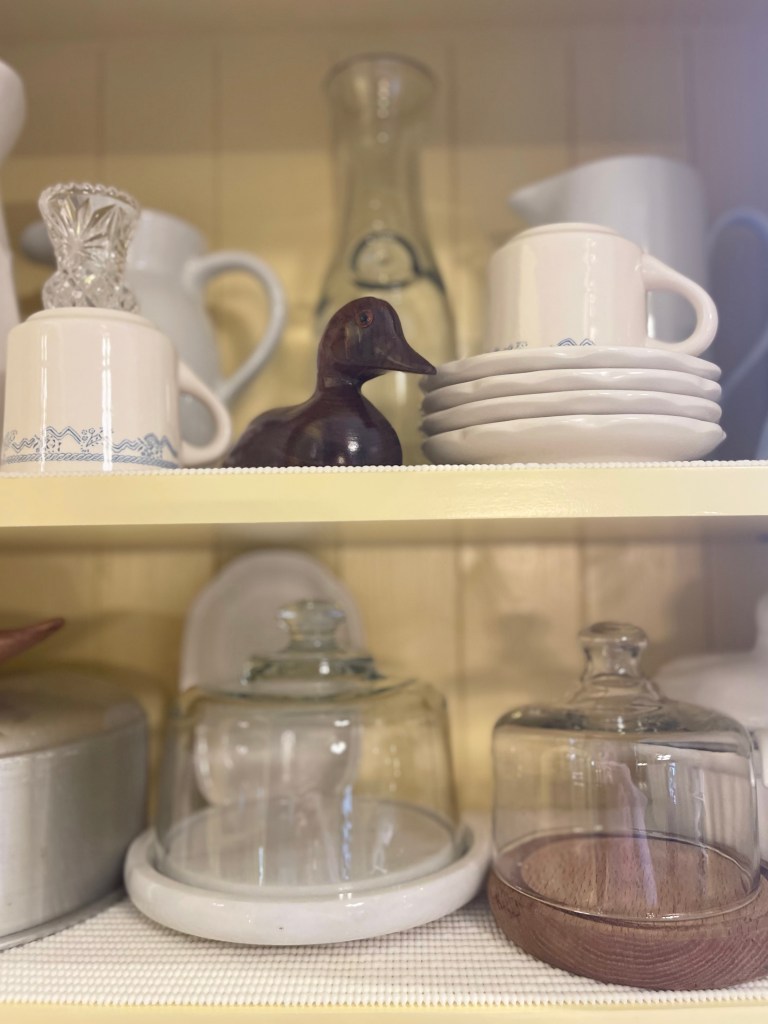
For years, I admired kitchens that had some glass cabinets. Growing up we never had these. It seemed so fun and dashing to style with collected pieces. I felt as if I had arrived at a new level to obtained them. It may seem silly, but I felt grateful and honored to style my very own. A task I sought to do well. Adding personality to beam from those glass doors. To elevate them more we had added the v-groove beadboard to the interior backing before we had them painted.
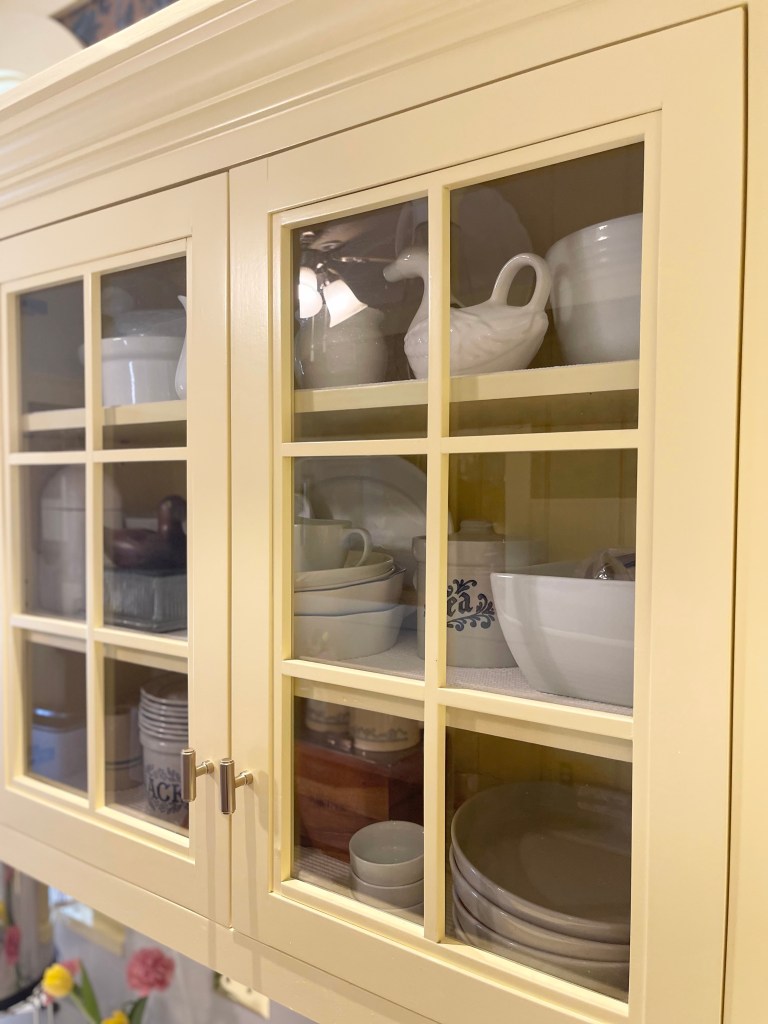
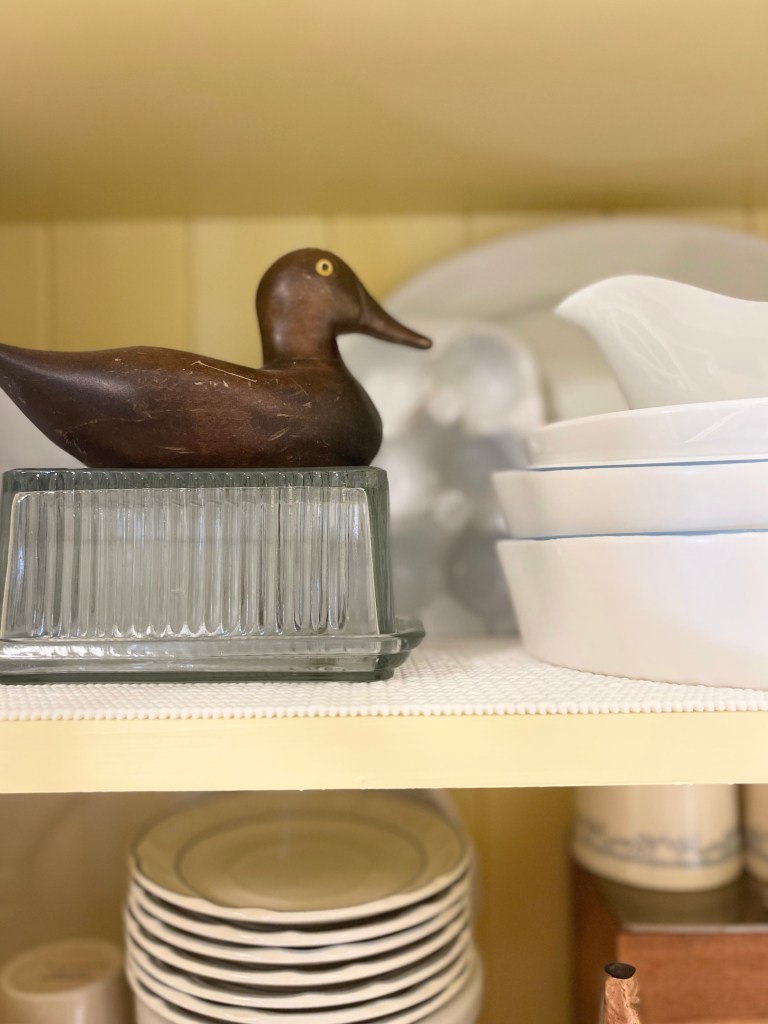
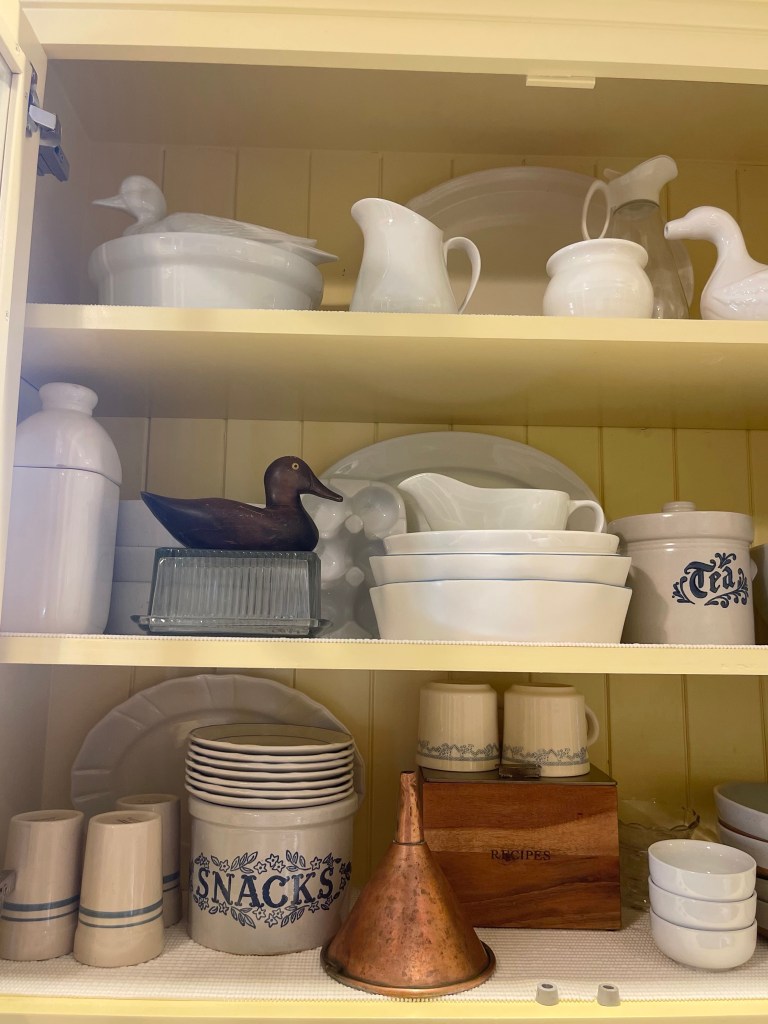
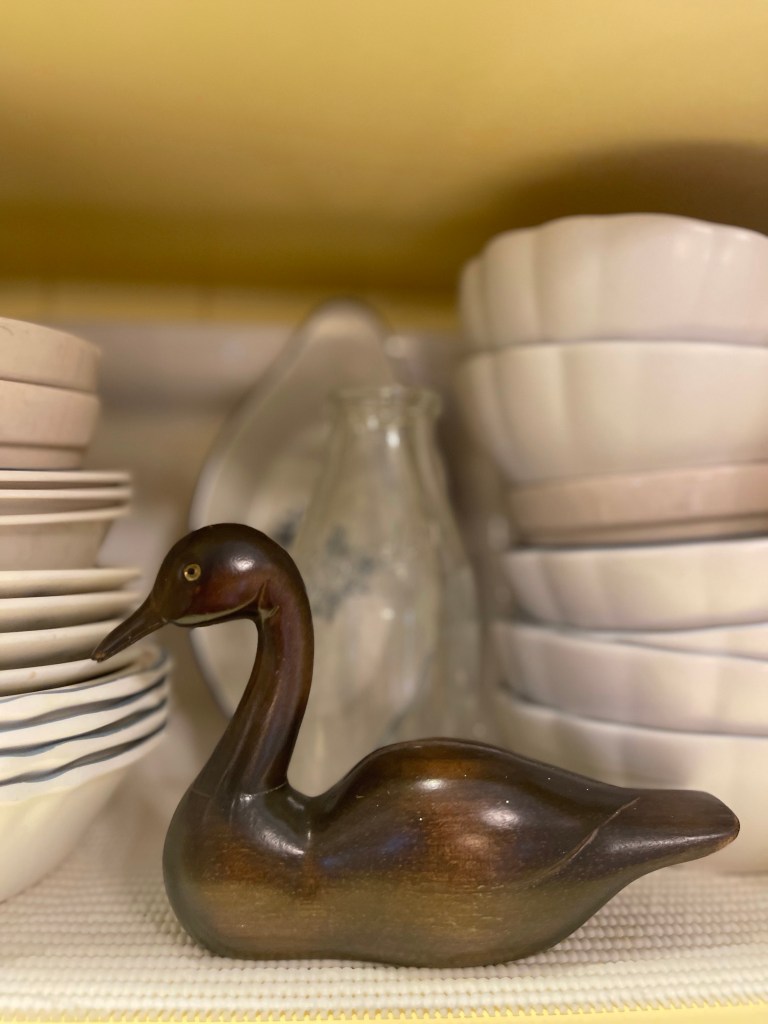
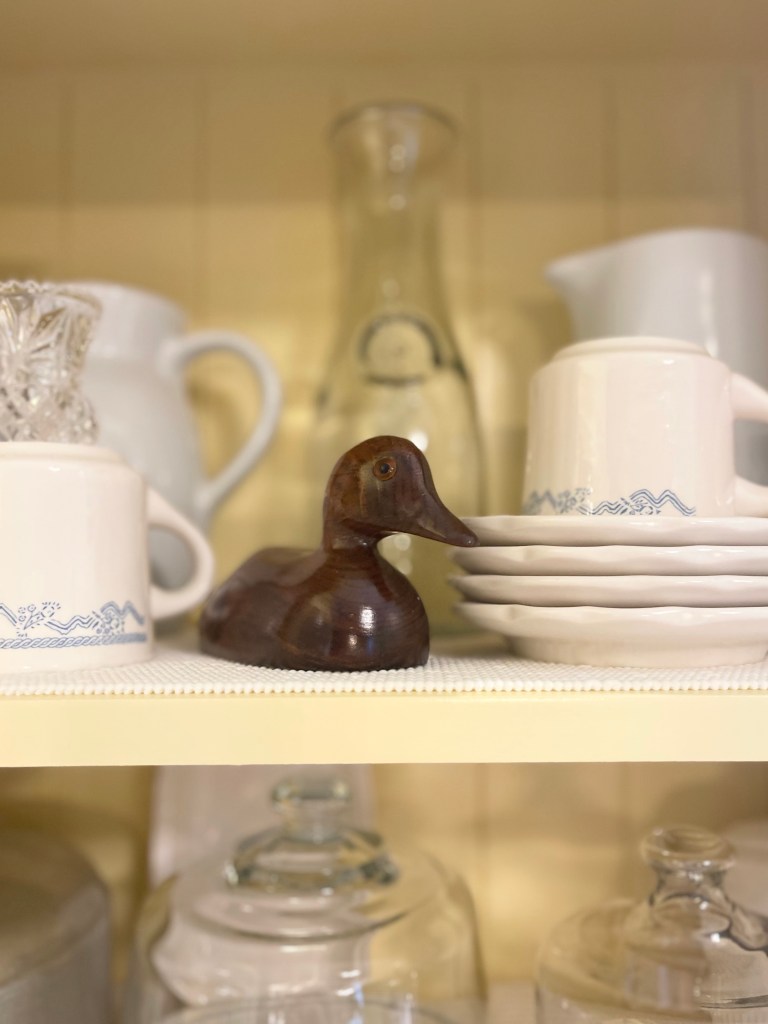
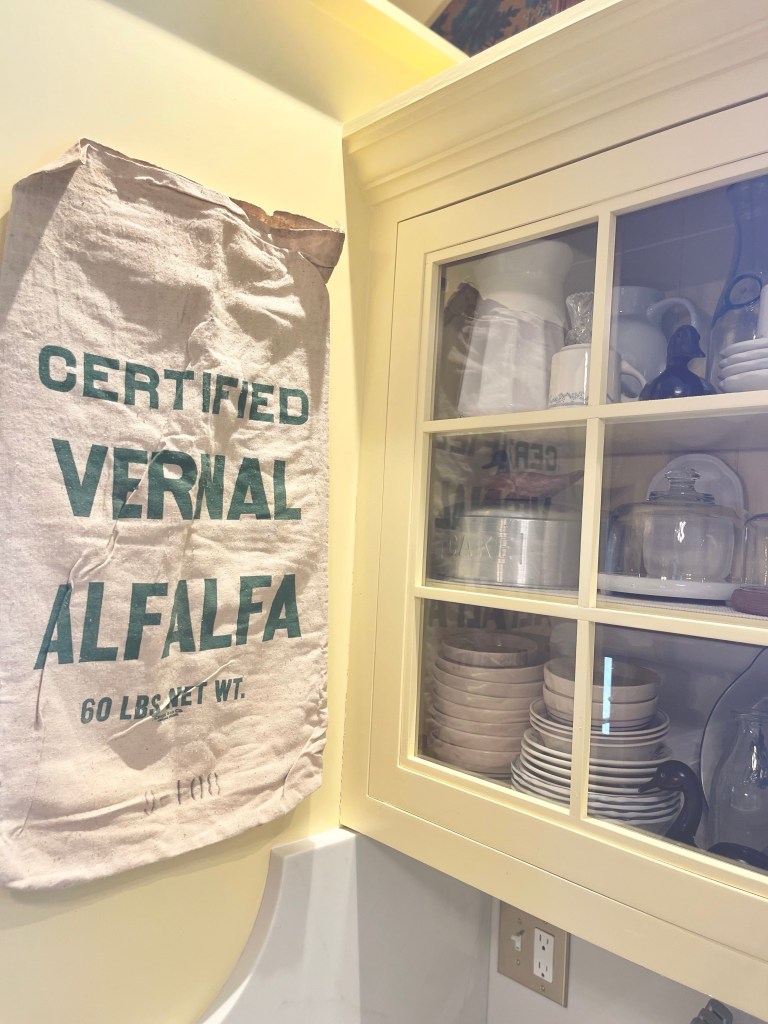
Debuting inside was my collection of wooden ducks, copper findings, vintage cake and cheese covers, a few of our original Food Network white dishes that Tom and I felt so cool to get in the early years of our marriage with our Kohls cash—anybody else score like this!?
Continuing on my styled goodies inside, new and thrifted bowls carrying the blue and white theme, my beginning collection of Pfaltzgraff pieces, as well as an array of gravy and casserole dishes, vintage mugs, ramekins and platters. Basically—a cabinet packed with decorating goodness for whatever occasion we were having. All following an orderly, pleasant, styling array that could be varied as I saw fit.
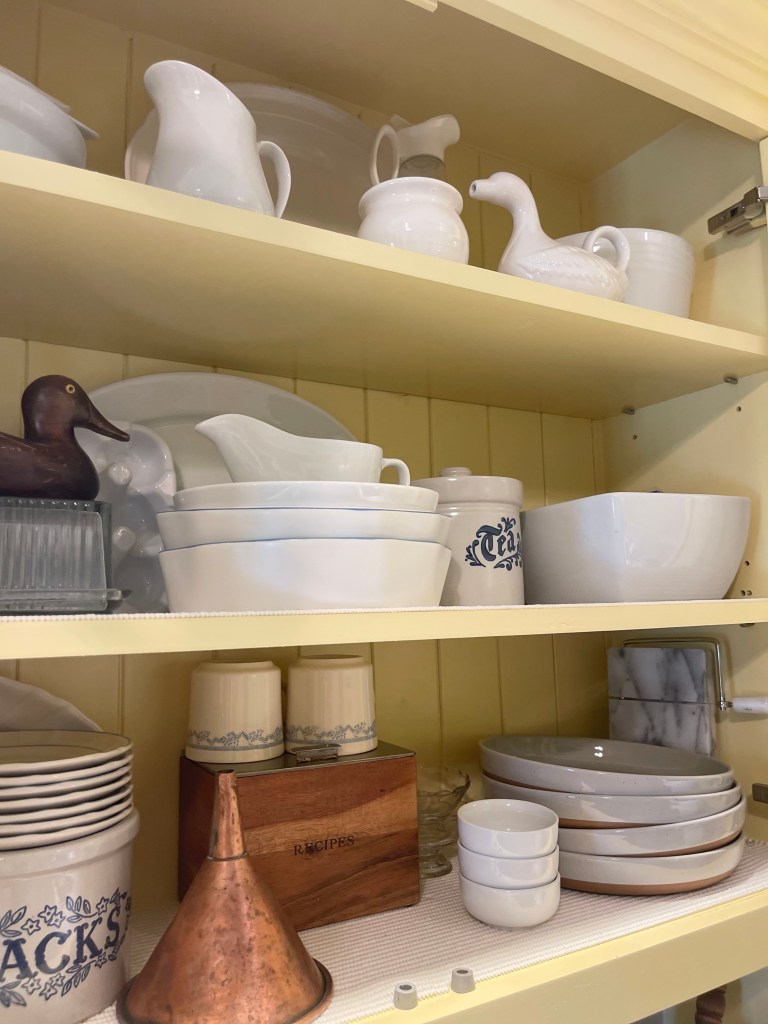
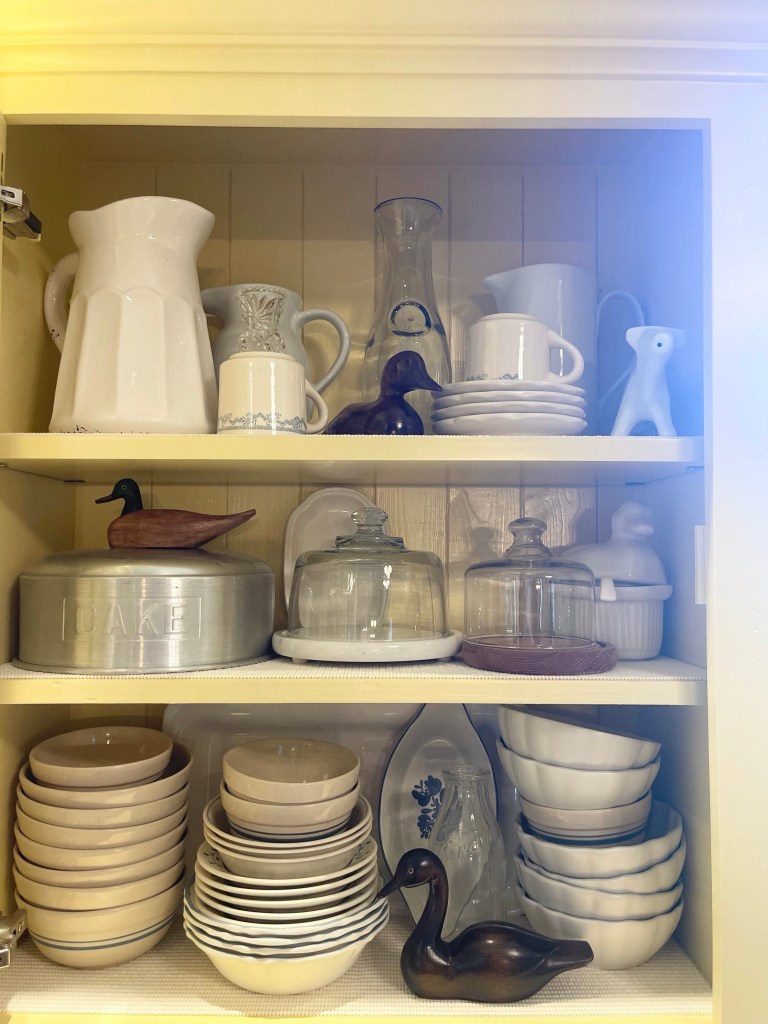
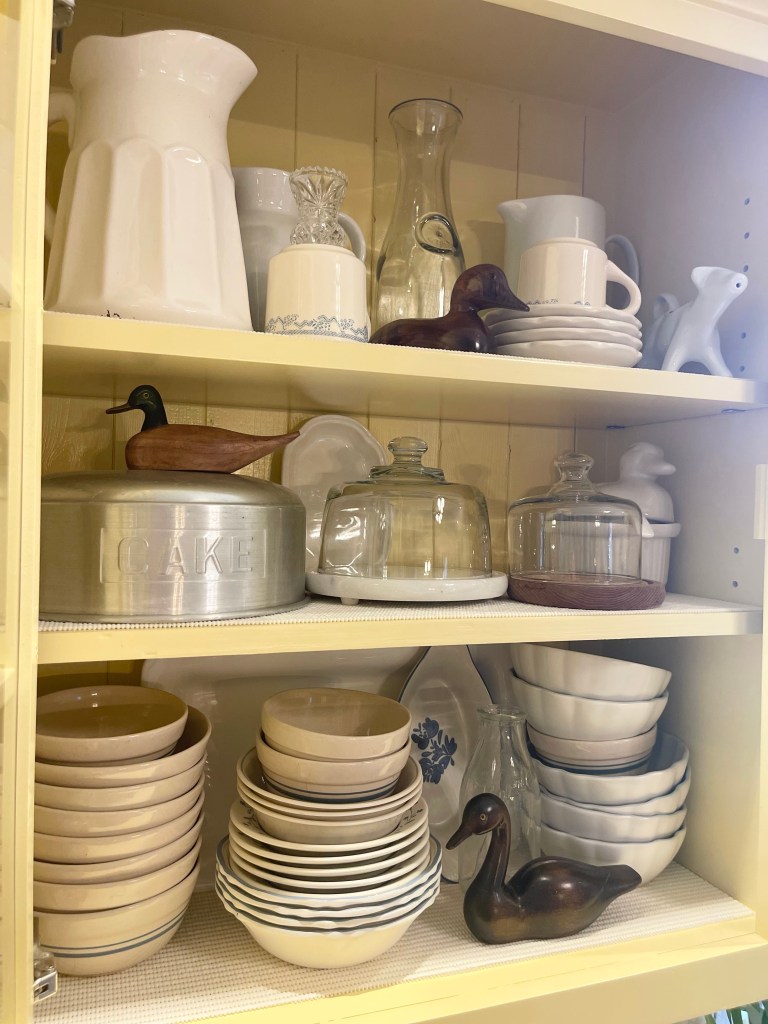
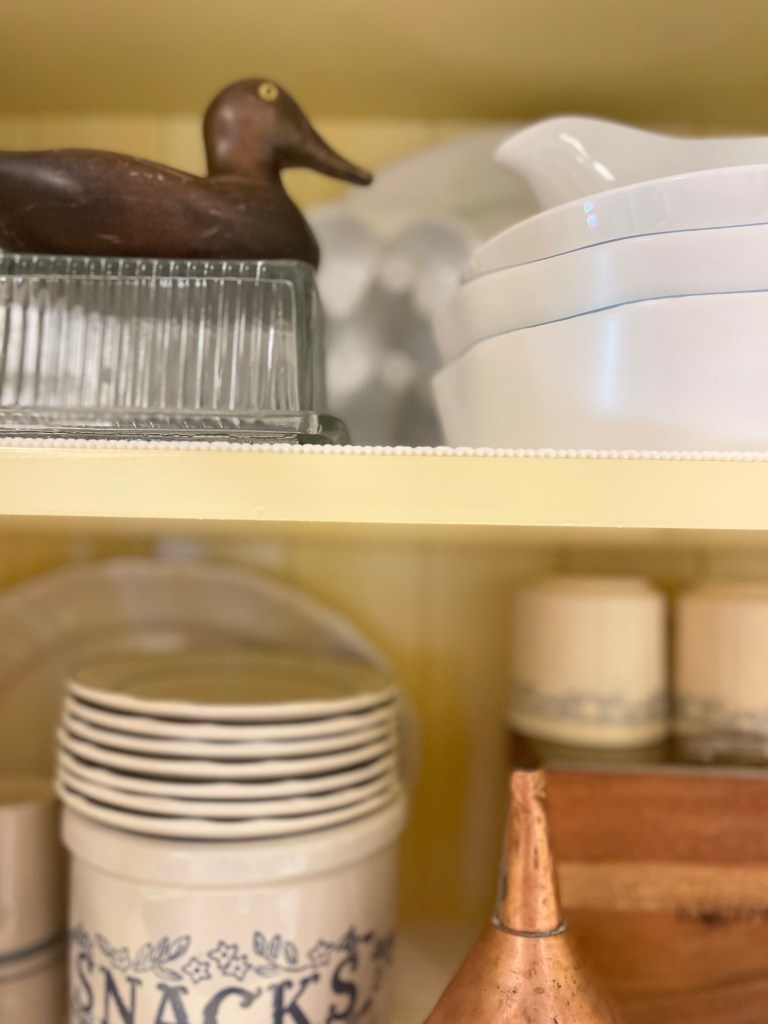
THE DRAWER ORGANIZATION
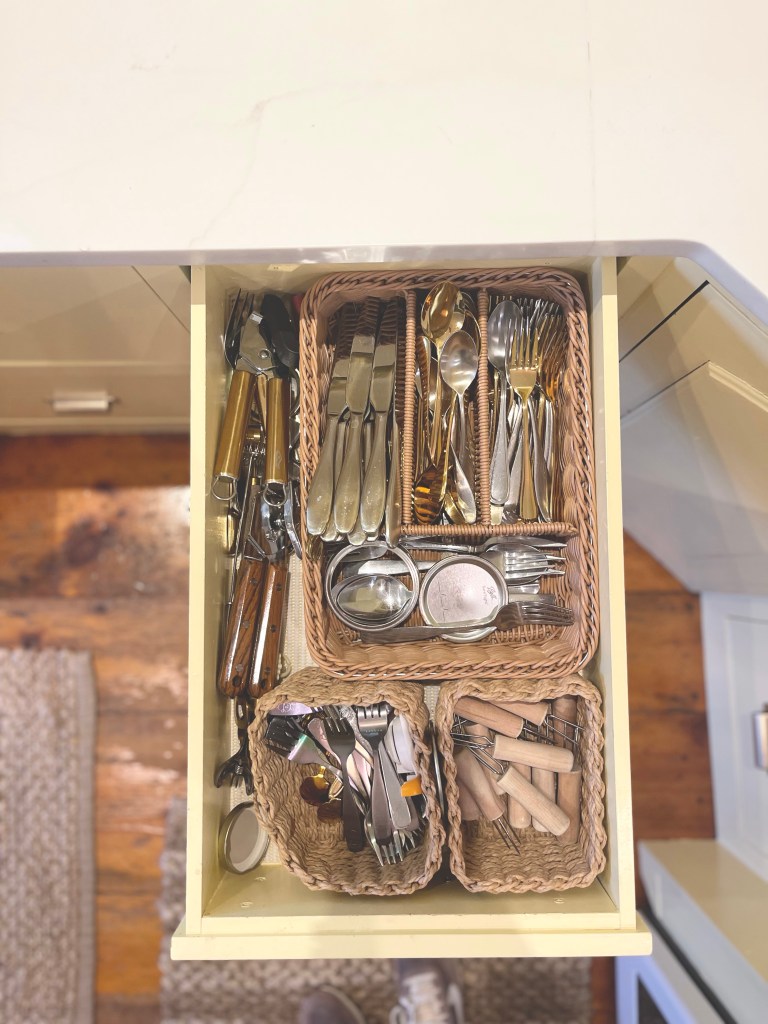
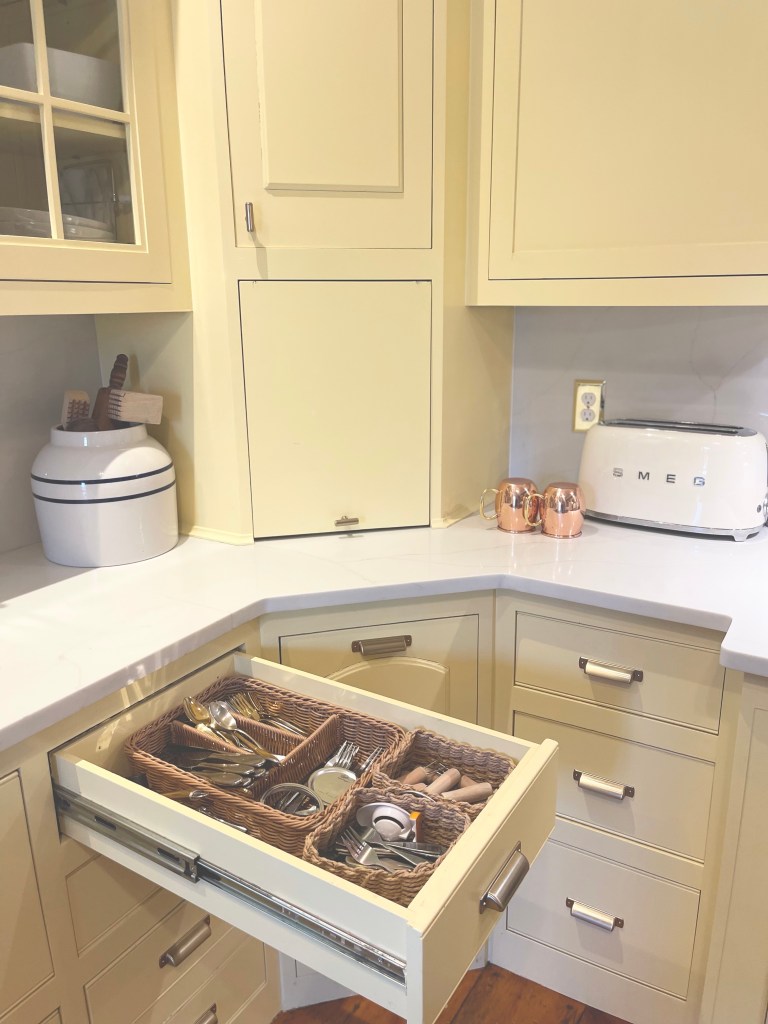
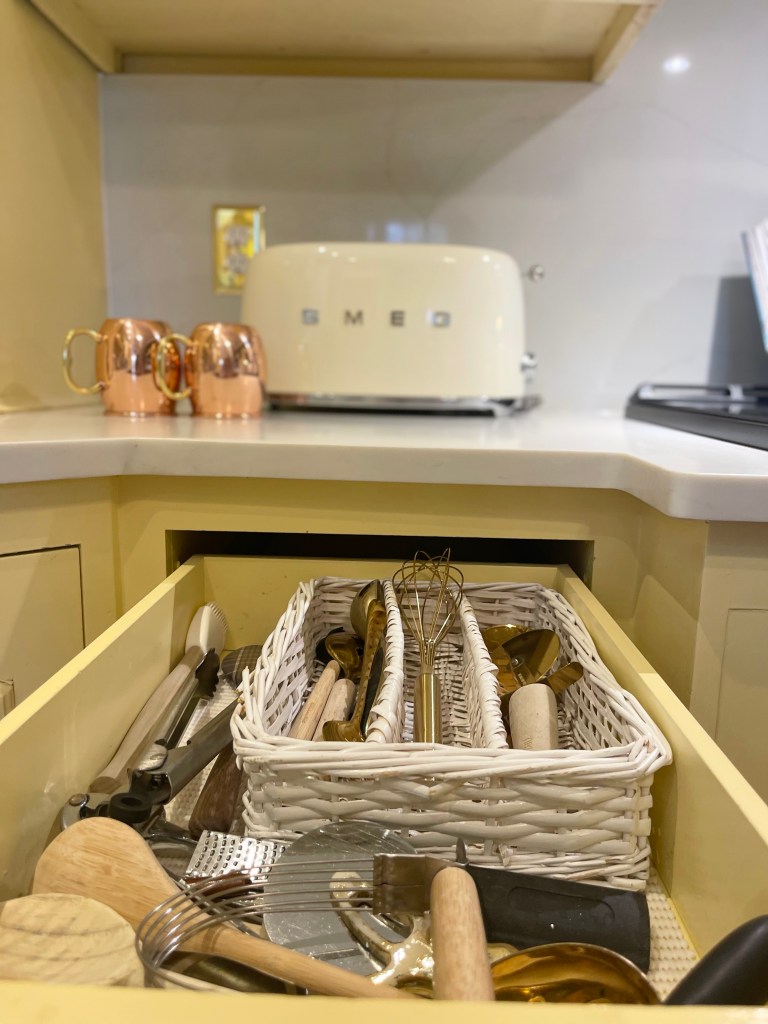
I utilized my collection of basket and wicker utensil organizers to create the most efficient and pretty function for our home. Placing items where I saw made the most sense for our use of the space.
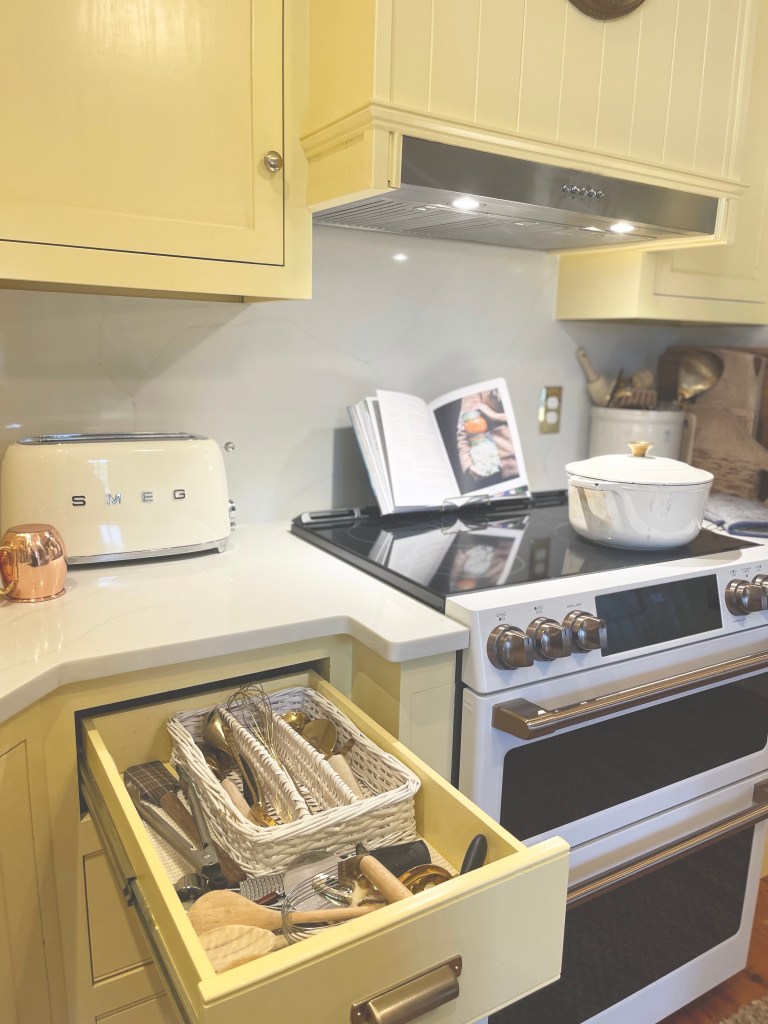
UPGRADED APPLIANCES
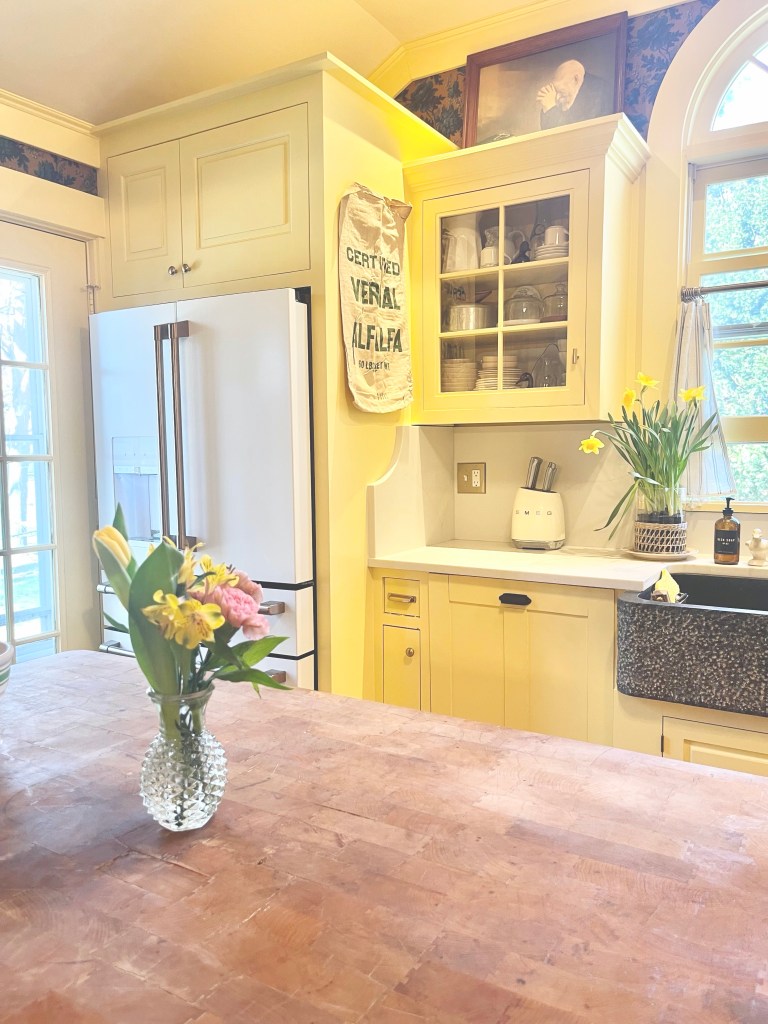
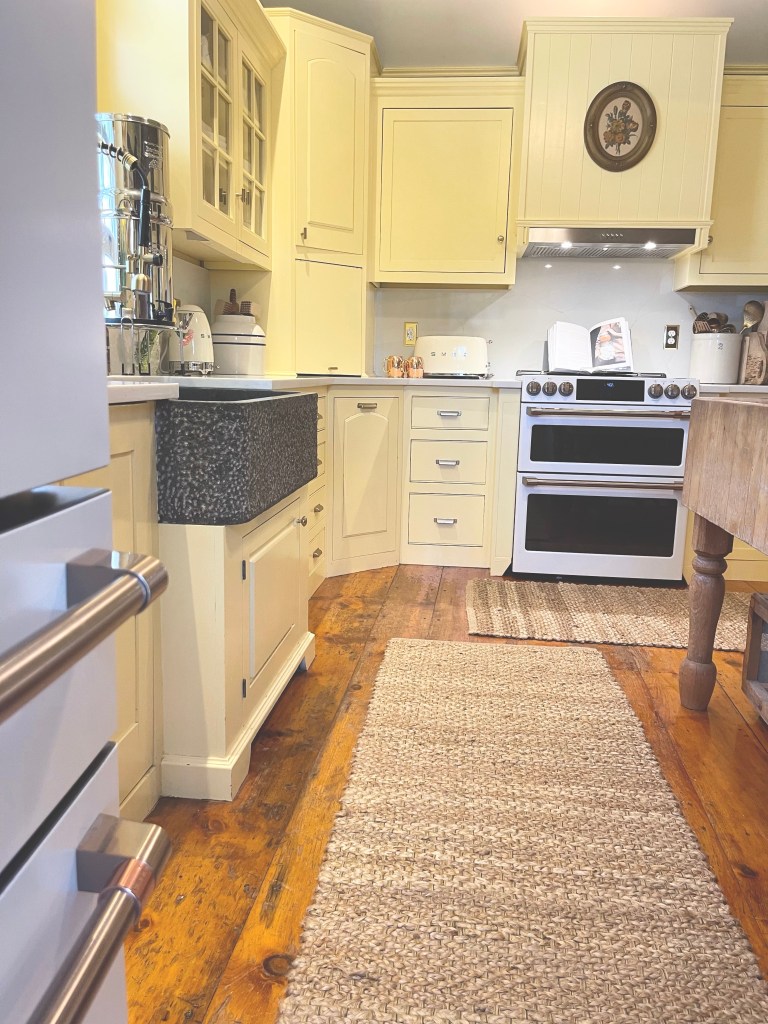
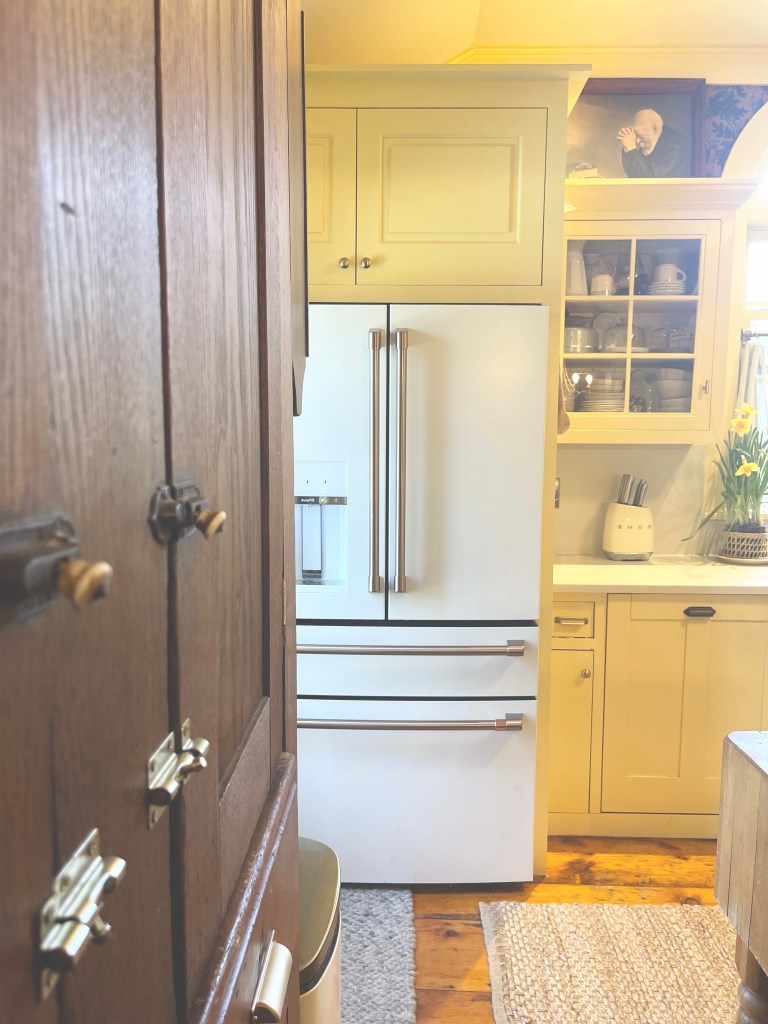
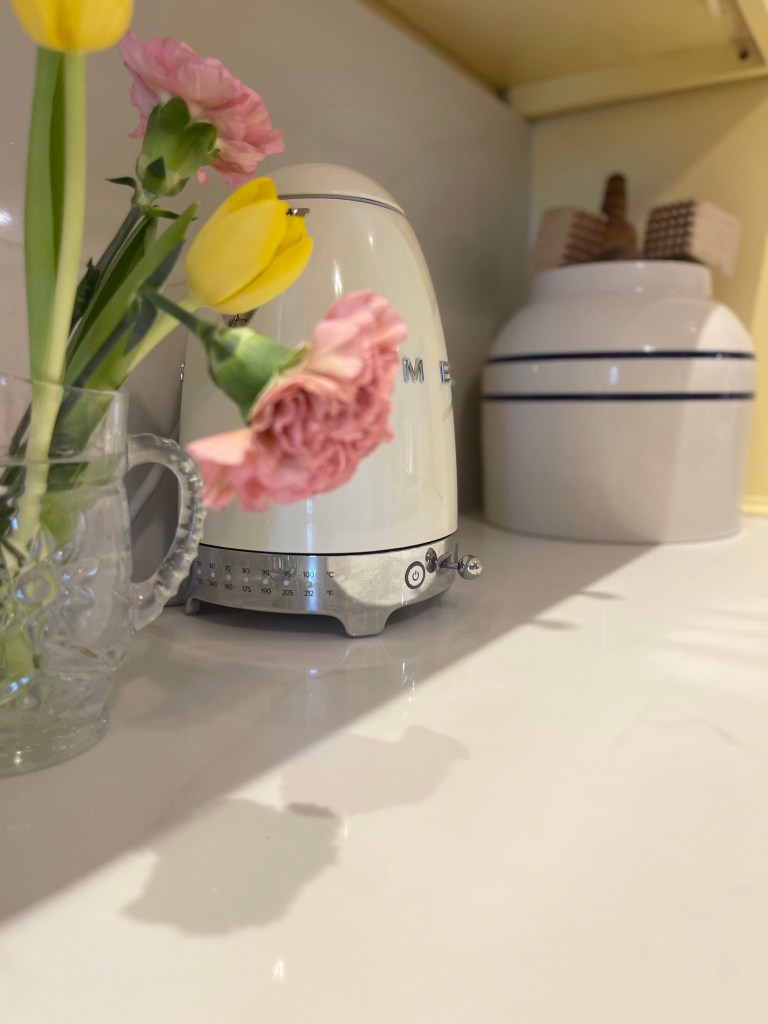
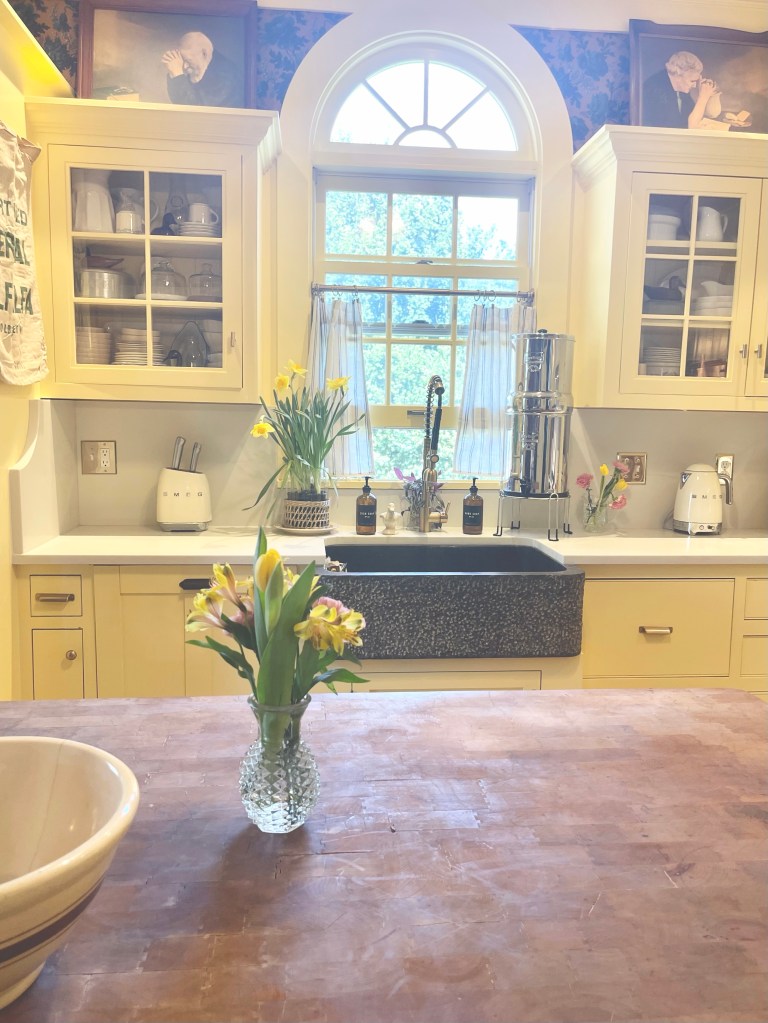
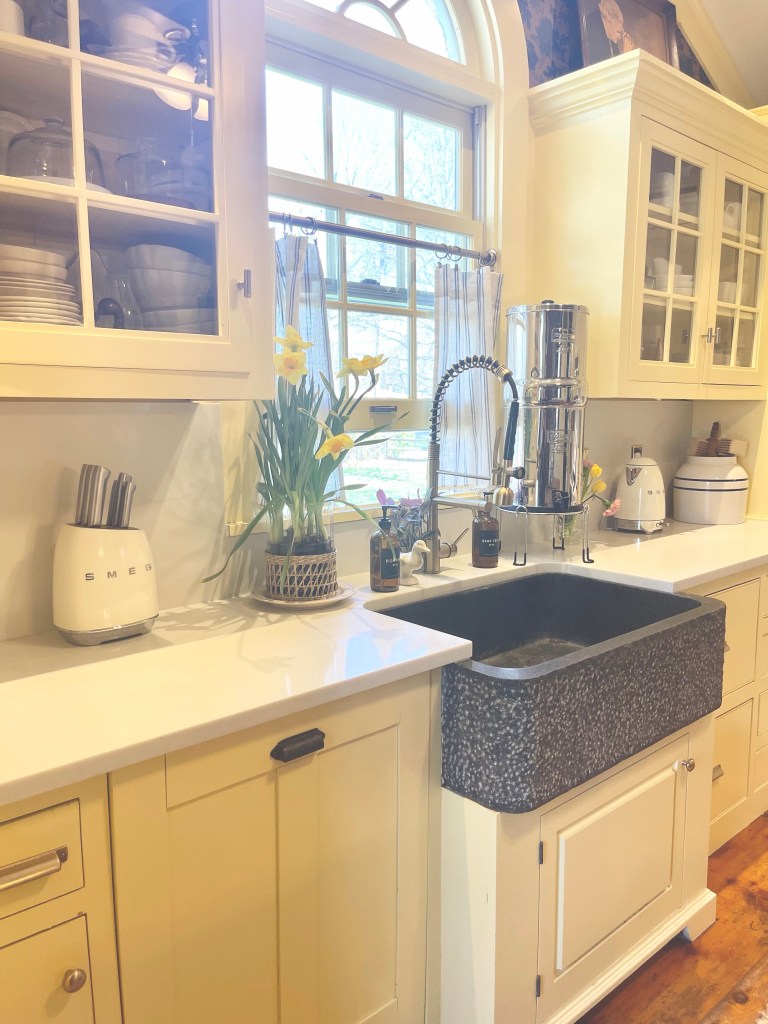
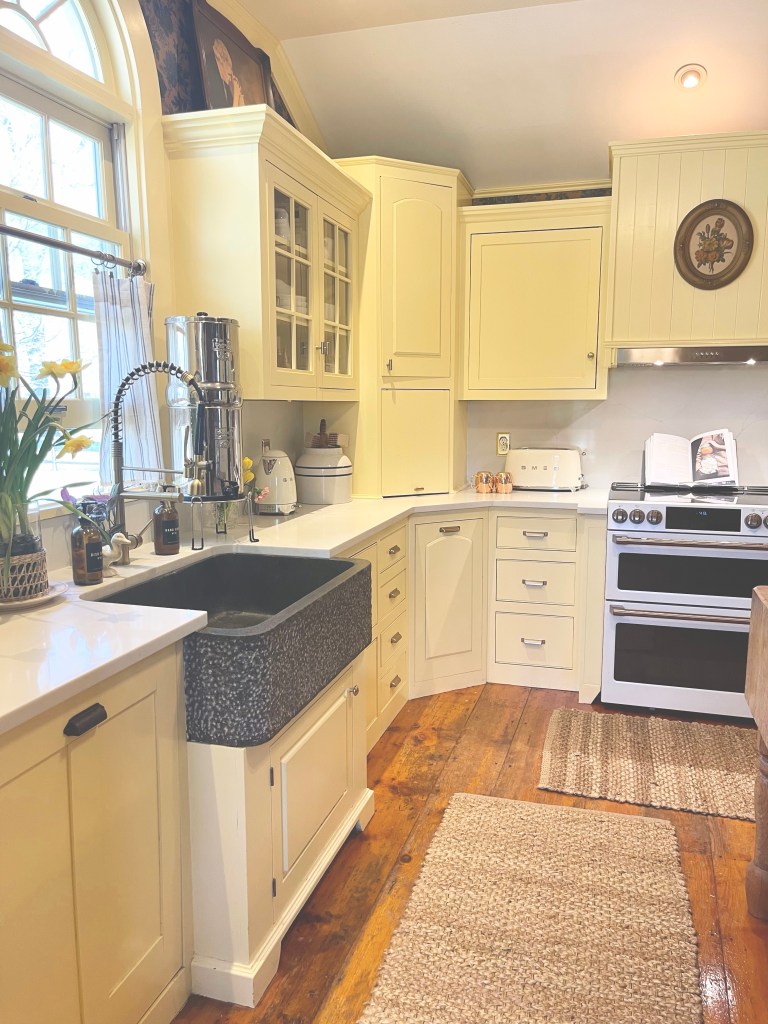
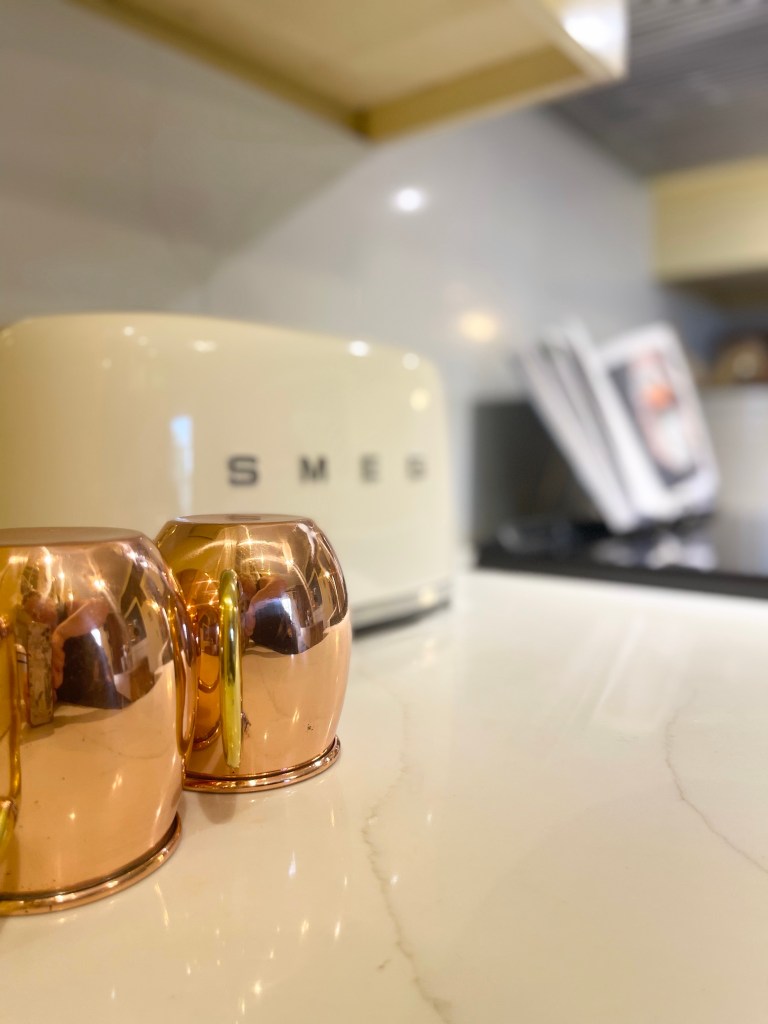
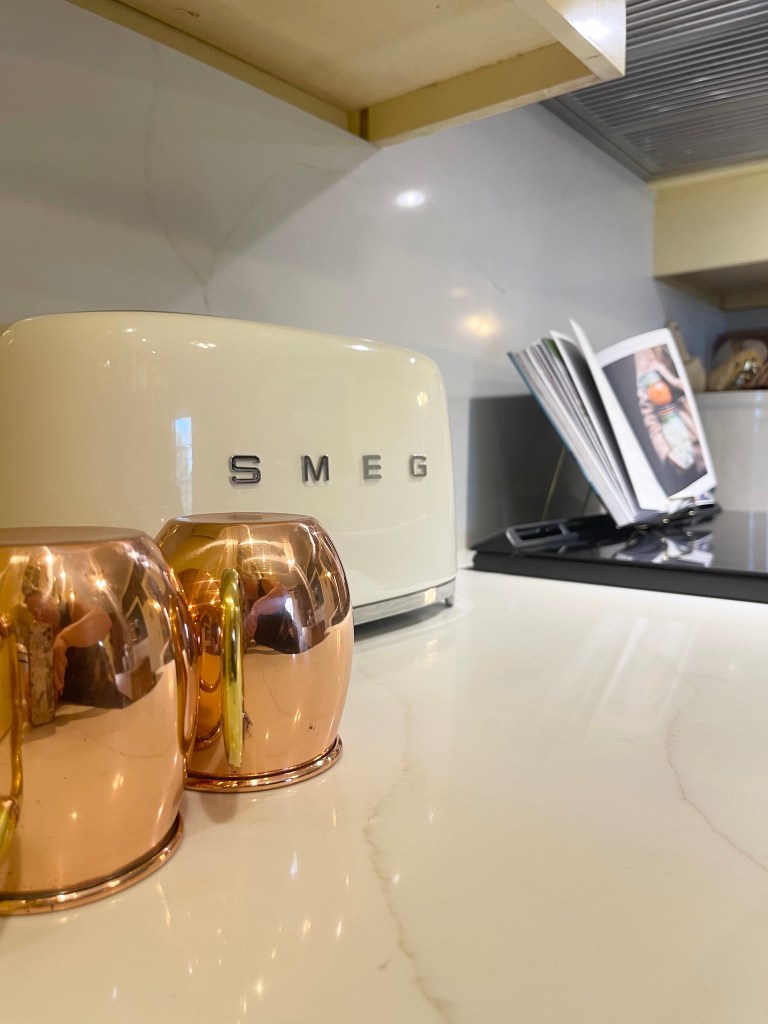
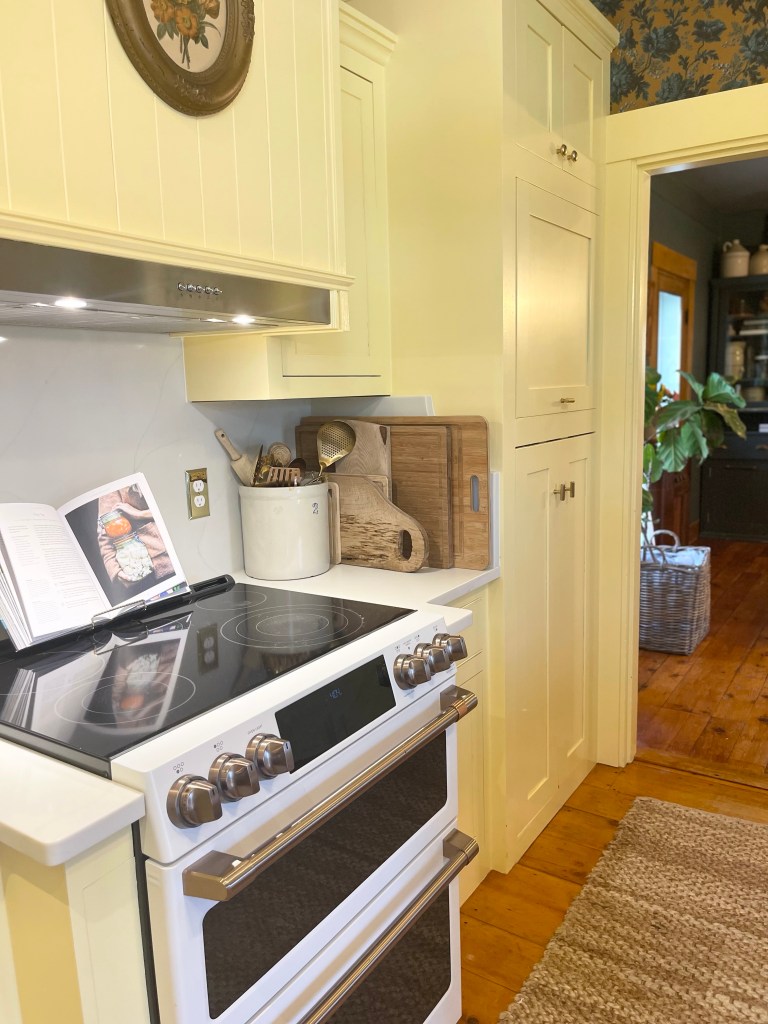
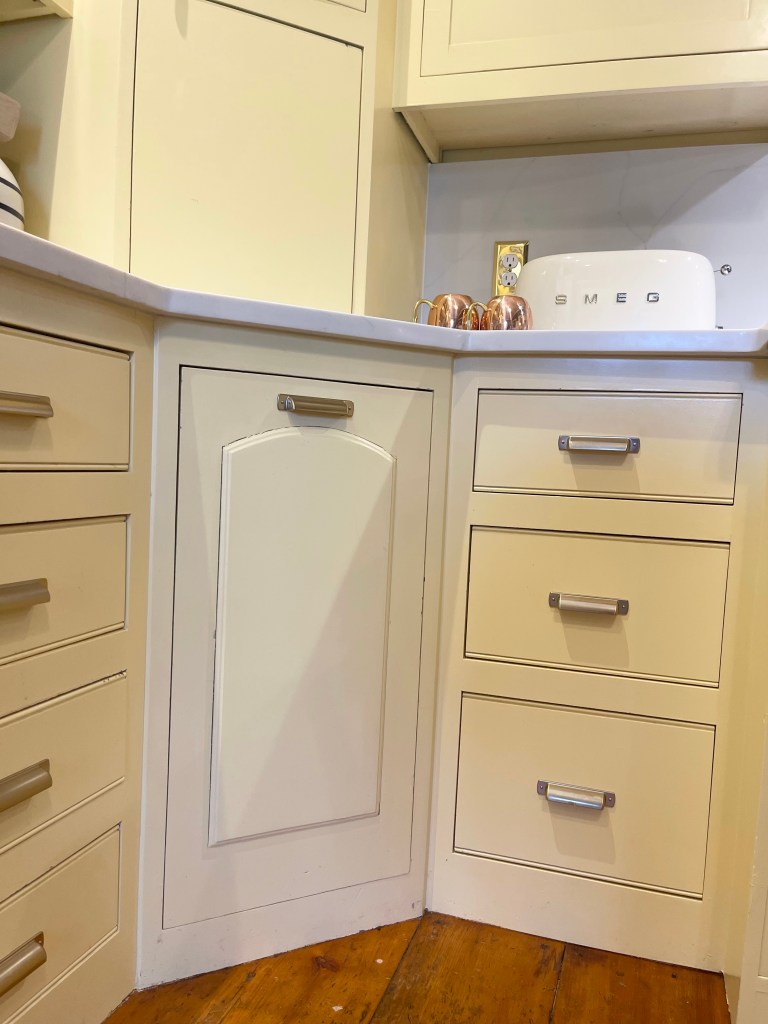
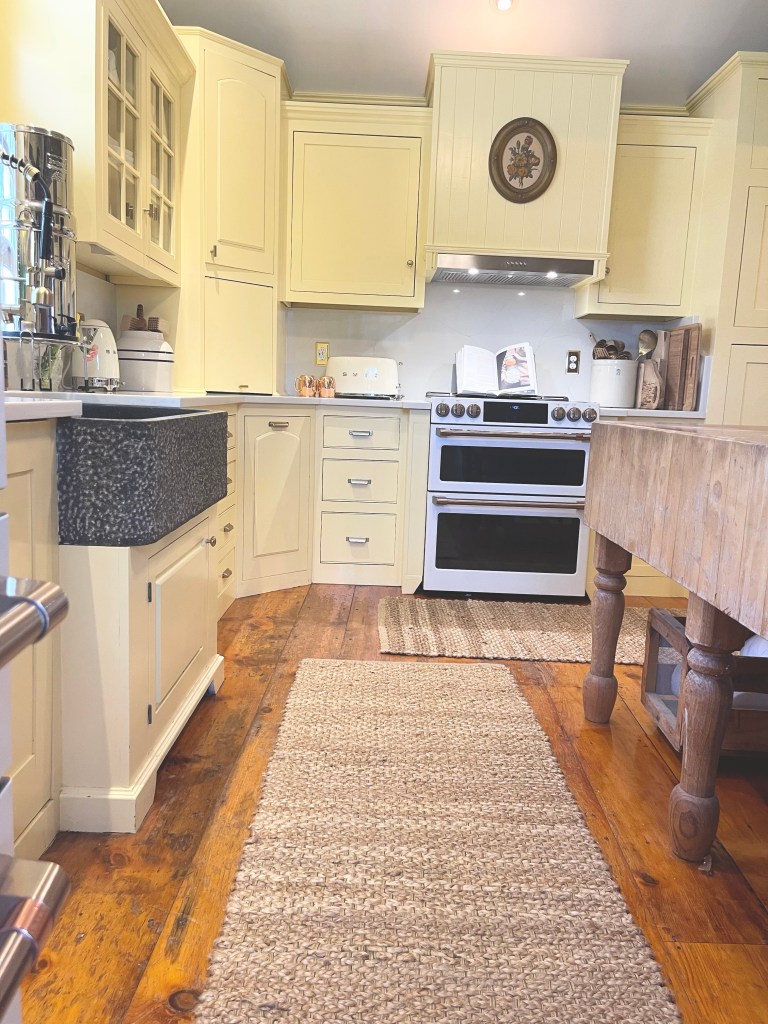
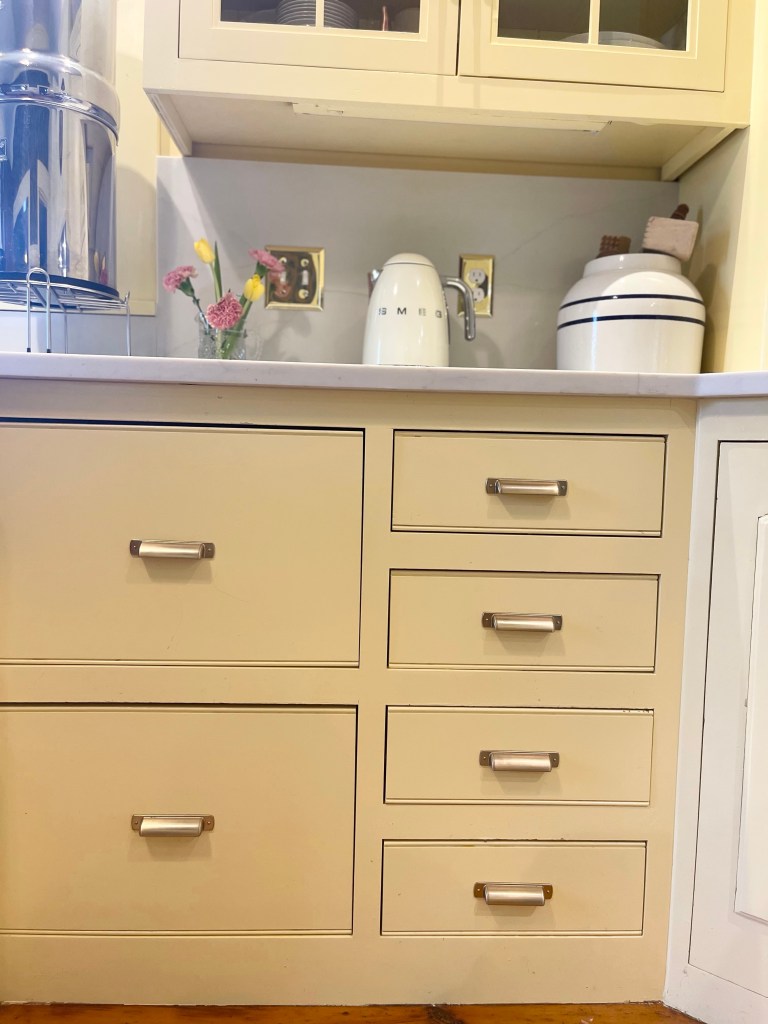
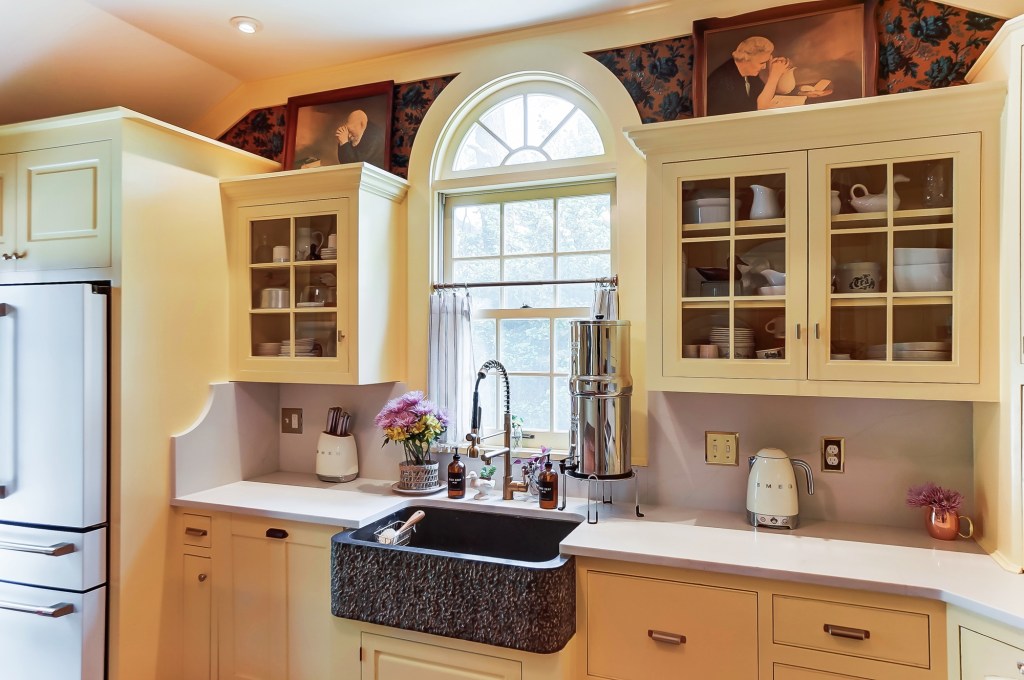
We upgraded to cream SMEG appliances. Seeing how beautifully they looked in so many examples along the way. This elevated the kitchen to a new level of sophistication and flowed adoringly with the new Café fridge and stove we purchased.
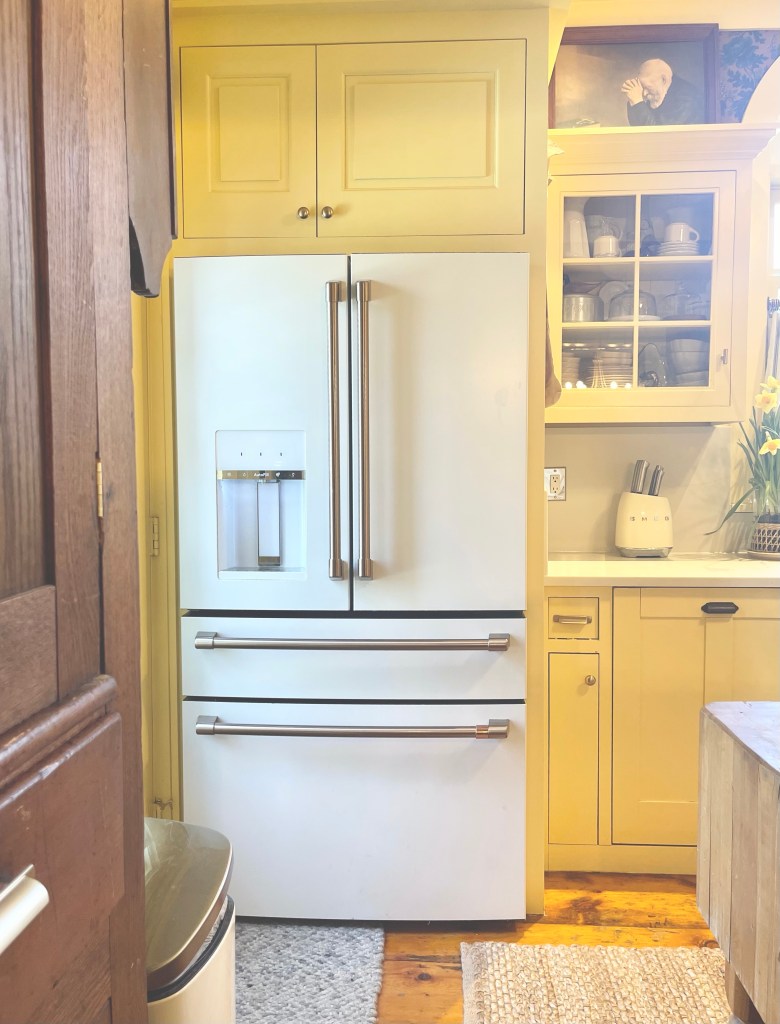
THE OVERALL INNER WORKINGS
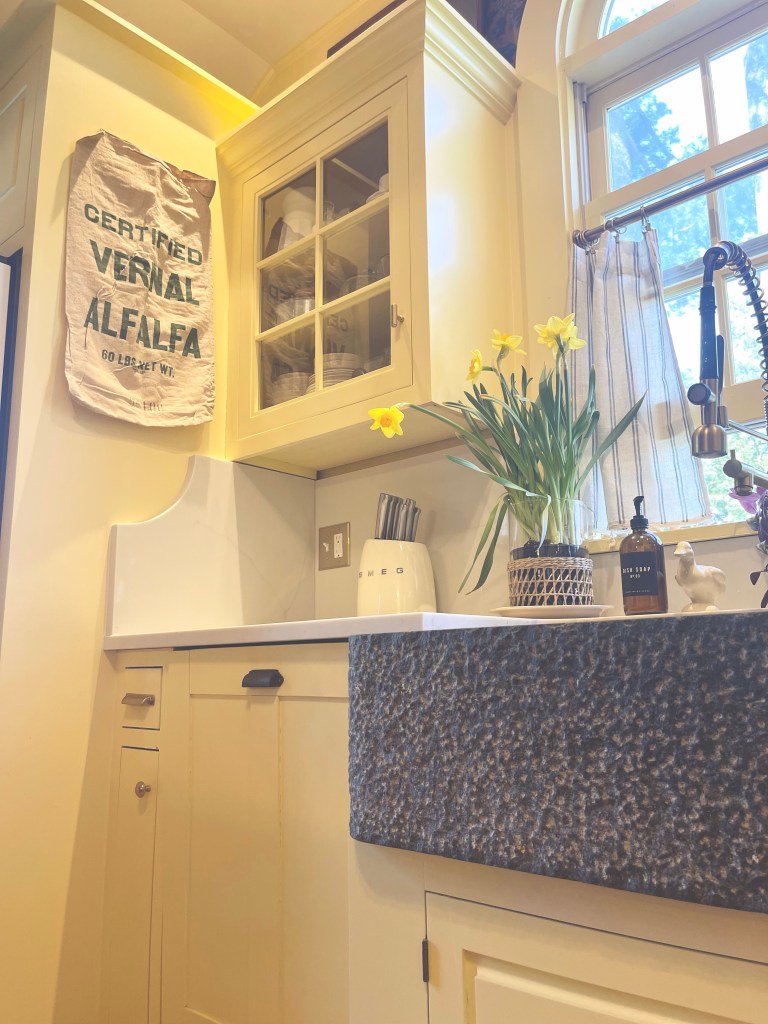
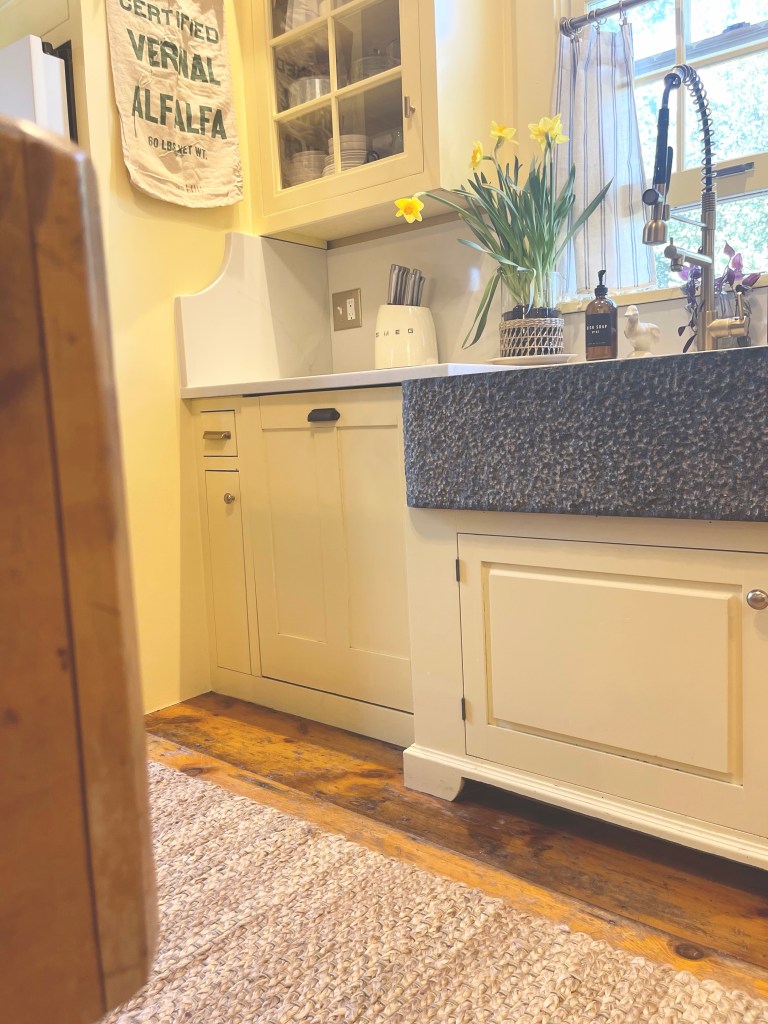
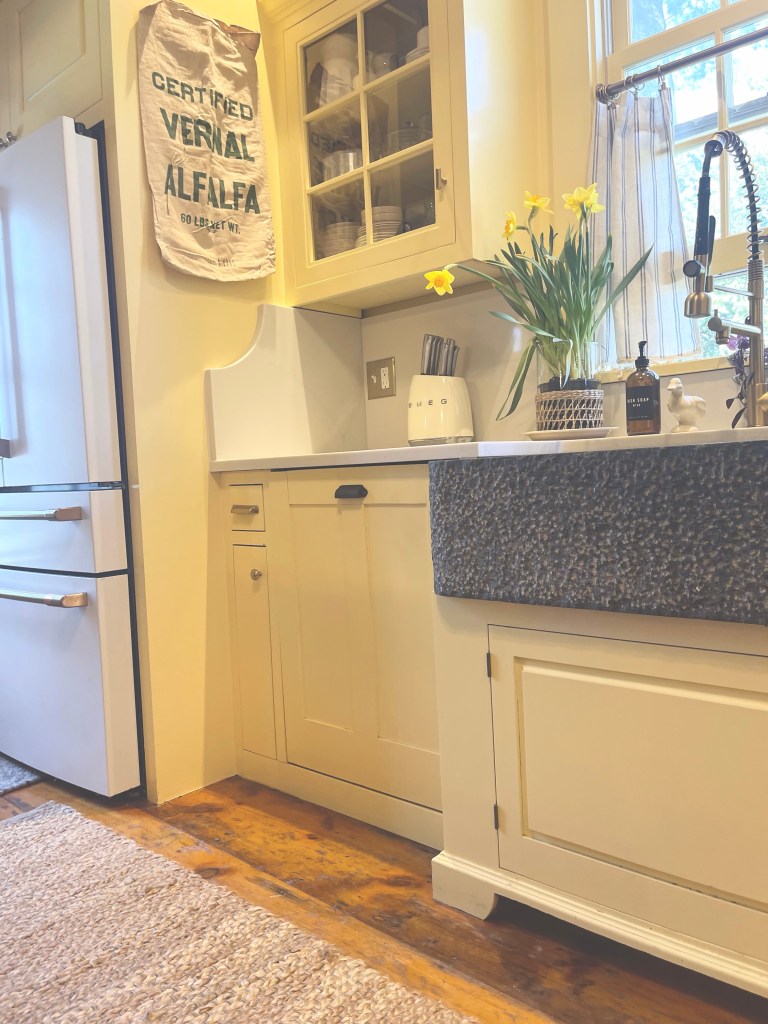
Once the core styling function and organizing were complete in the space, I finished off the rest with a mix of picked’ and found items. Mainly adding pieces for function but not lacking character. I used matching soap dispensers for both hand soap and dish soap for unity at the sink, old jugs for quick grab utensils, placed artwork that was meaningful to our family as well as an old alfalfa sack that matched the kitchen vibe.
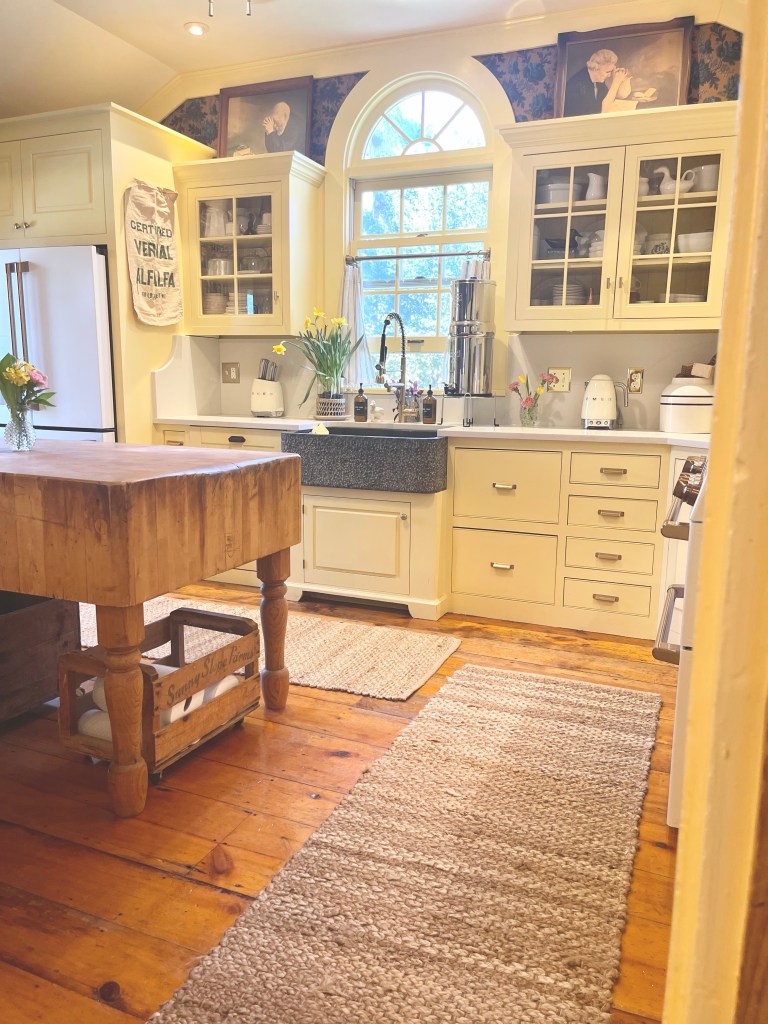
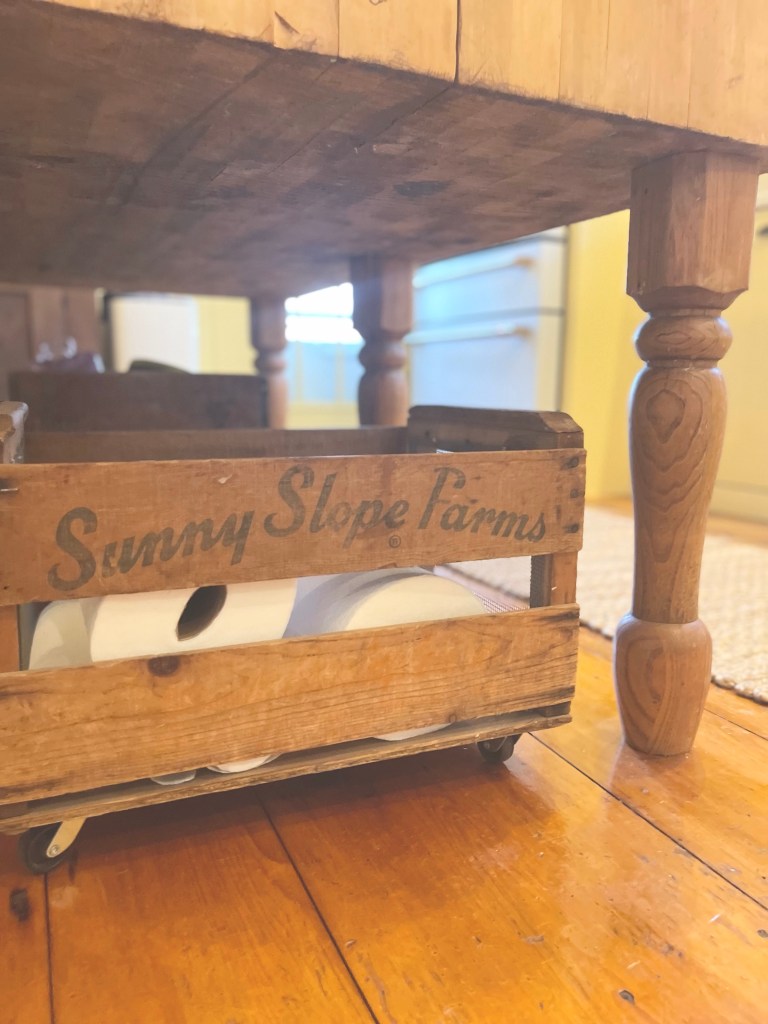
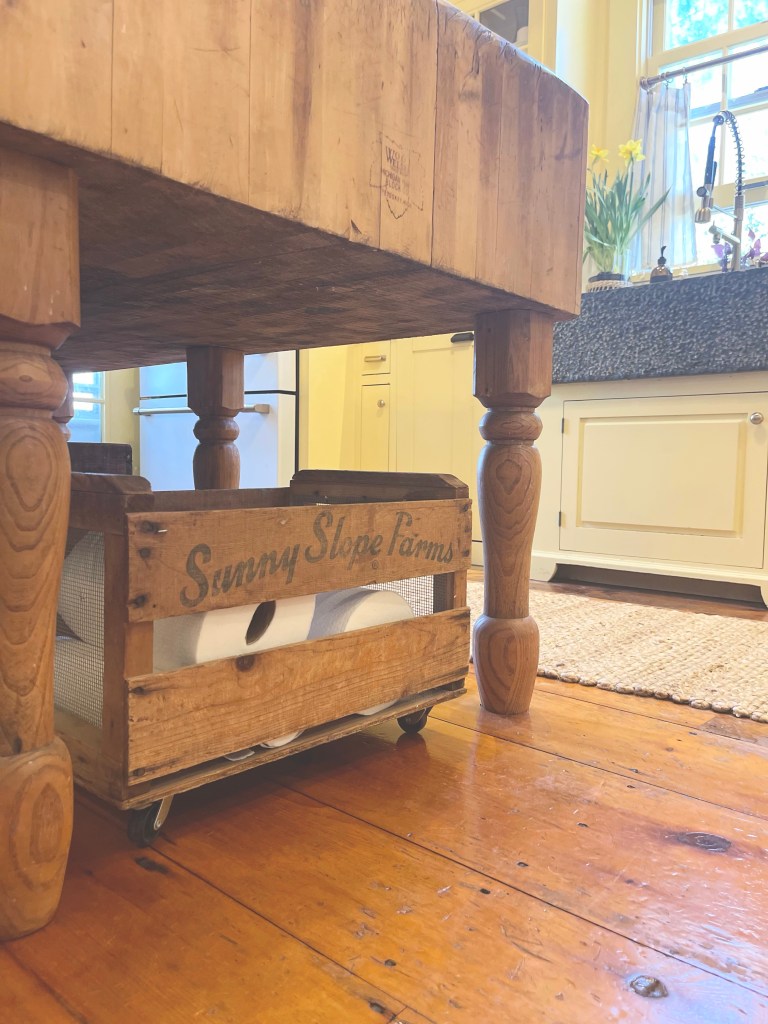
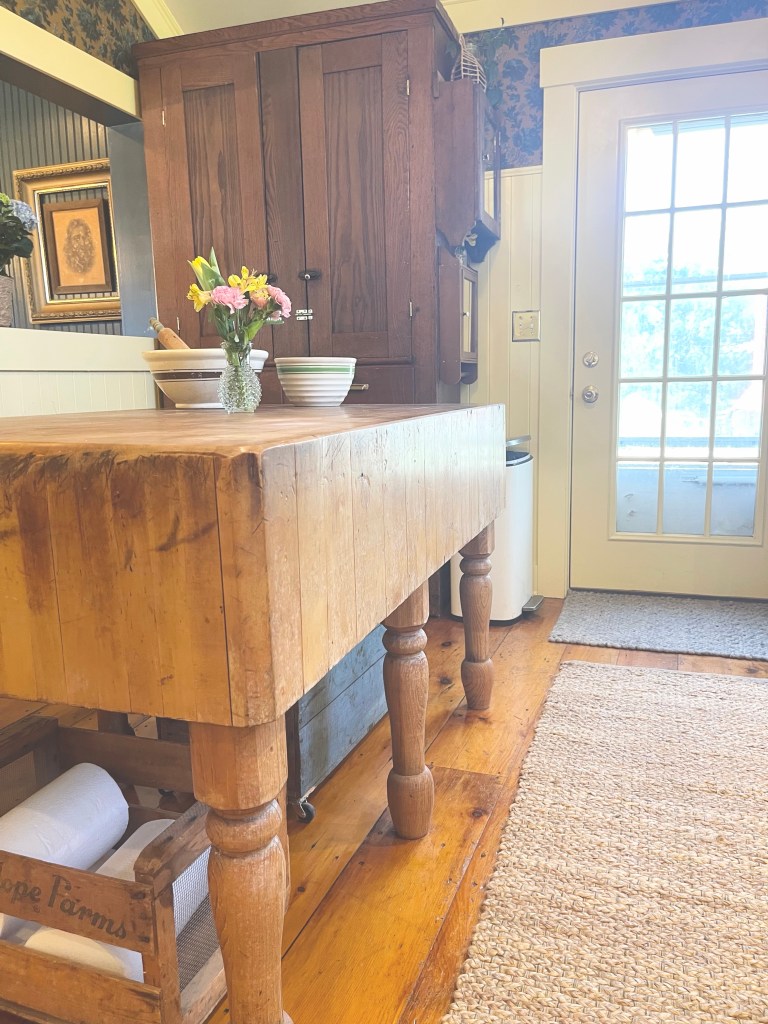
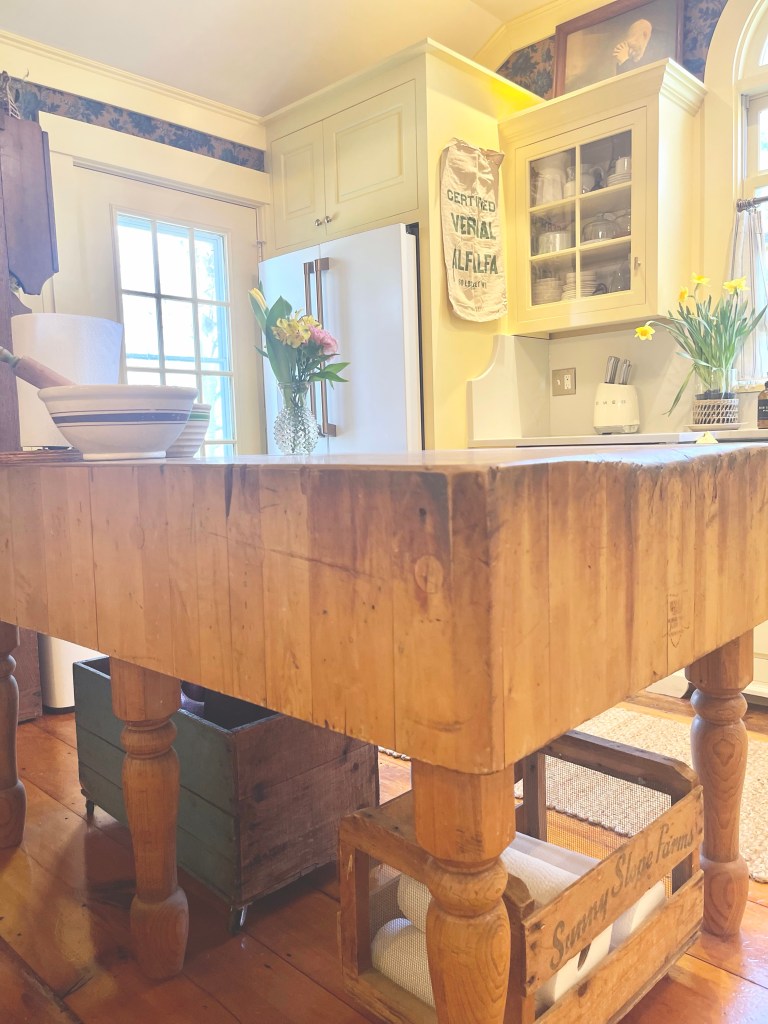
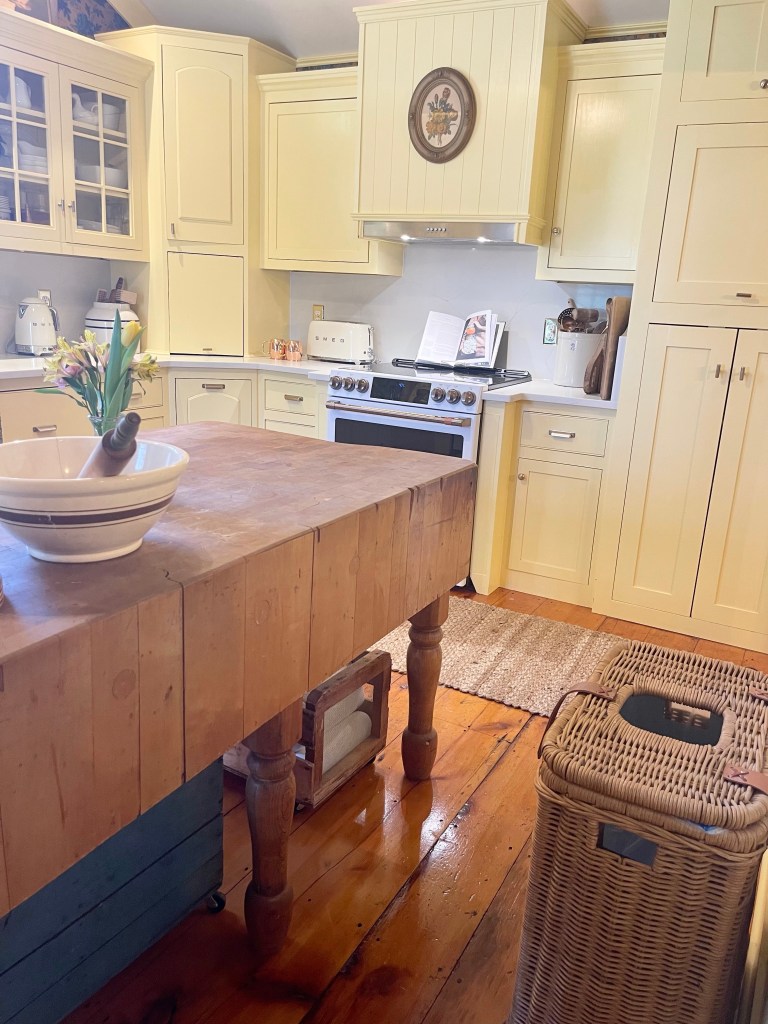
We utilized old crates and antique boxes that we adding wheels to for easy use. They worked as storage for paper towels or mud boots under the large butcher block table, which by the way was an absolute show piece in the space. The Sunny Slope Farms crates that we customized with wheels, were purchased at one of our first Country Living Fairs we attended at the Columbus, Ohio, Fairgrounds. Useful, functional, beautiful.
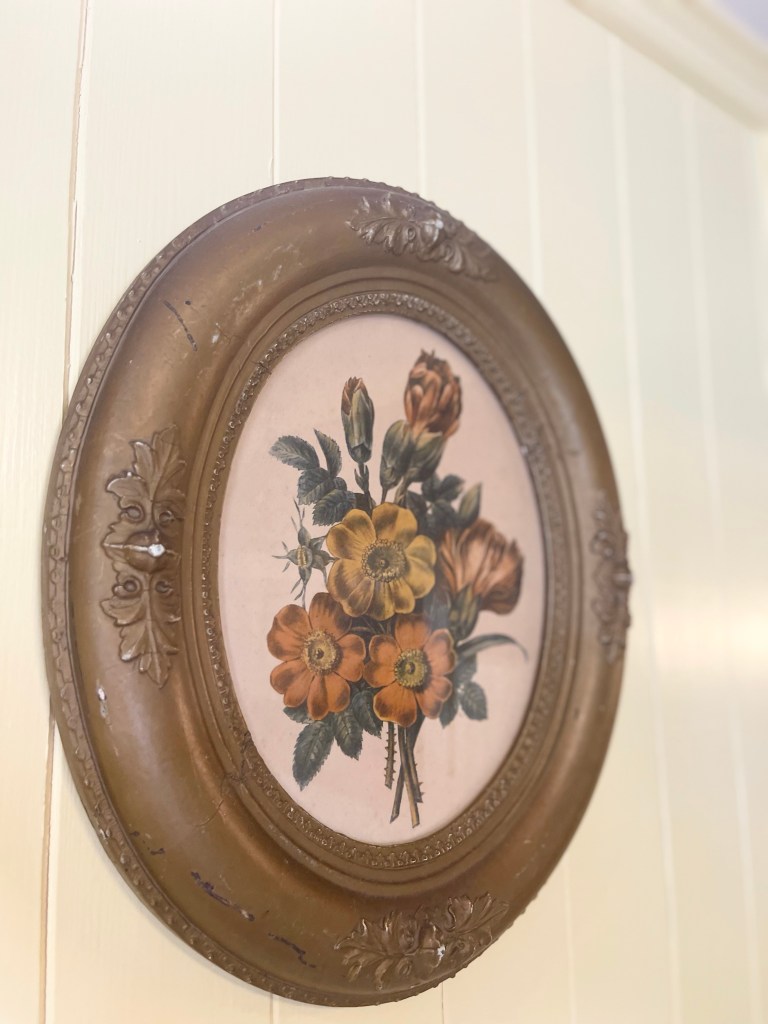
The antique oval framed floral artwork below we spotted at one of the Vintage Market Days, in Xenia, Ohio and grabbed it up. It was the perfect size for our hood vent. I planned to swap out this piece of art seasonally. Something to look forward to and now I can say it has “season swap-ability.” New trending design word I just made? Perhaps. You heard it here first folks.
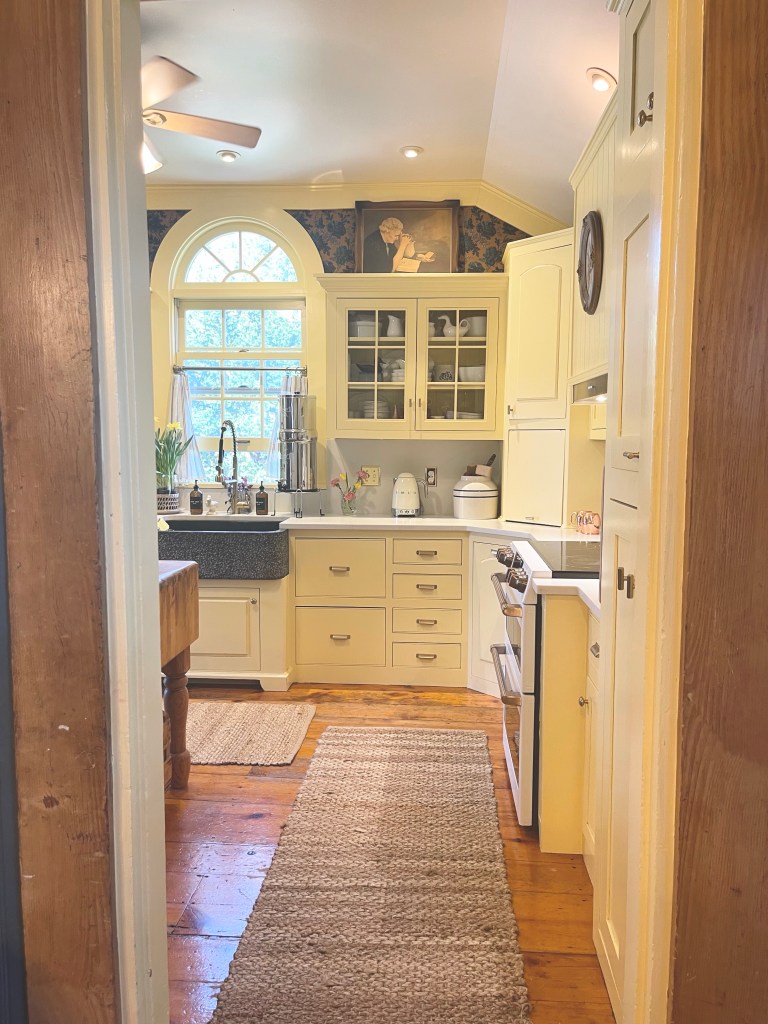
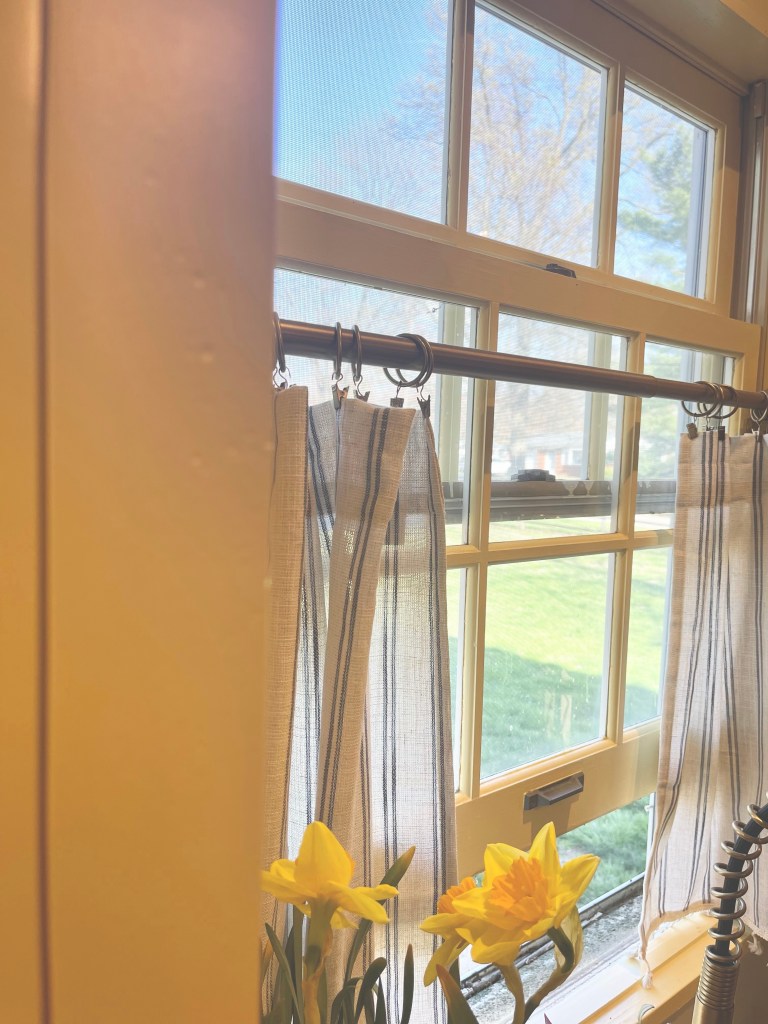
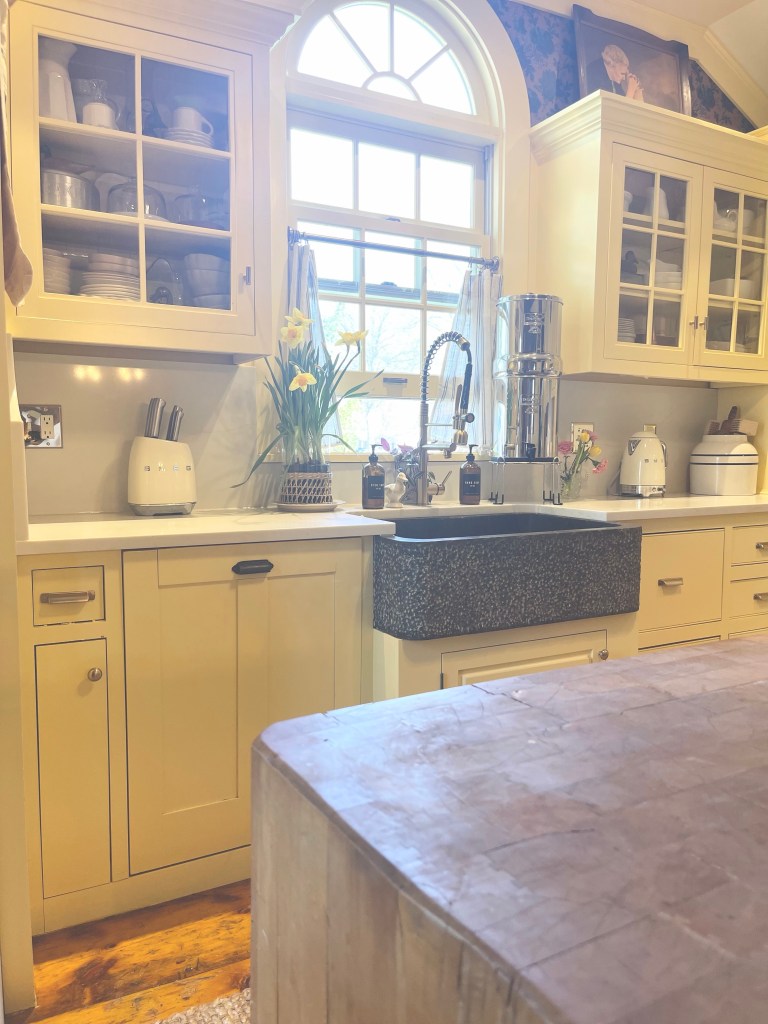
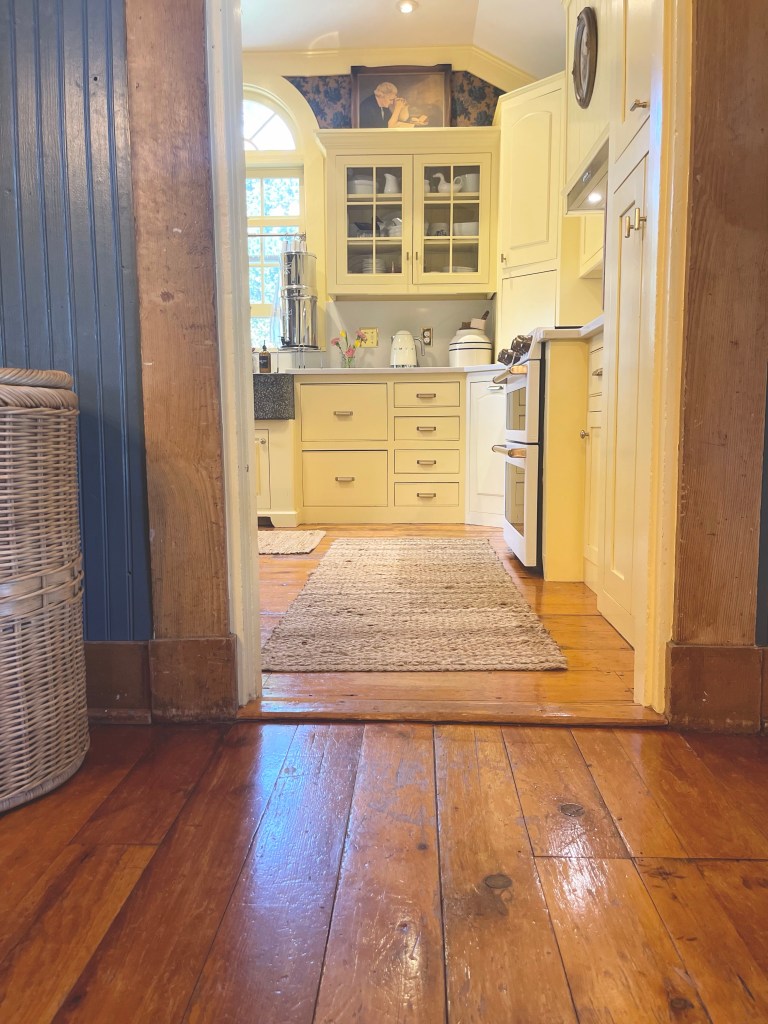
We refinished the floors, added simple jute rugs and added a darling cafe curtain above the sink. We worked to streamline as much as we could in this smaller kitchen to make it work efficiently and connect it to the rest of the home. A lot of things were also necessary, like the Berkey water filter system. While I would have preferred a cleaner countertop, that Berkey was a purposeful need in our home.
THE PANTRY & ADDITIONAL STORAGE
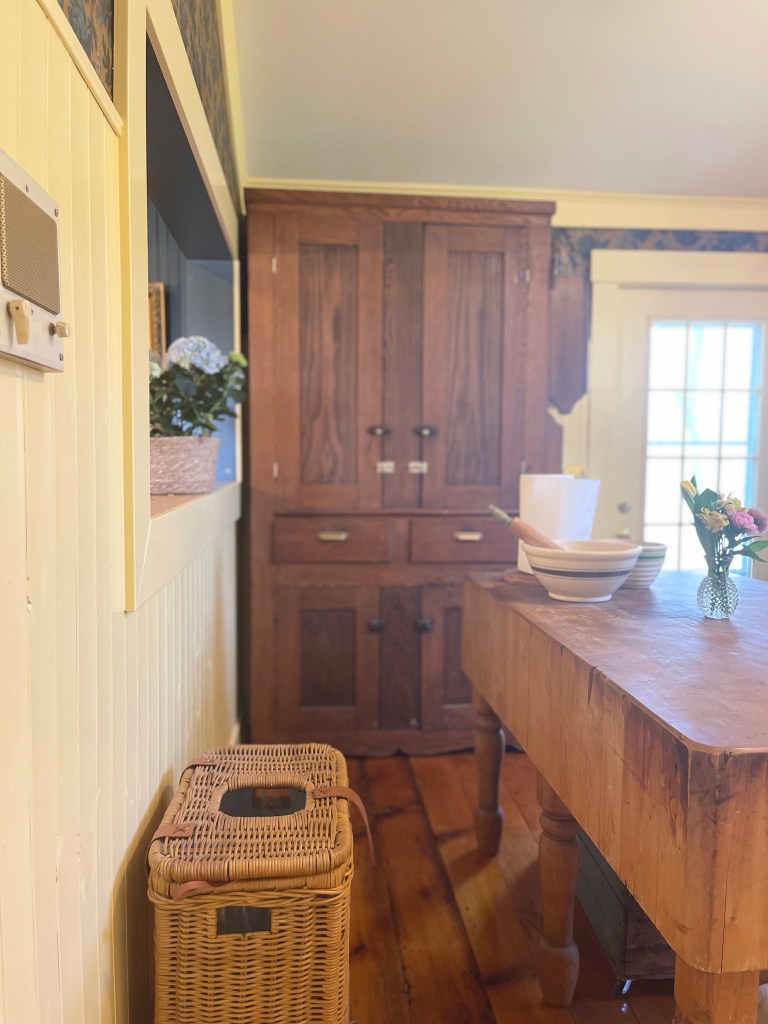
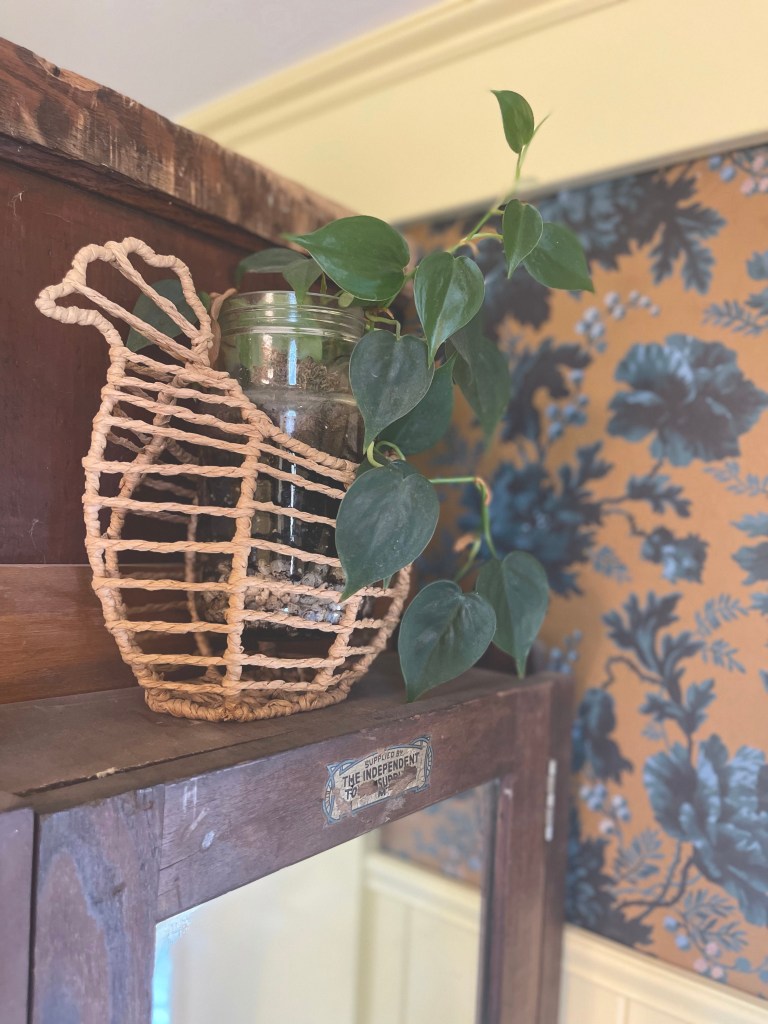
In the corner, we opted for a large wooden antique hutch we scored on FB Marketplace for free. It served as a pantry of sorts for storage of all things needed for baking, appliance storage, rice, pasta, aprons, grilling items and more. On the side of this piece we mounted two well-made antique medicine cabinets that we used to store our main vitamins we took on a daily.
THE WASTE BASKETS
Let’s talk about my next adored functional wicker basket, this one we used for our recycling basket in sandstone color. Now, Tom also loved the wicker trash cans, but he didn’t feel comfortable using them for raw meat garbage, so for our food waste or other messy waste products we used this can that was also ascetically pleasing, in white and silver.
THE STAR
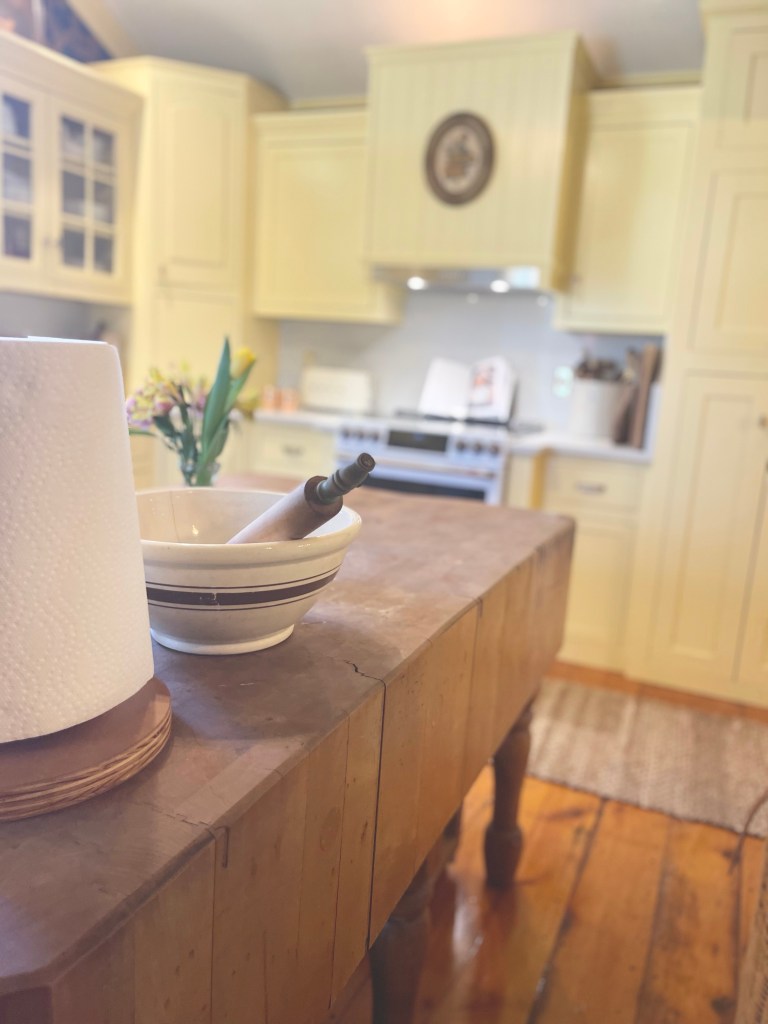
The star of the kitchen, the remarkable handmade butcher block table that we inherited when purchasing the home. There are no words for its beauty. We were told by the previous owners they added extra supports to the floor below due to it weighing around 900 pounds. This was a true piece of art we were proud to own.
THE MIXED FINISHES
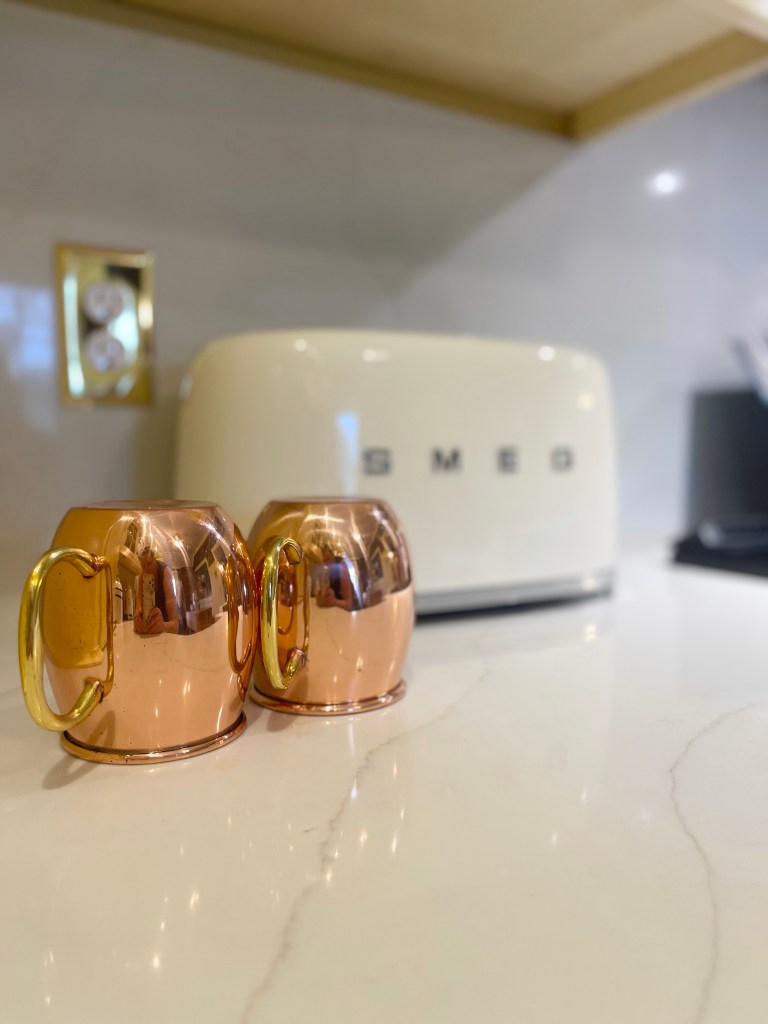
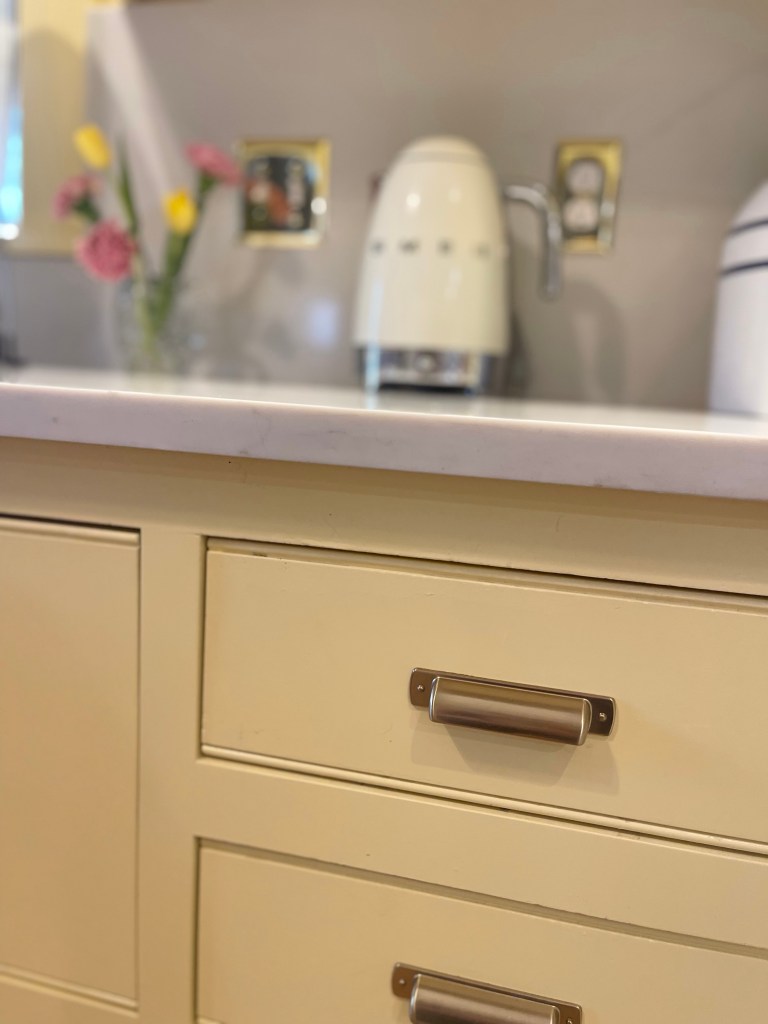
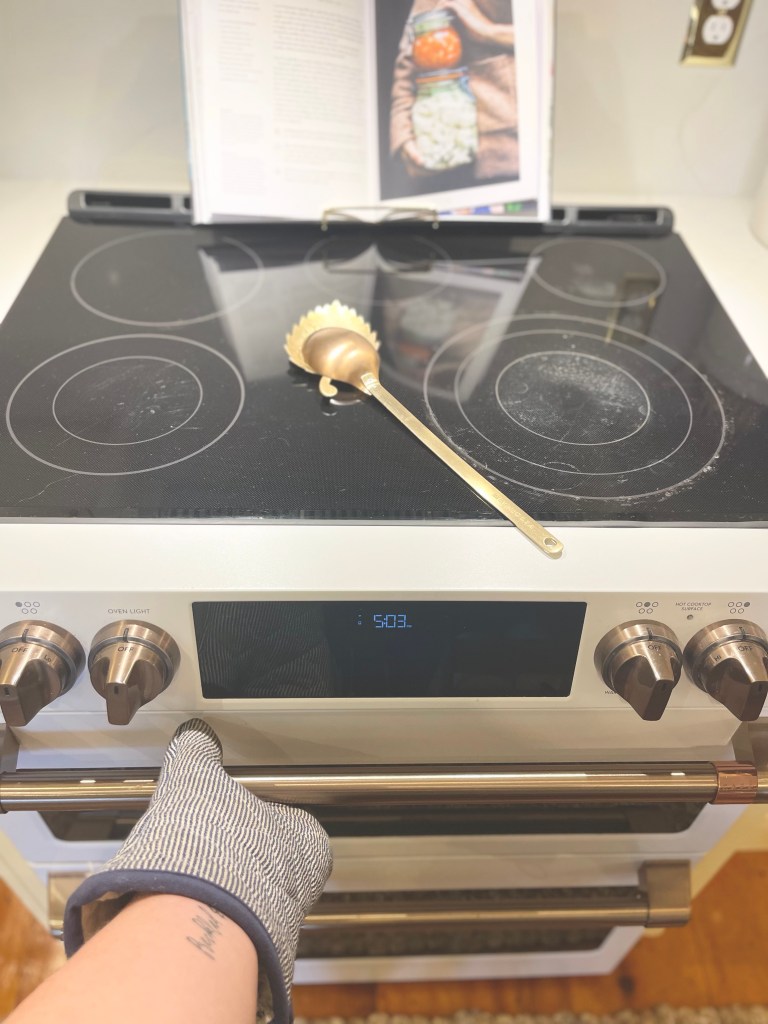
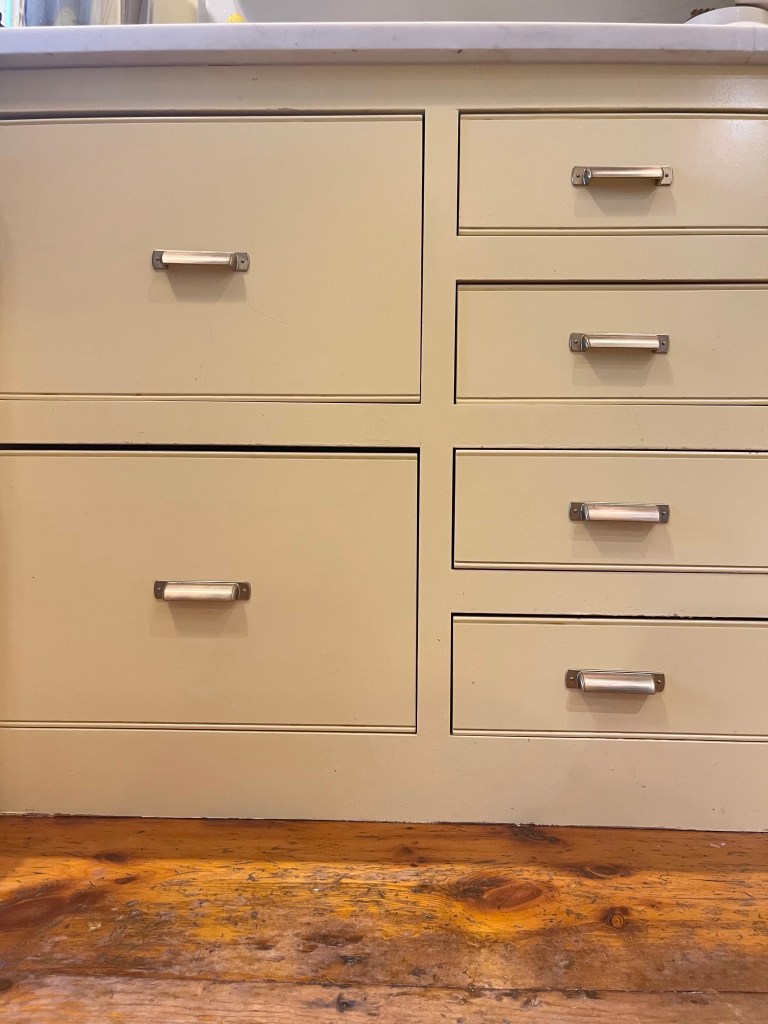
We comfortably mixed finishes throughout. We had a silver vent fan that hinted on the silver from the SMEG appliances. We chose brass cover plates with white outlets, along with the brass handles on all the cabinets, we chose a brass faucet and we were slowly working to bring in more copper as well, which would mesh with some of the details on our Café refrigerator and stove, and it worked.
THE LIFE GIVERS
The floral arrangements and plant starts sprinkled throughout brought a lighthearted bubbleyness to the space.
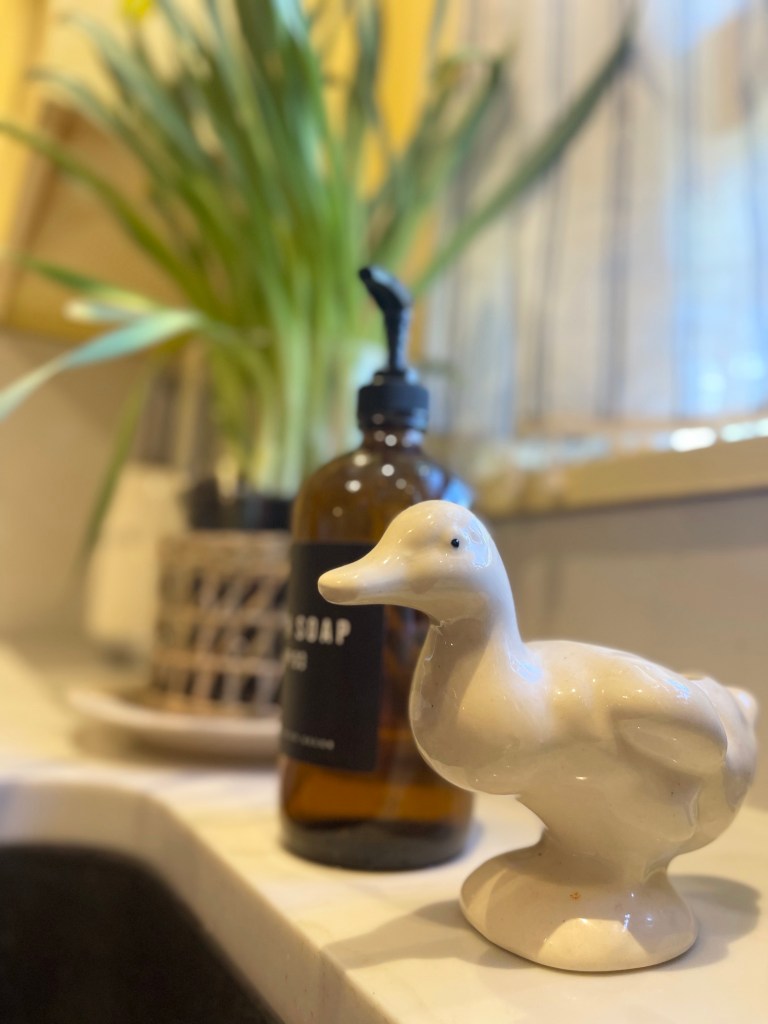
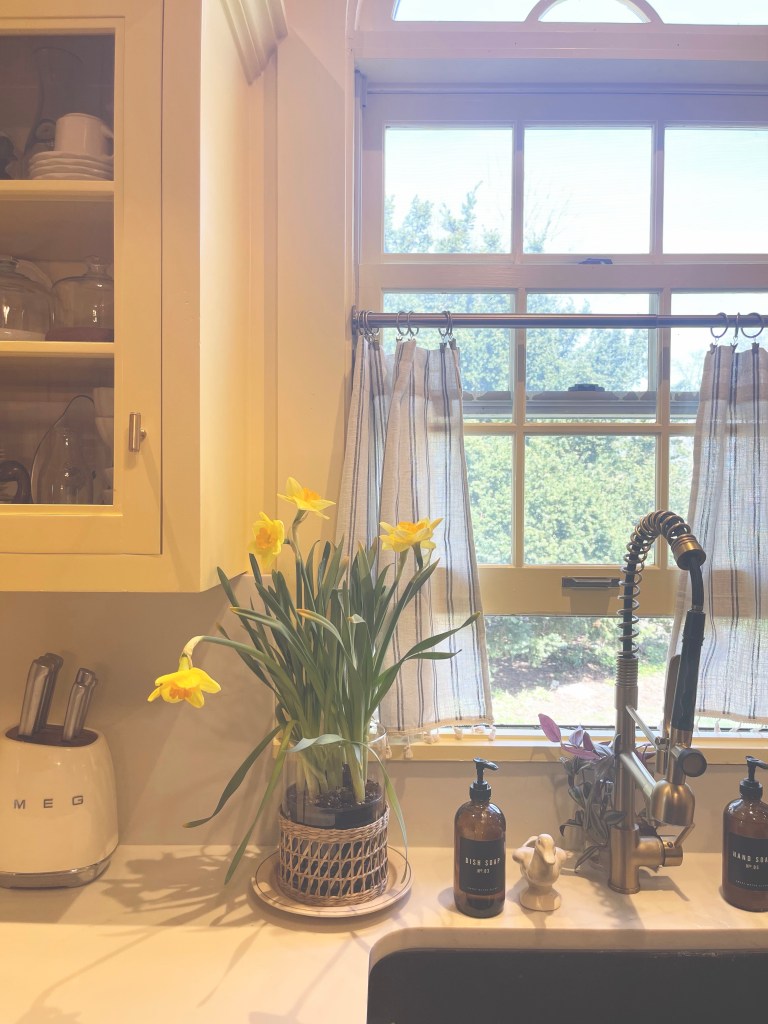
Finding all the spots for life to burst forth.
THE THINGS WE KEPT
We kept the bulk of the base of what was already in the kitchen and then customized it to our liking. The large stone sink was a keeper from the beginning. There was no need for an update. Our built in dishwasher was also a part of the previous owners kitchen design. While we did have to upgrade the dishwasher when it went out, the custom cabinet cover still worked perfectly and flowed well in the design of the cabinets.
THE SUNNY LOVIN’ FEELING
Our kitchen had indeed become all those fresh concepts I dreamed of. Sunny and bursting with cheer.
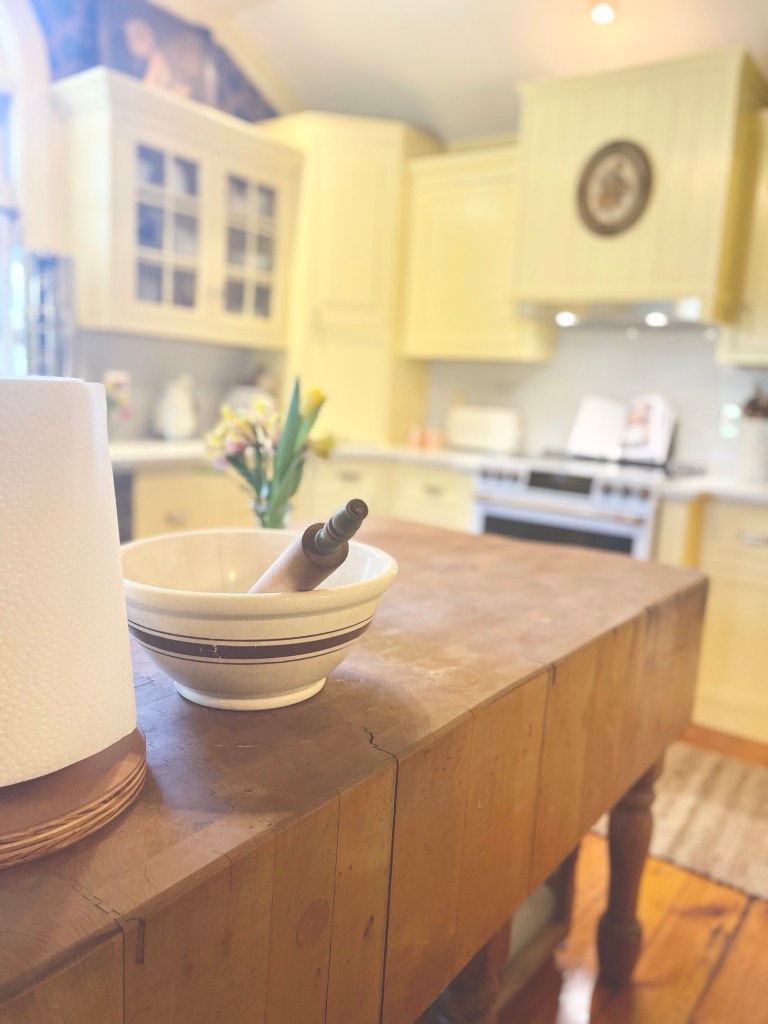
We used every square inch to make choices that we felt were useful.
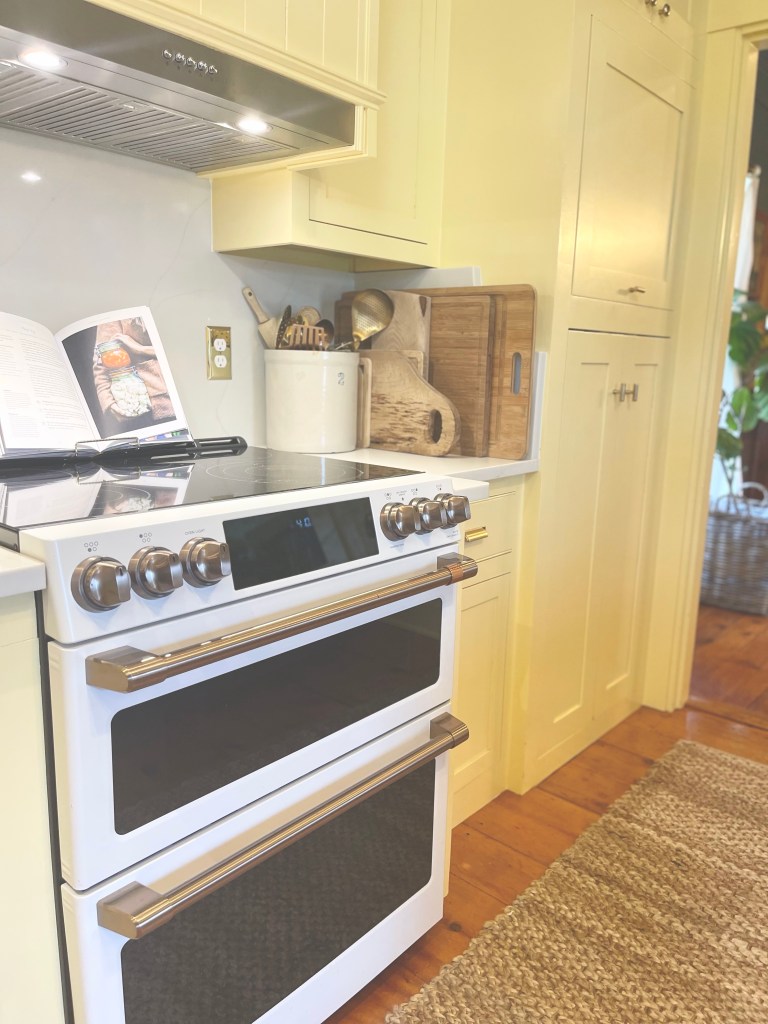
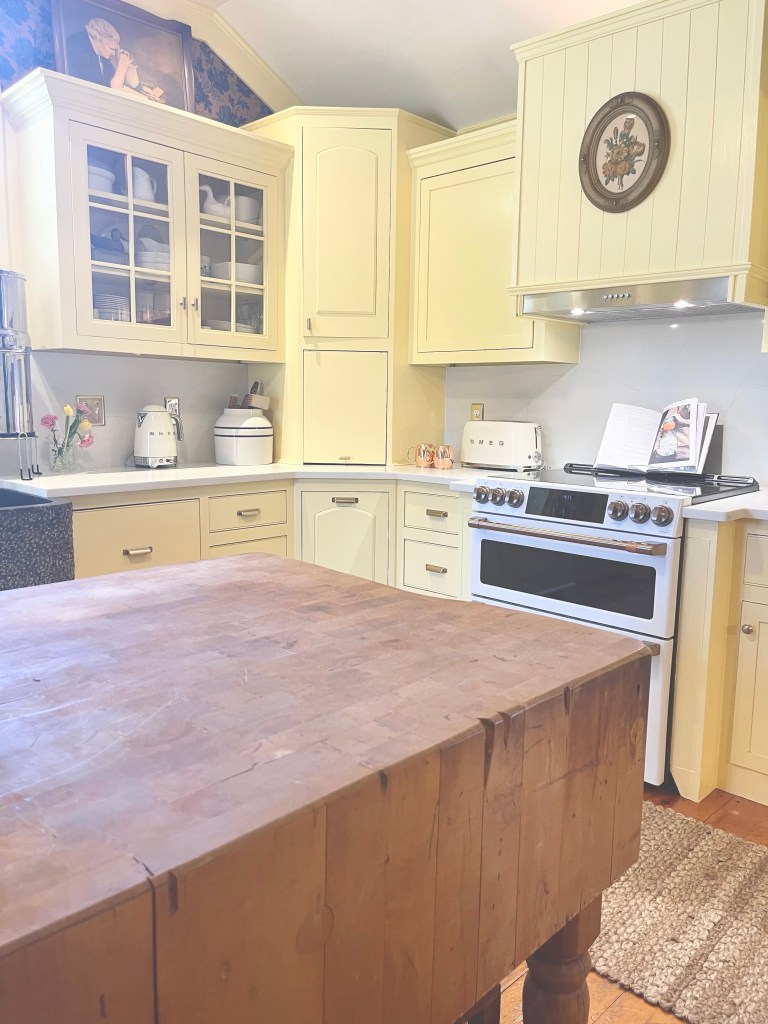
I truly believe it’s the fine details that paint the most beautiful portraits. The same can be said for designing a space. Little touches go a long way.
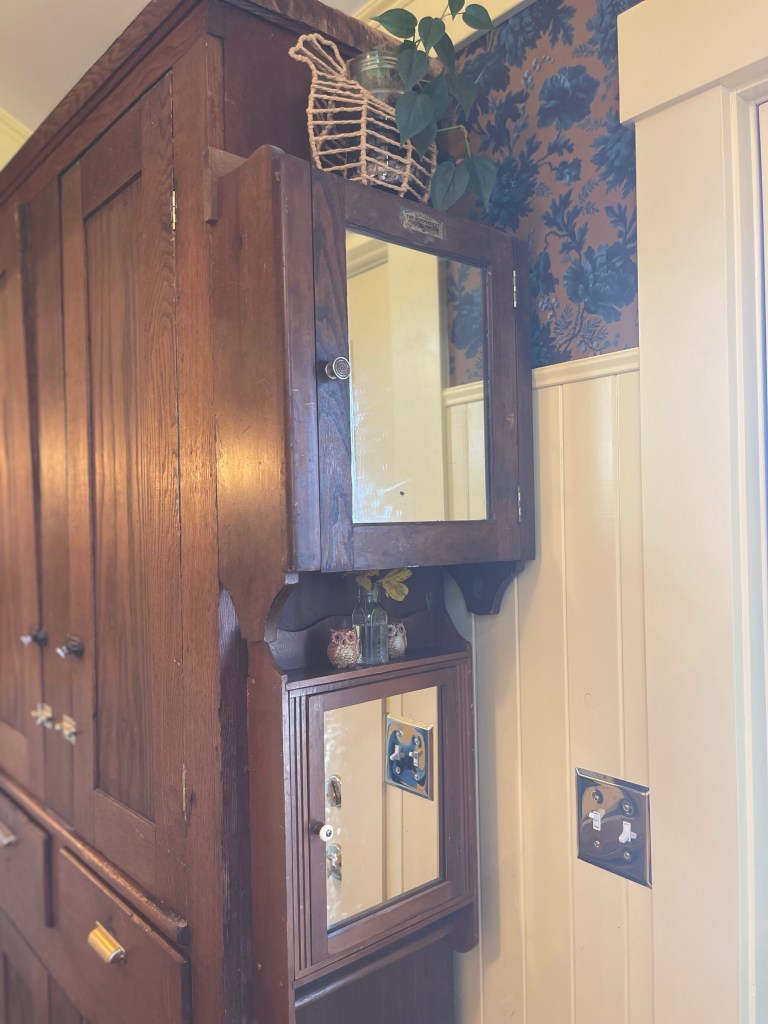
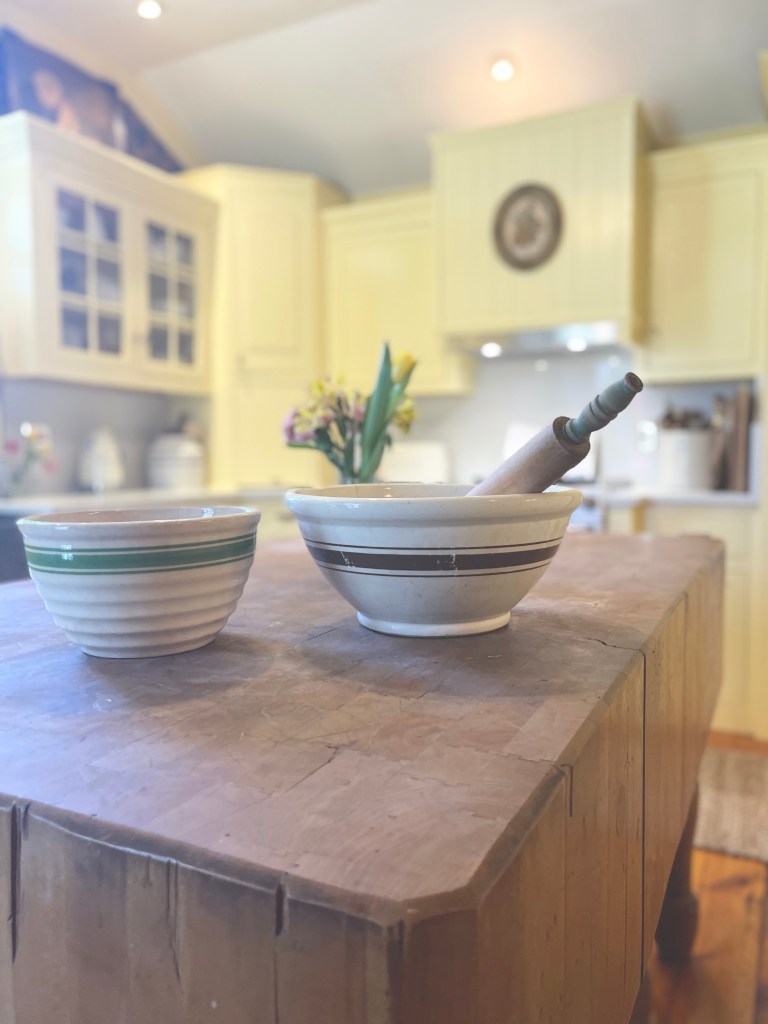
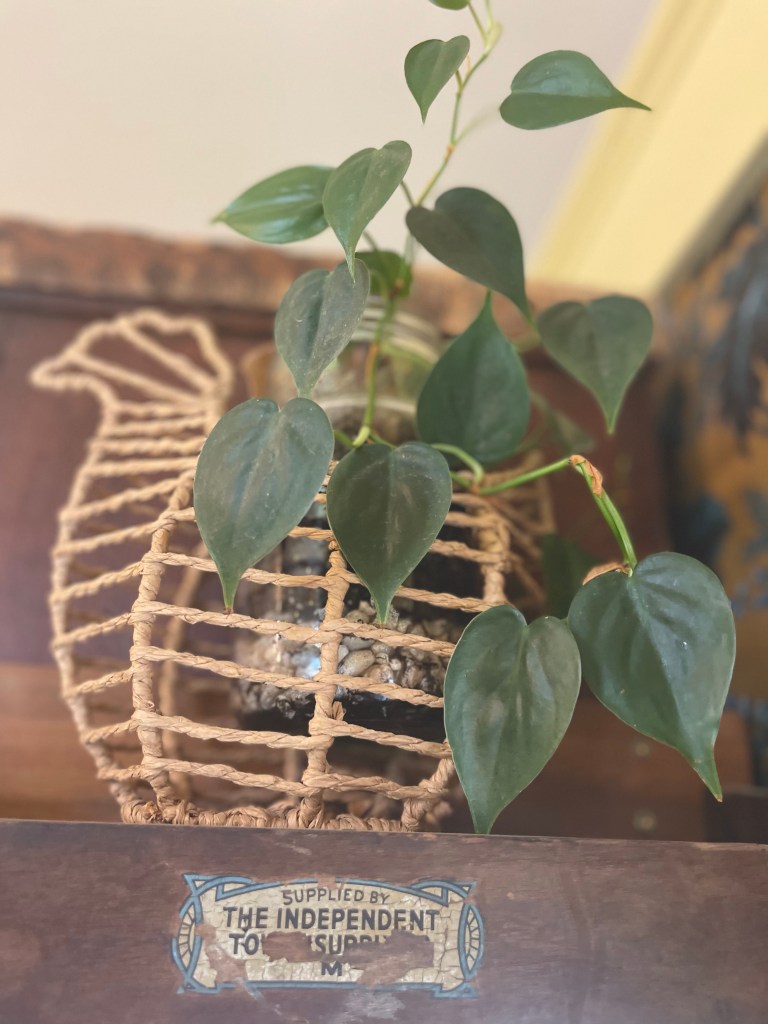
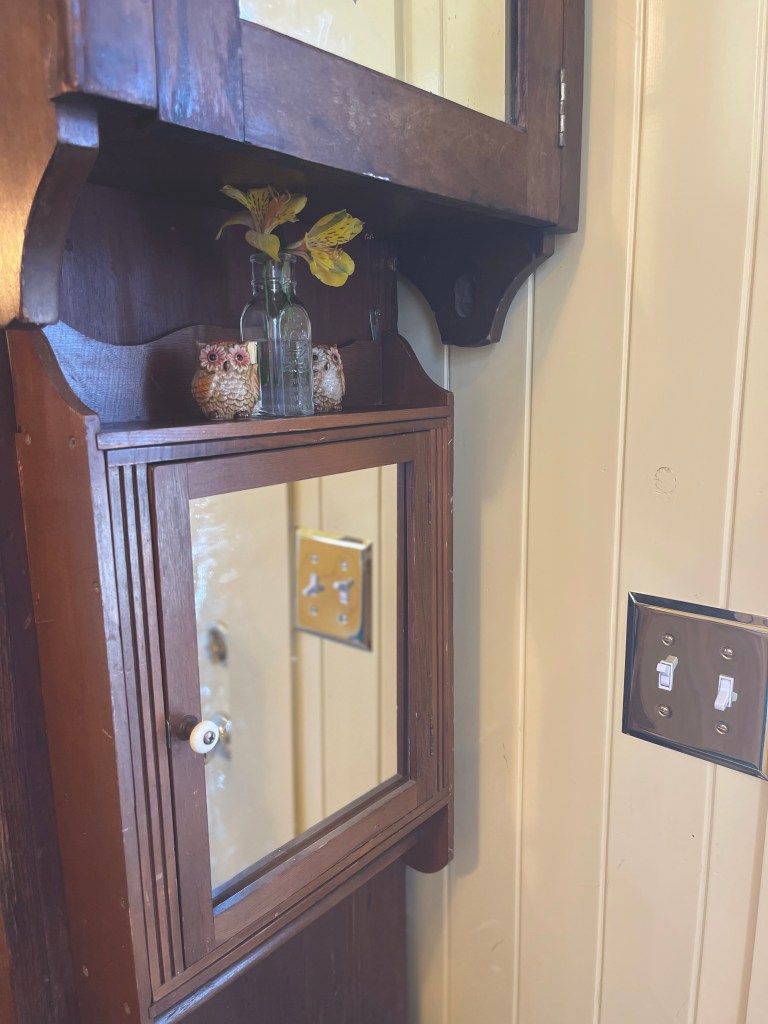
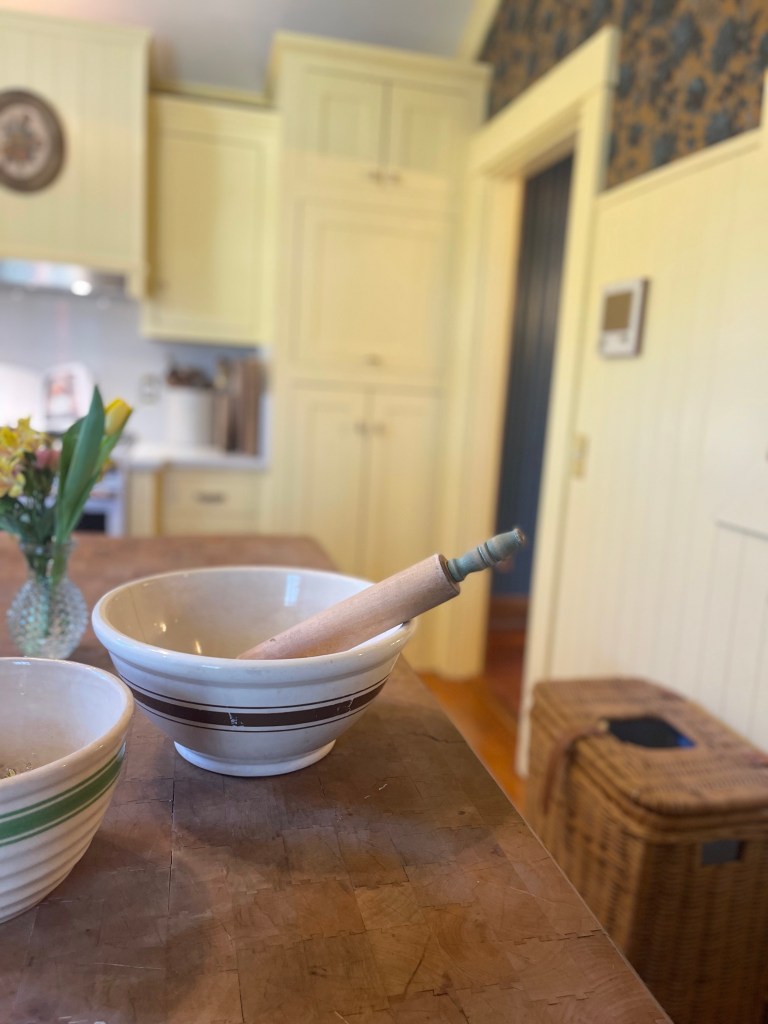
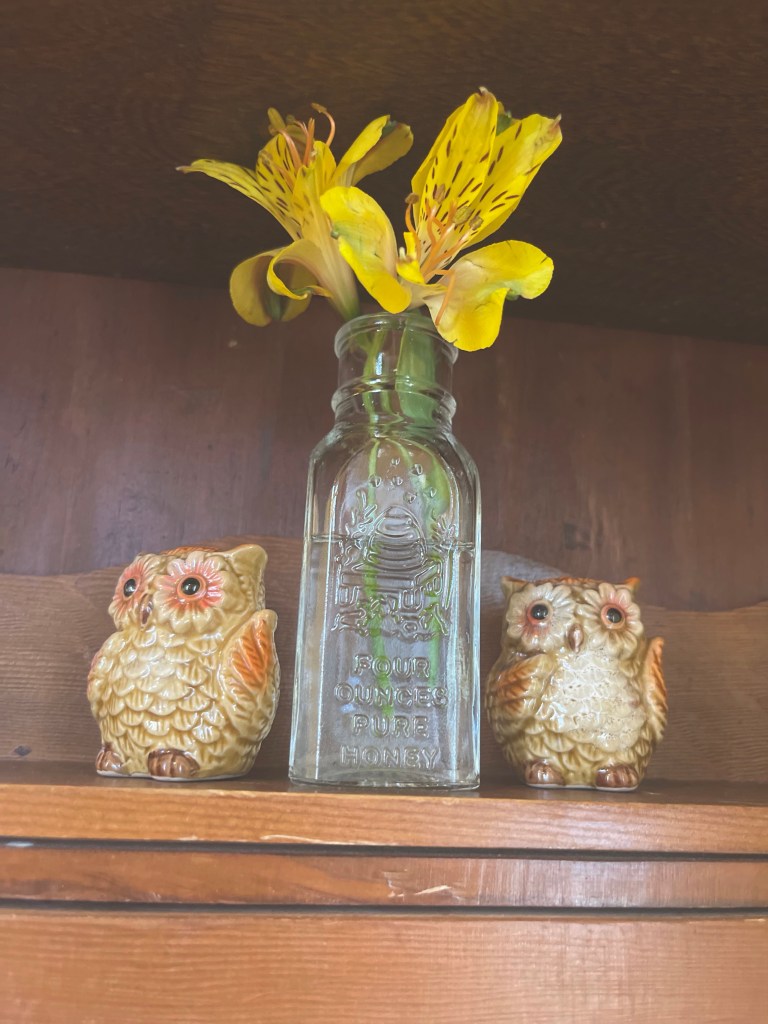
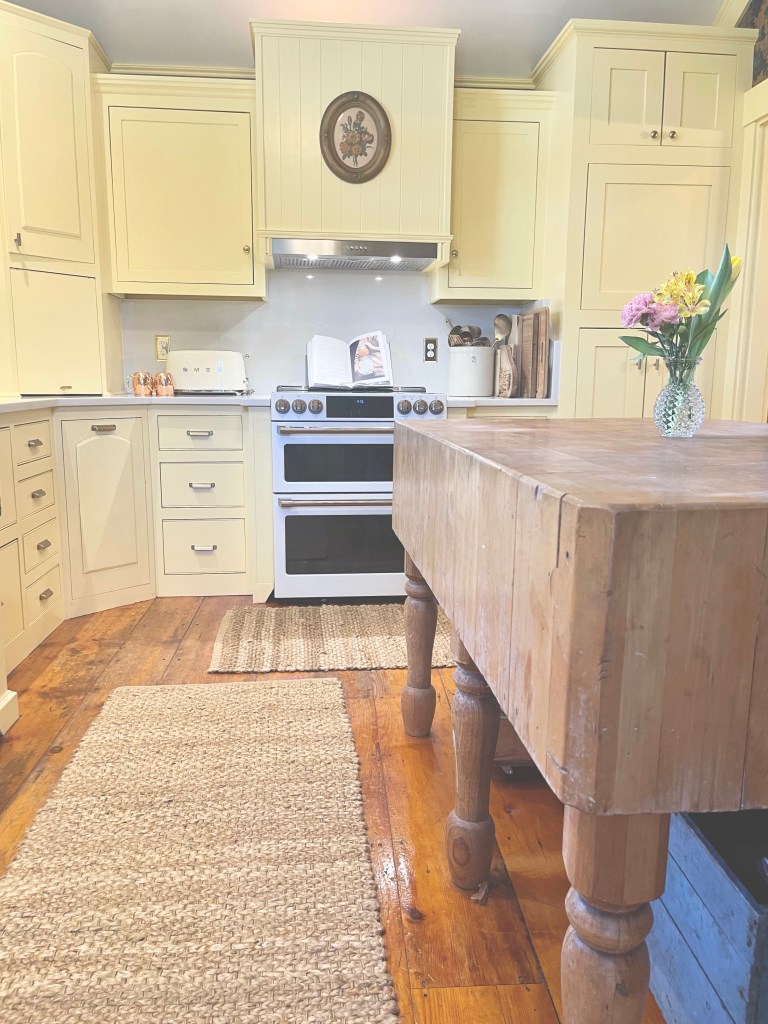
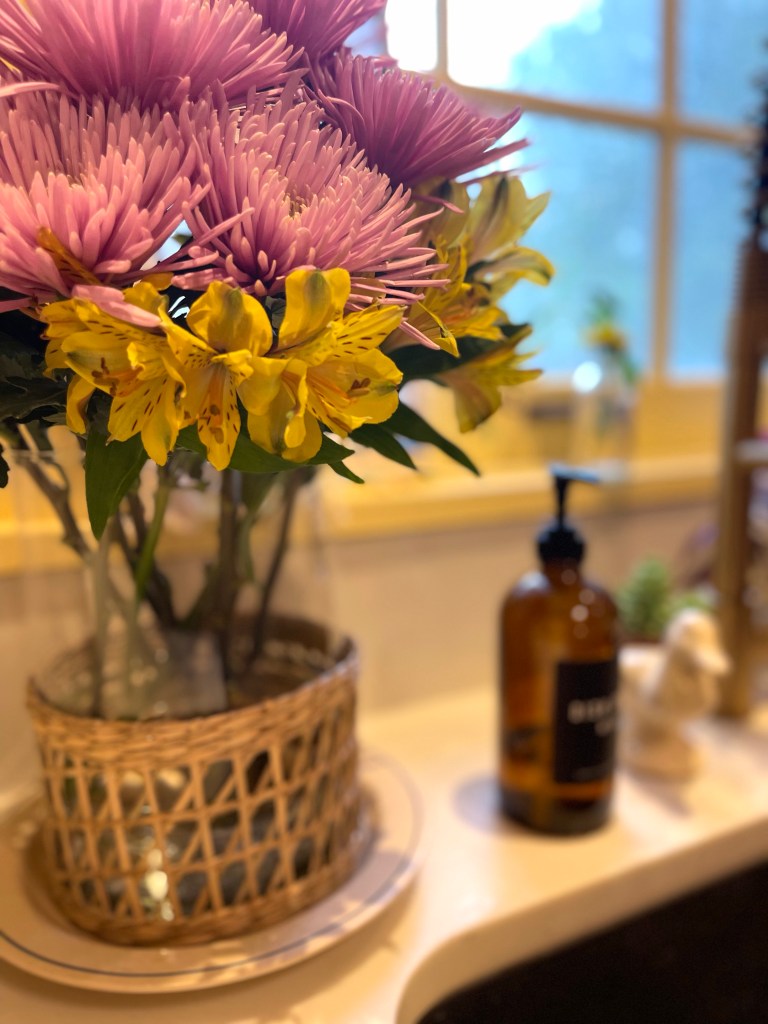
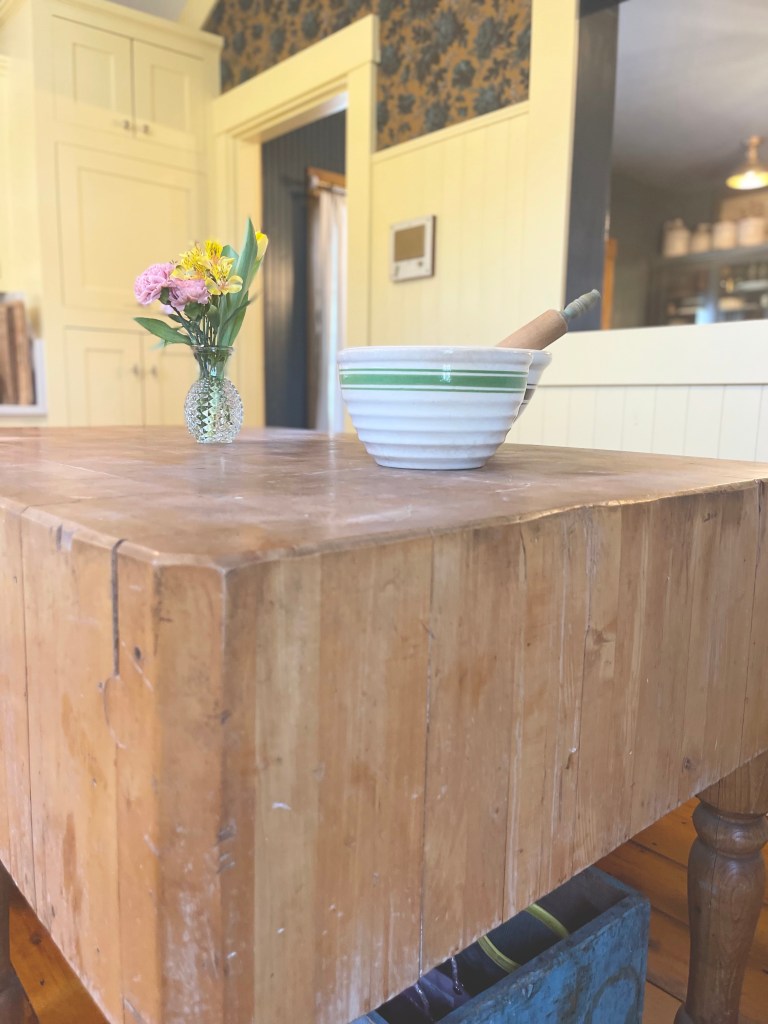
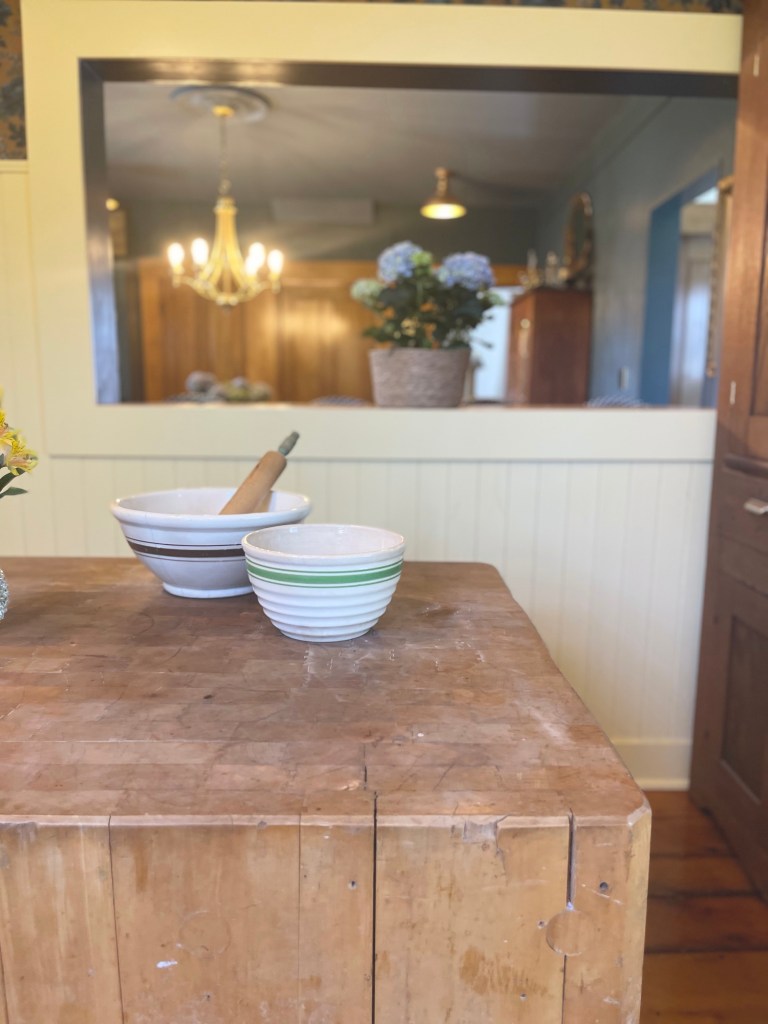
It’s truly not shying away from personality in a space that actually makes it feel like home.
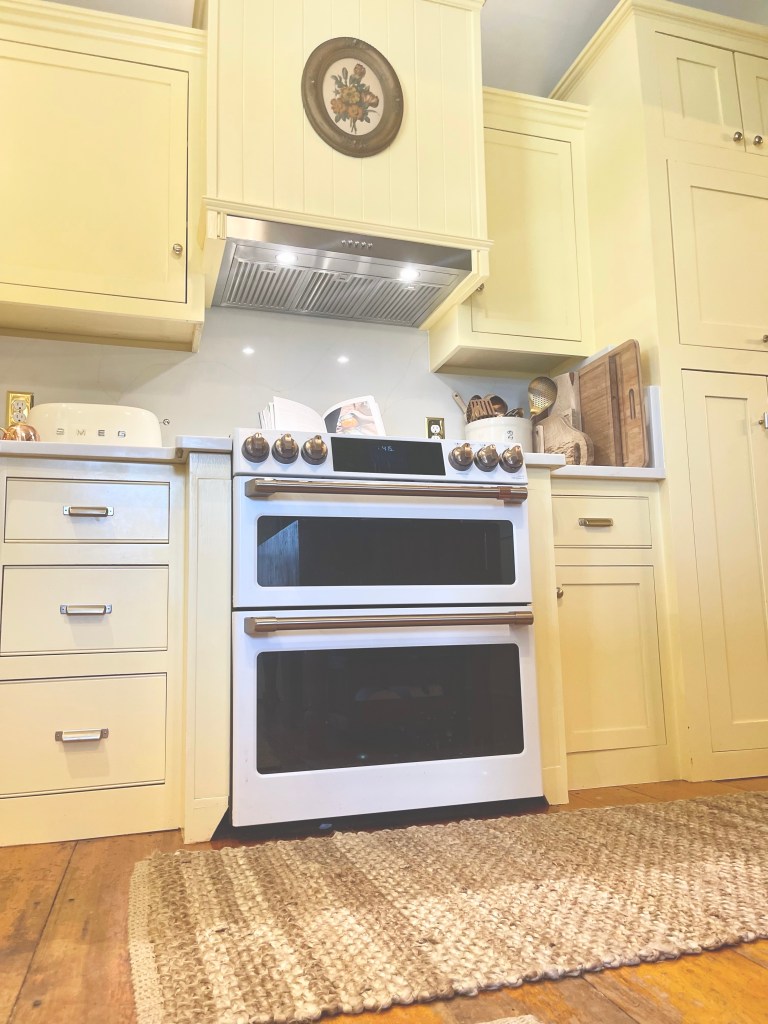
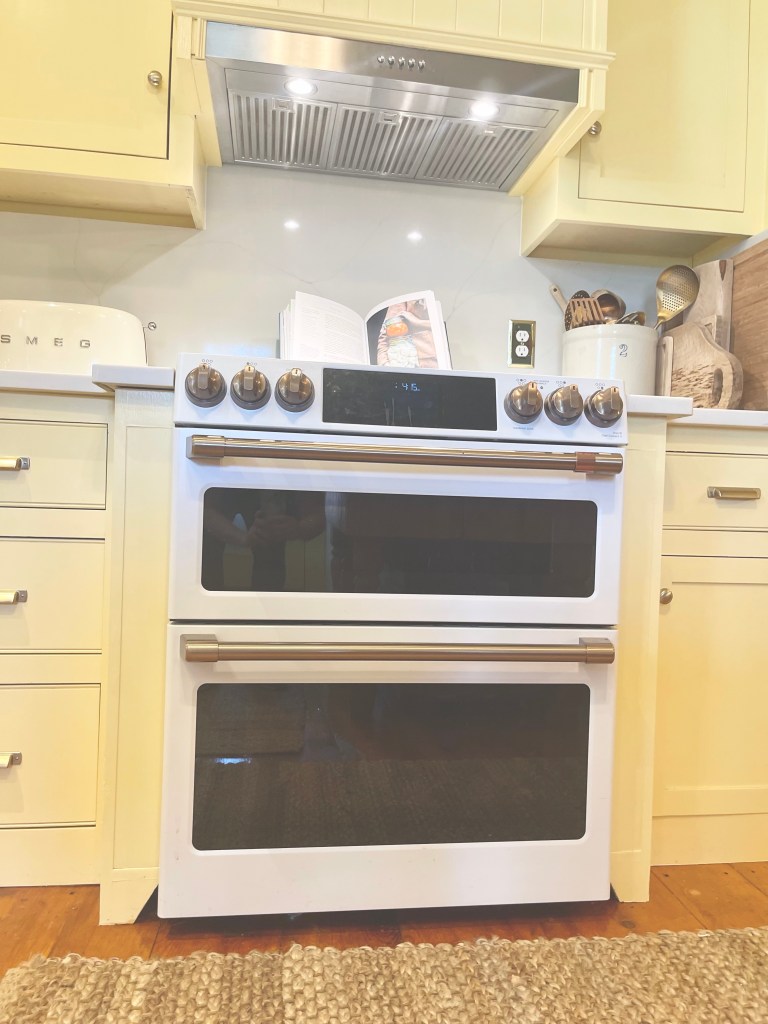
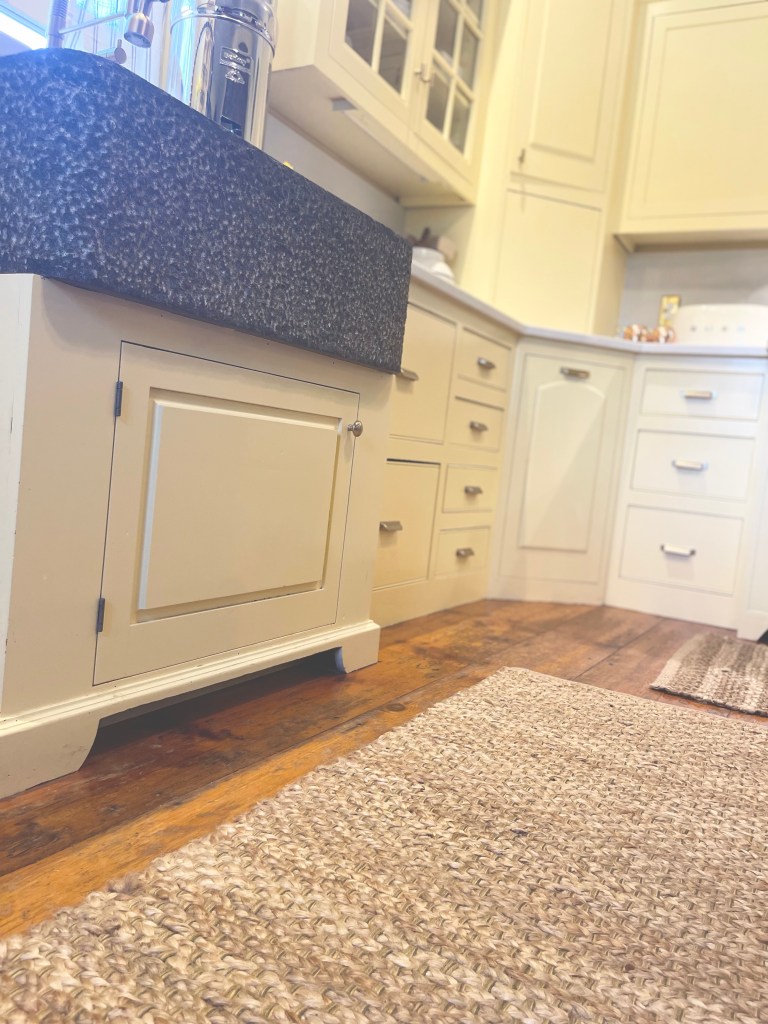
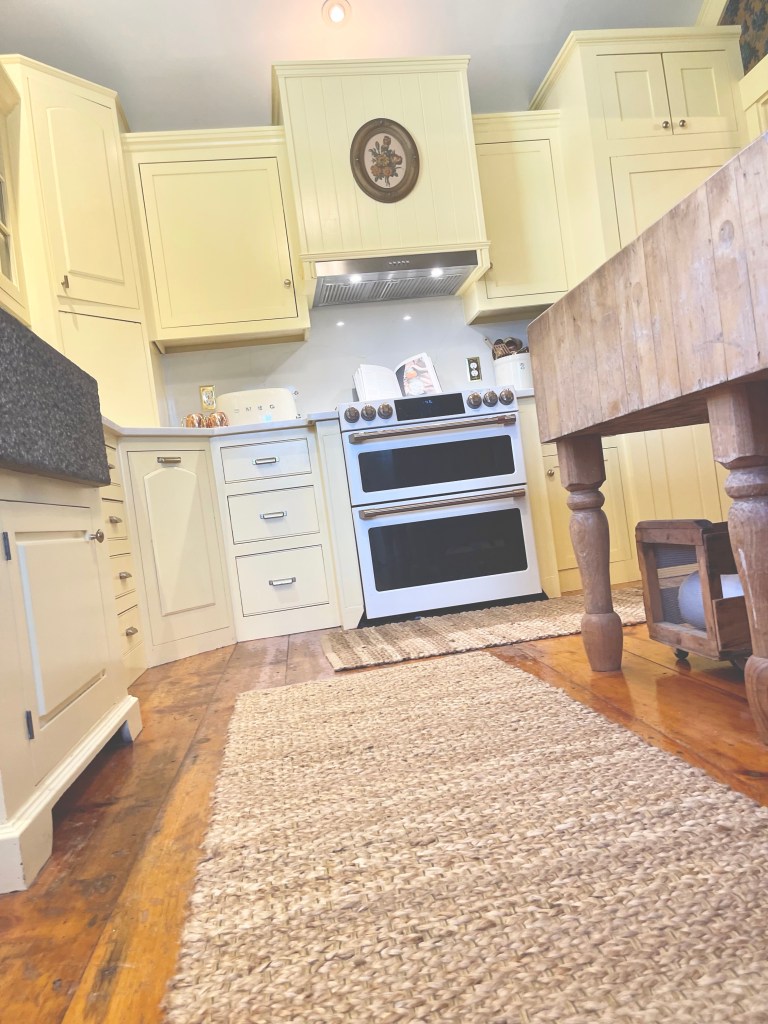
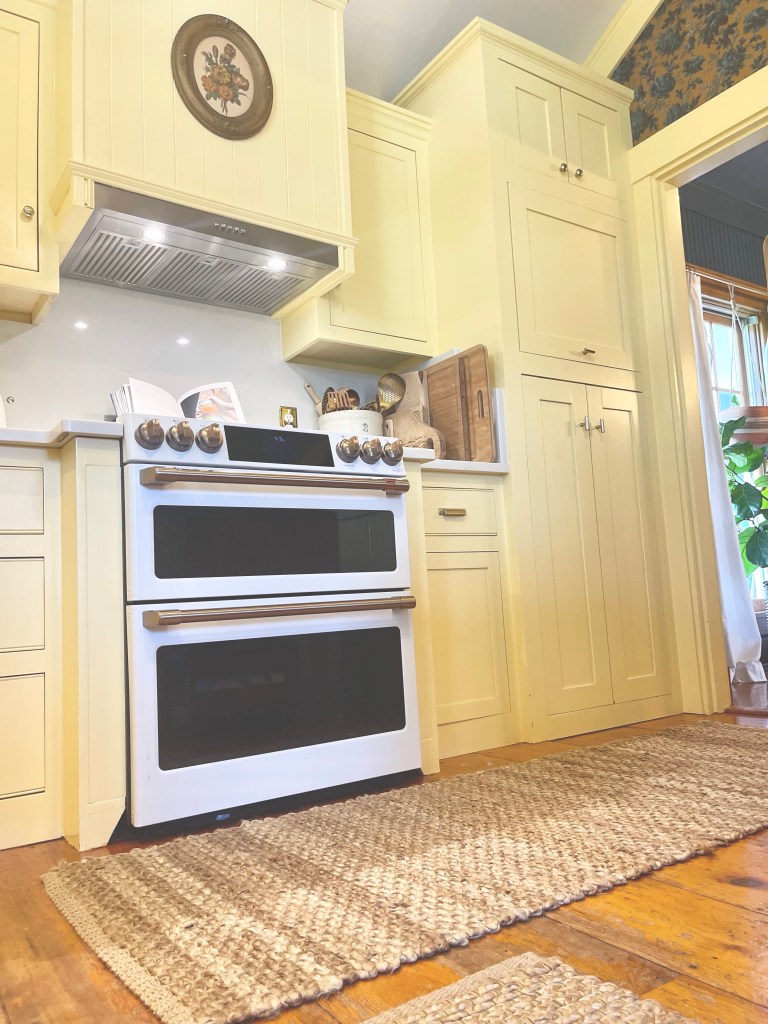
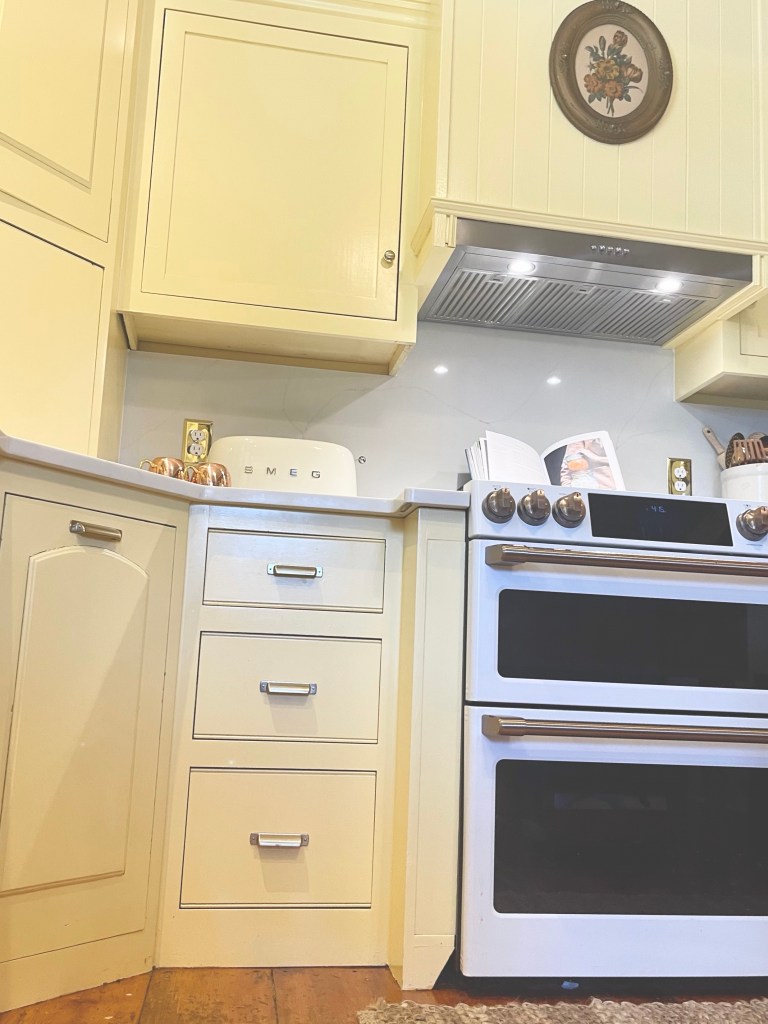
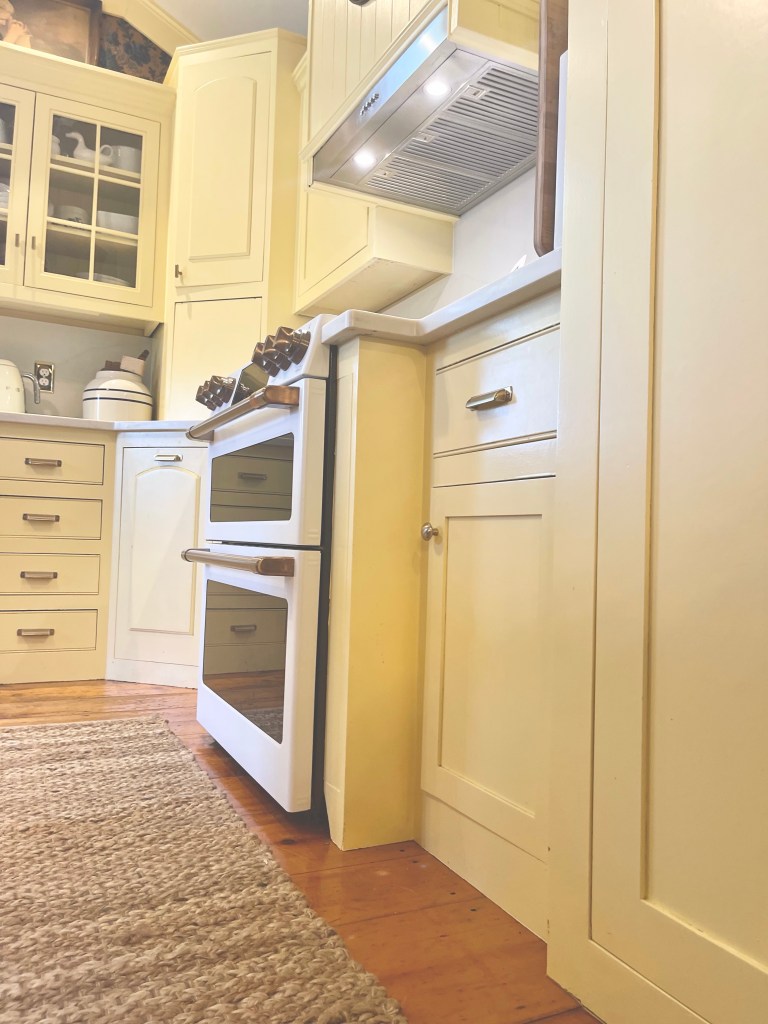

The kitchen was flourishing like it desperately needed to alongside the dining room.
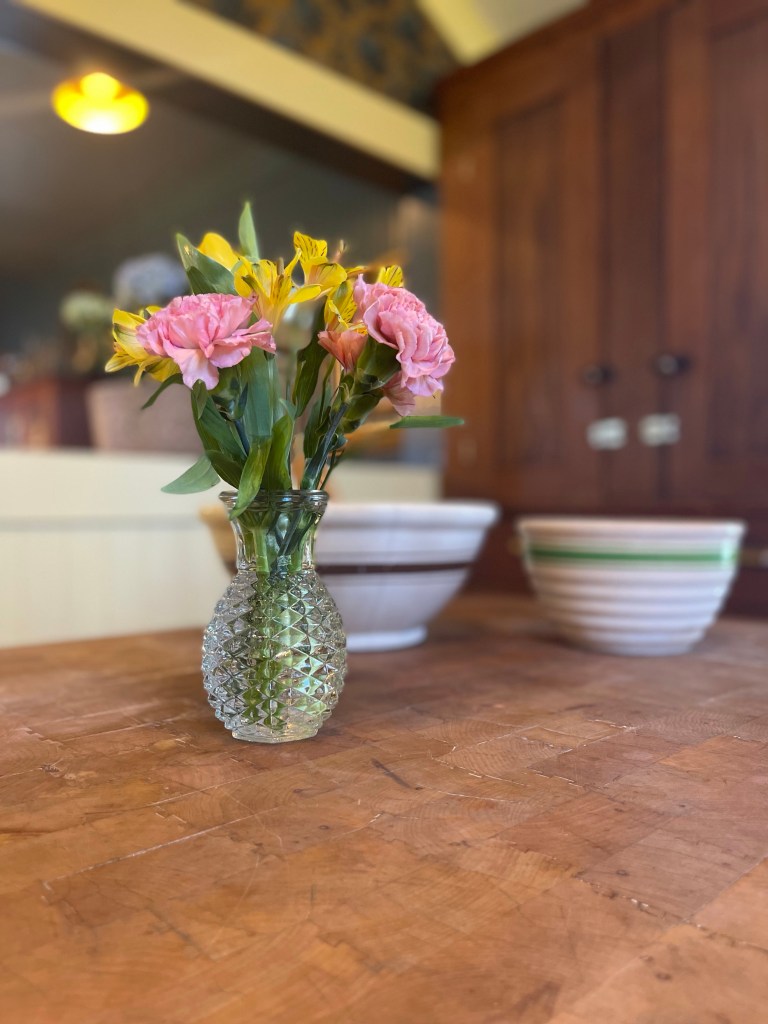
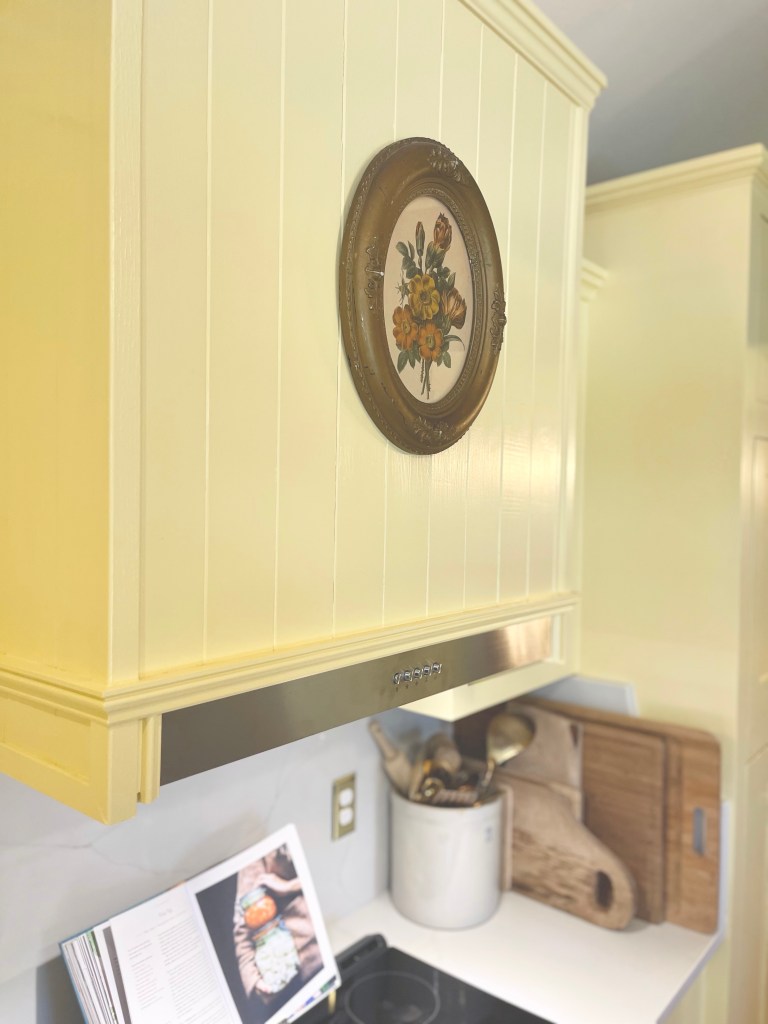
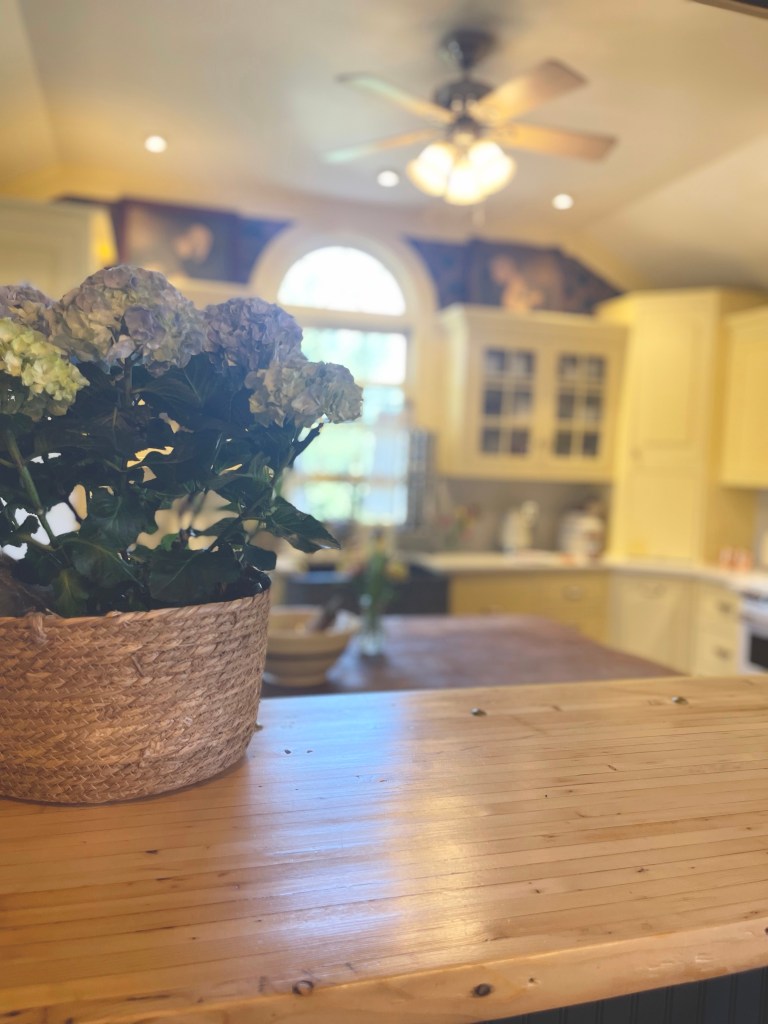
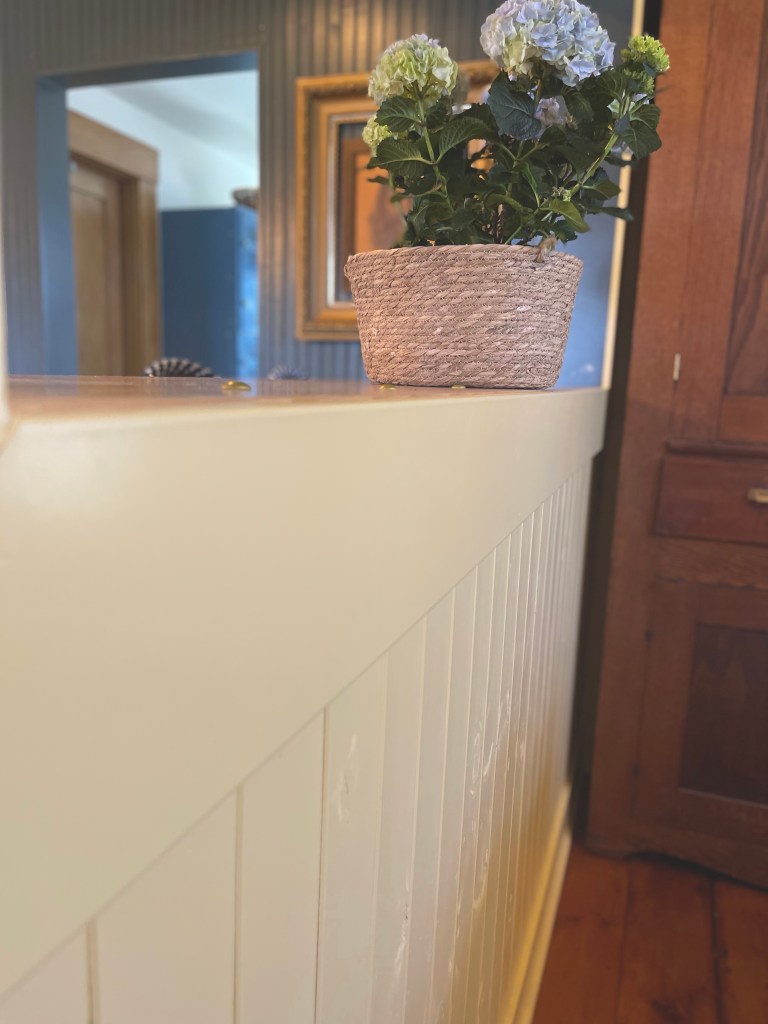

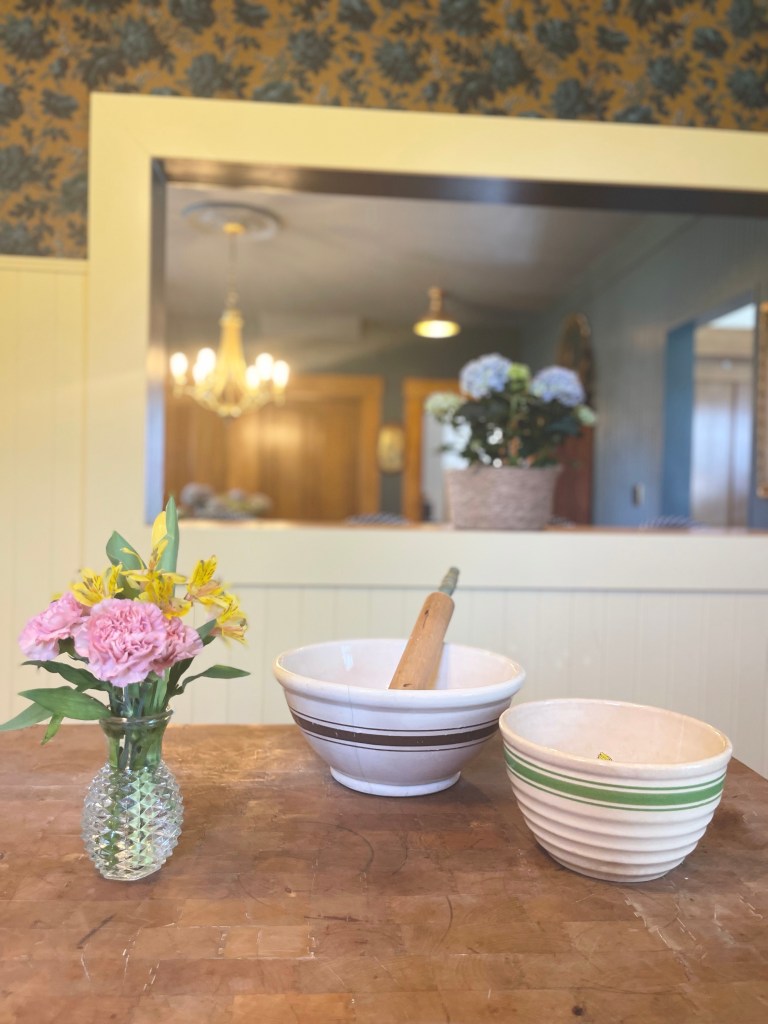
If I had thought cooking was enjoyable before, it now became a whole lot more fun.
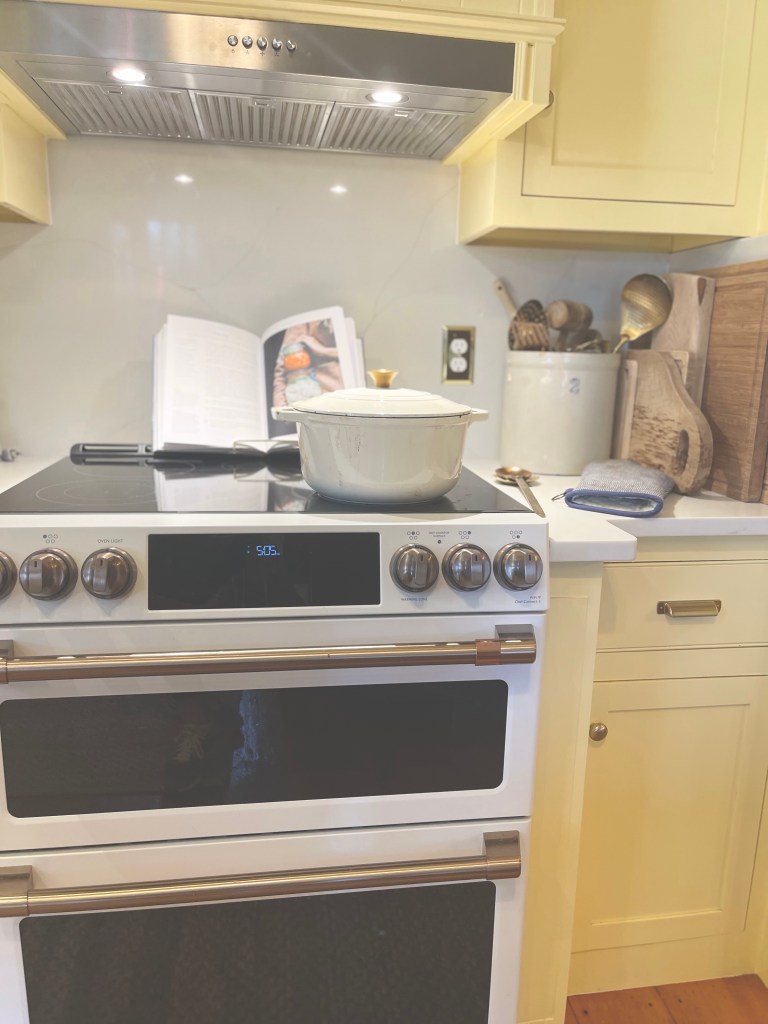
THE GRACE FOUND HERE
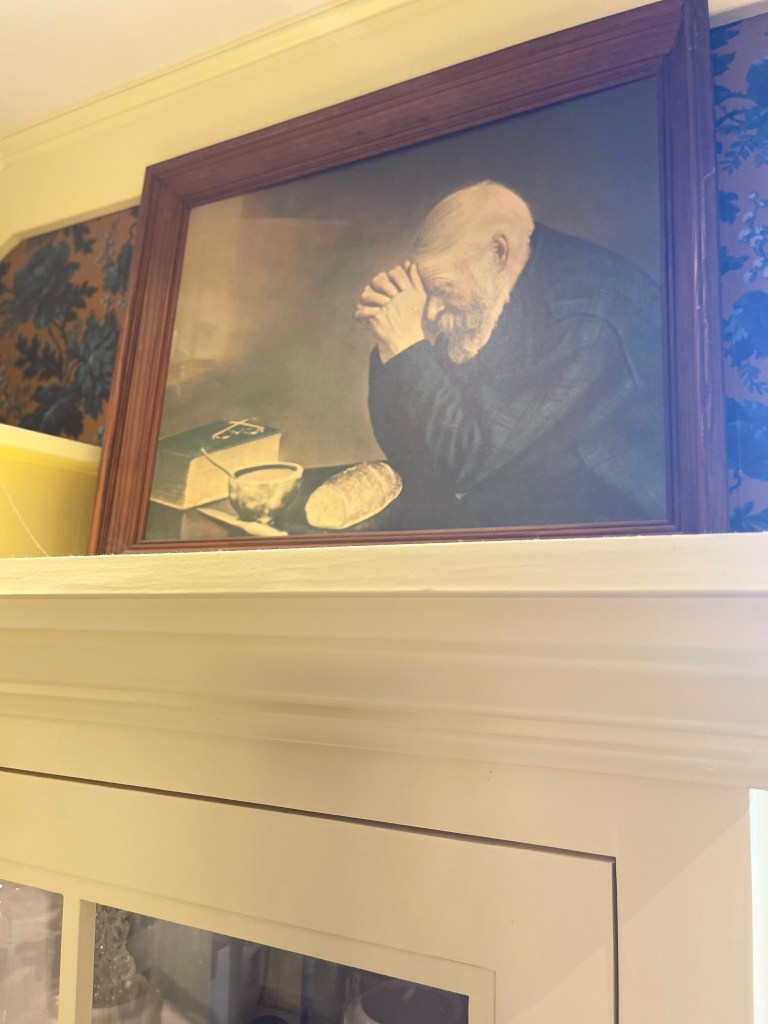
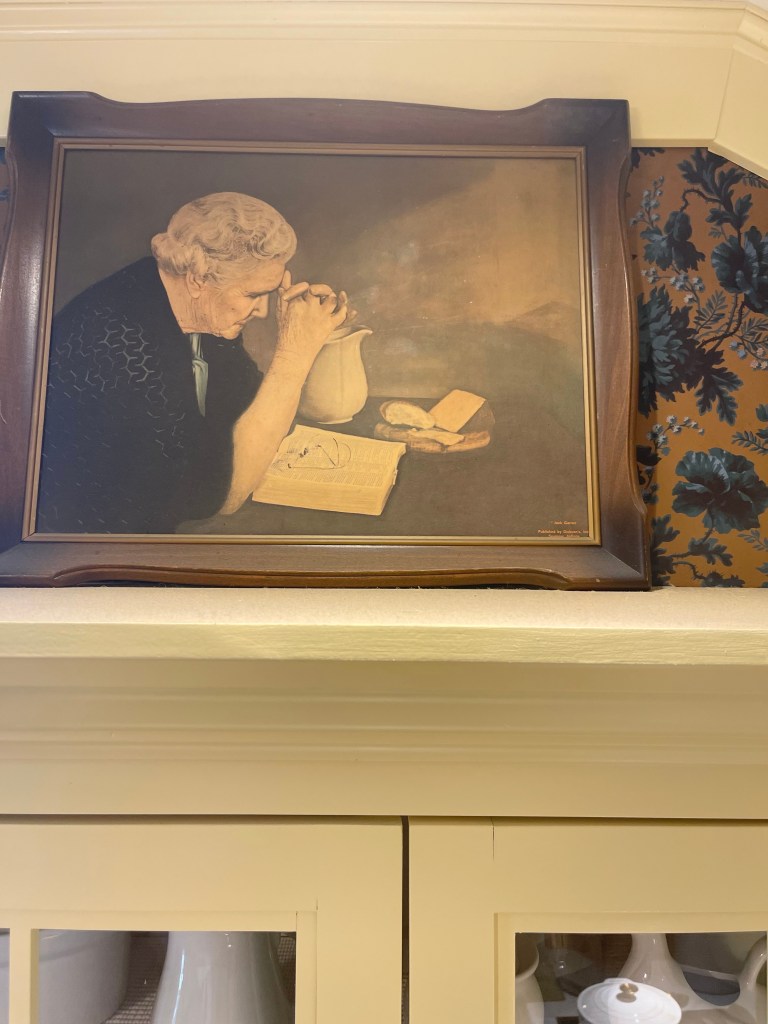
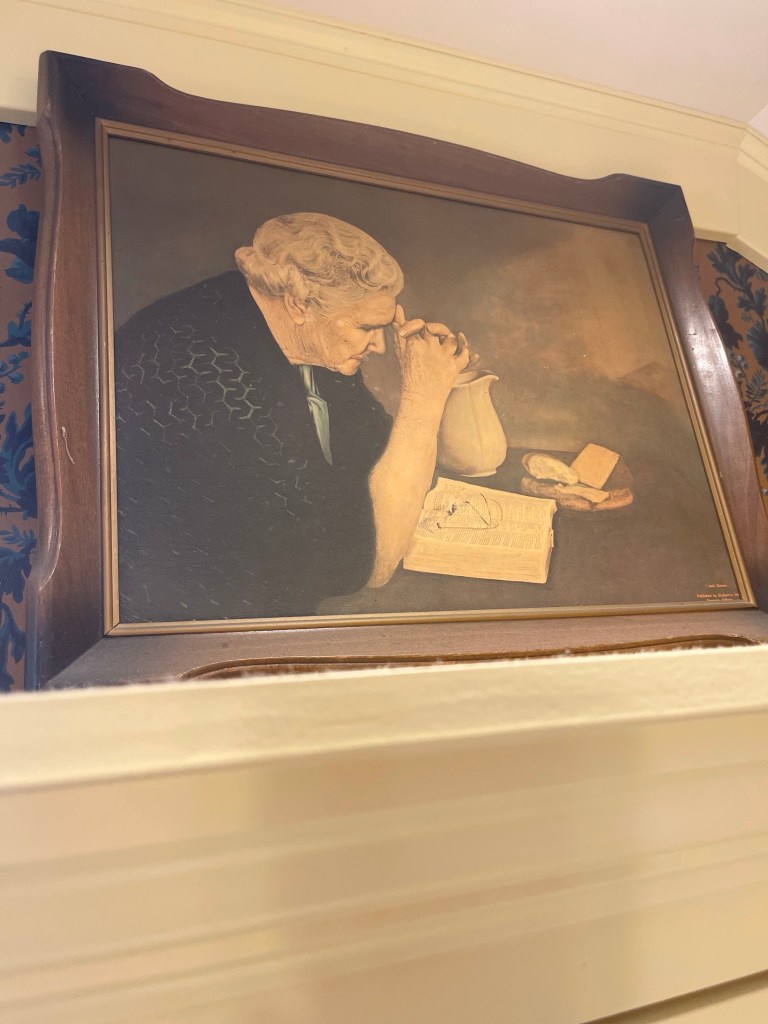
When I found the portrait of the praying man called Grace, I was immediately taken back to my childhood dining room. My parents had this hanging for years. It was nostalgic. I spent many hours as a kid staring at it, memorizing it to my heart, and I knew this pick was coming home with me. What I didn’t know is that some time after that score, that there was also a woman version of Grace. I was one happy picker when I found her. Couldn’t believe my eyes. She’s mine now too and I like to pretend their Tom and I praying grace in our home and setting the foundation of prayer for our family. Inspiring to the soul.
VIEWS WORTH NOTING
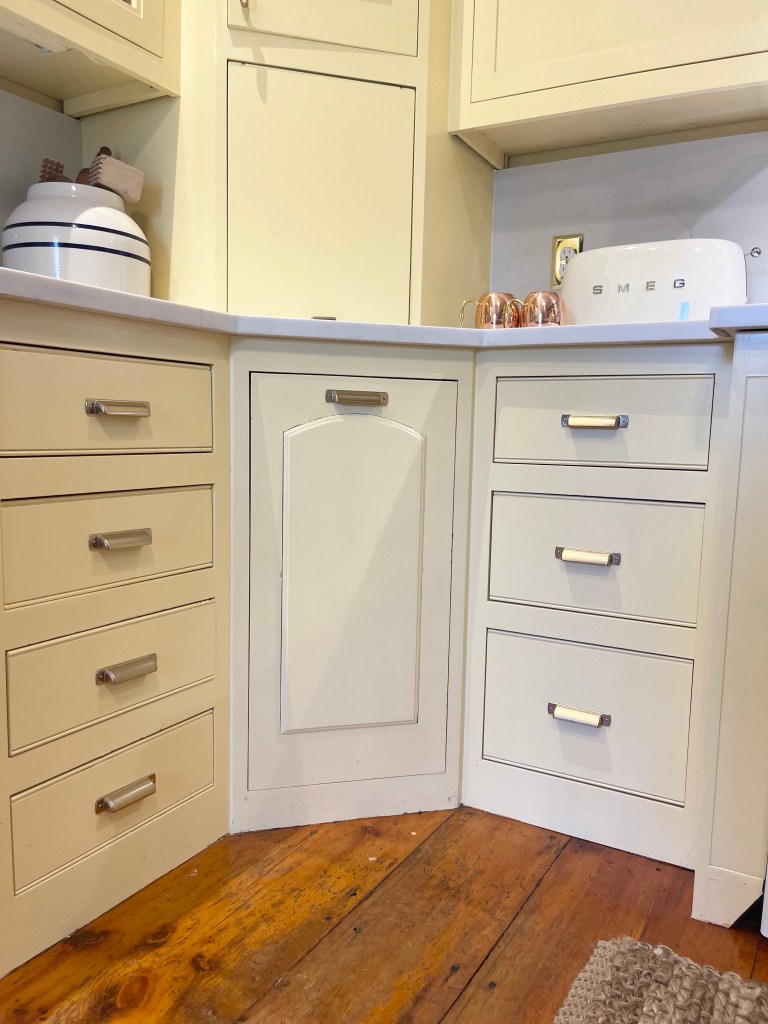
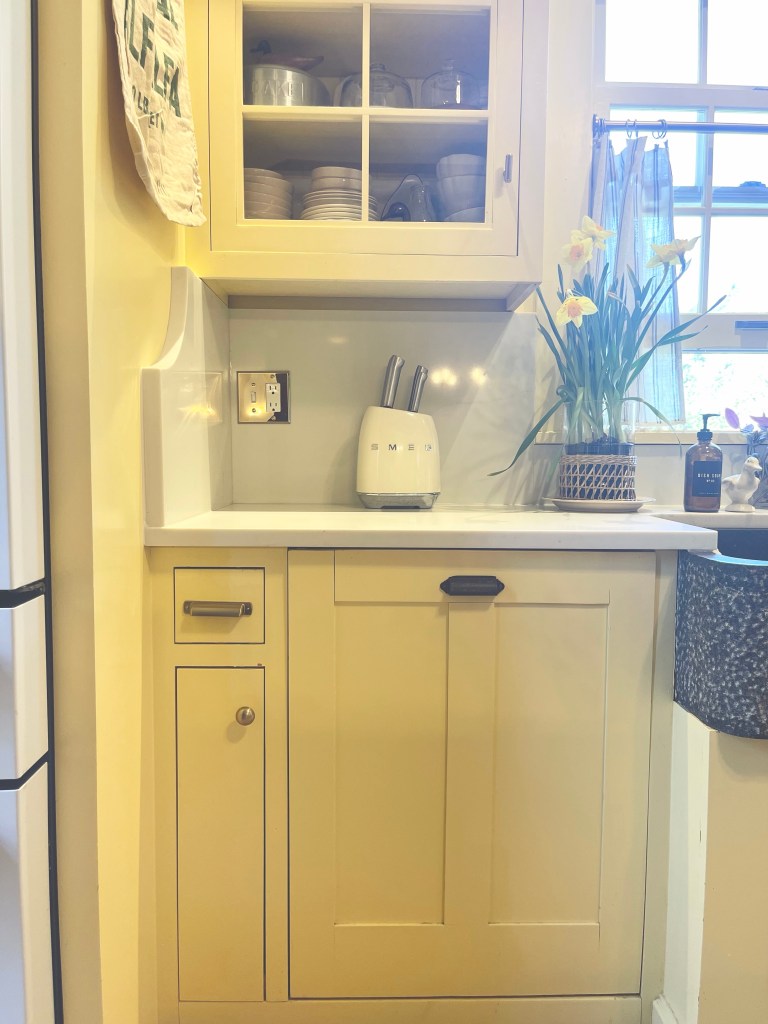
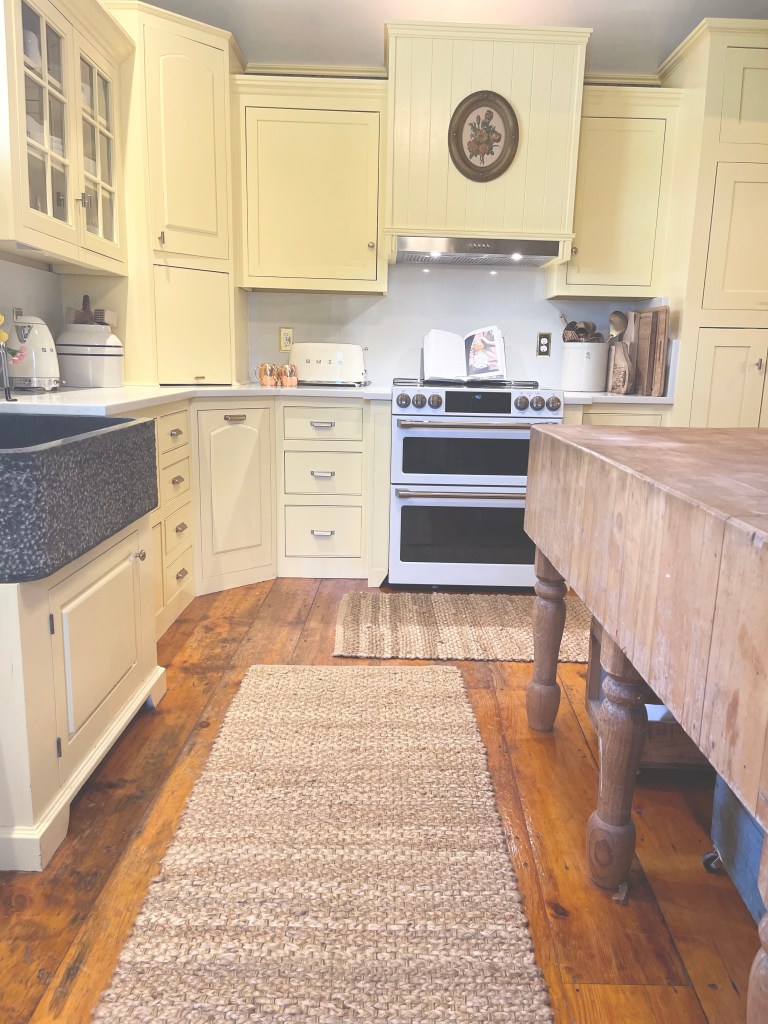
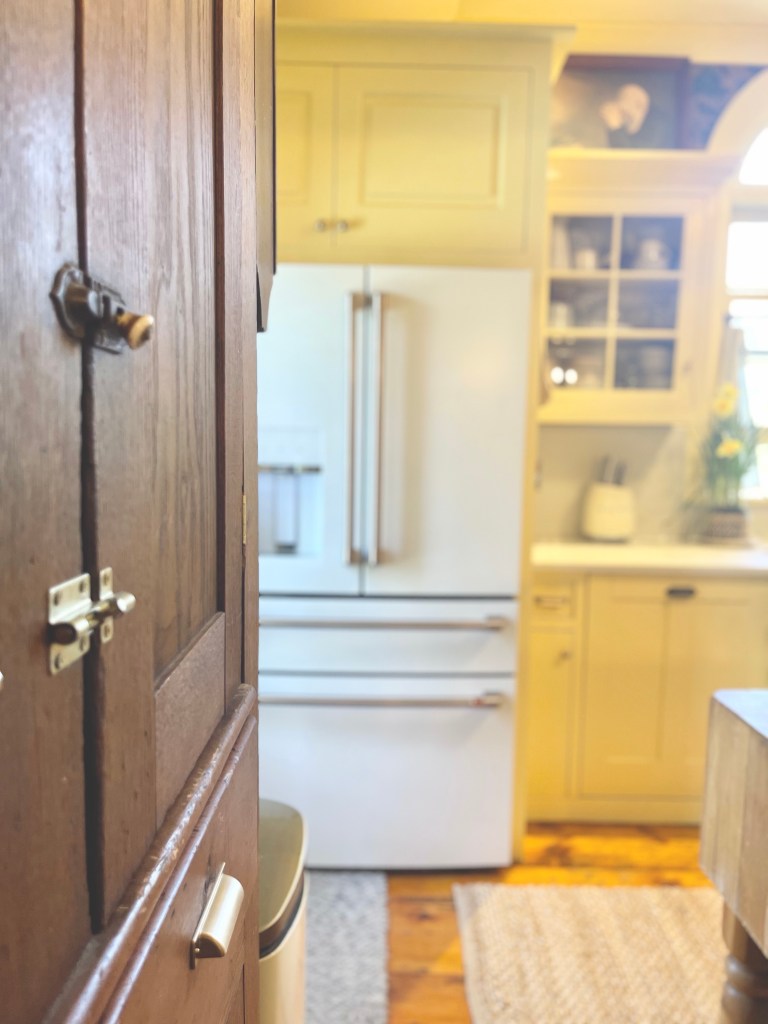
UNITY IN TWO
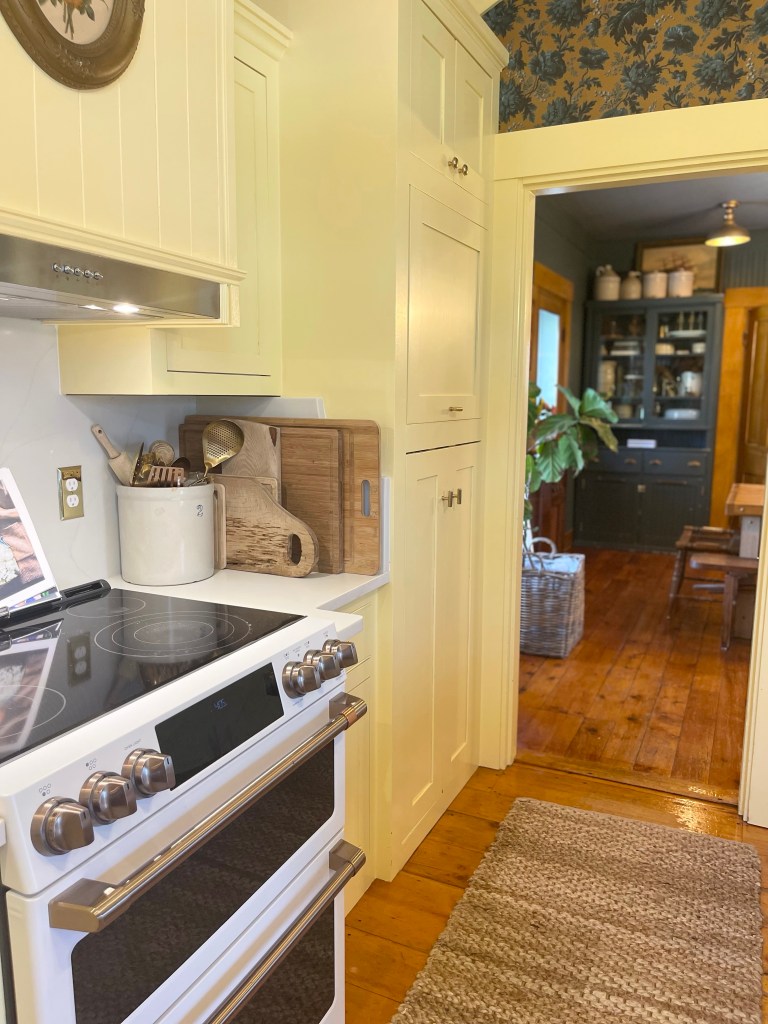
That kitchen and dining room. The two spaces now married for all time, completing the needed unity in the space. No division and chaos between them, but mutually complimenting the other. Our Nantucket Inspired Dining Room and our Kitchen on the Sunny-Side Up.
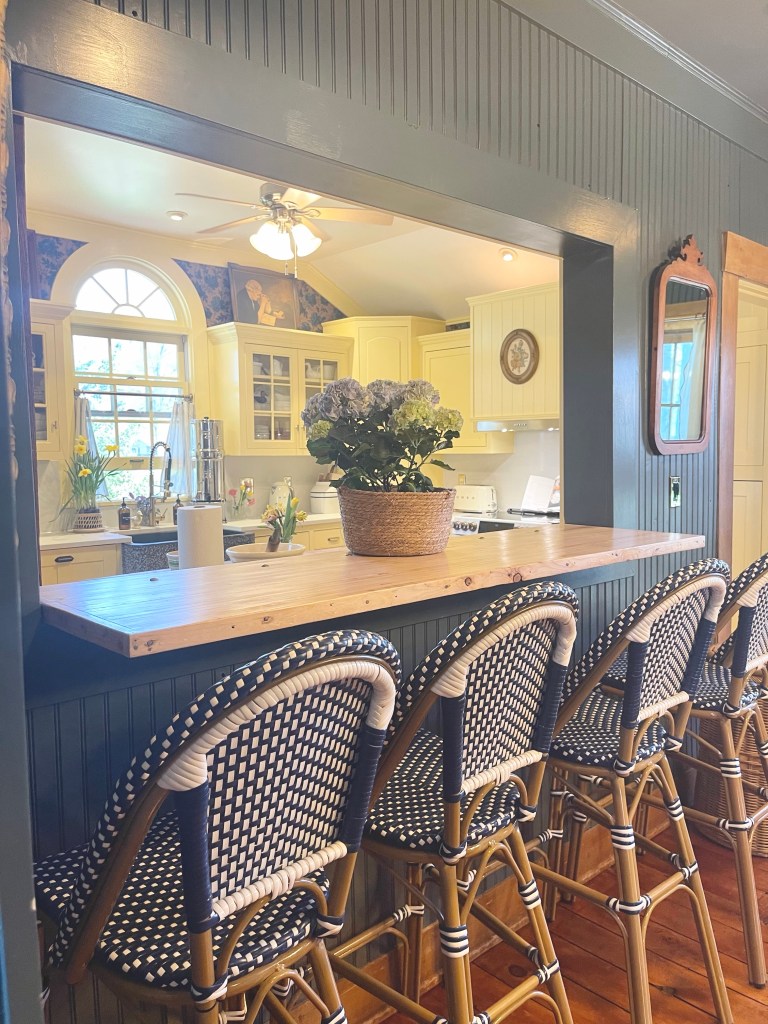
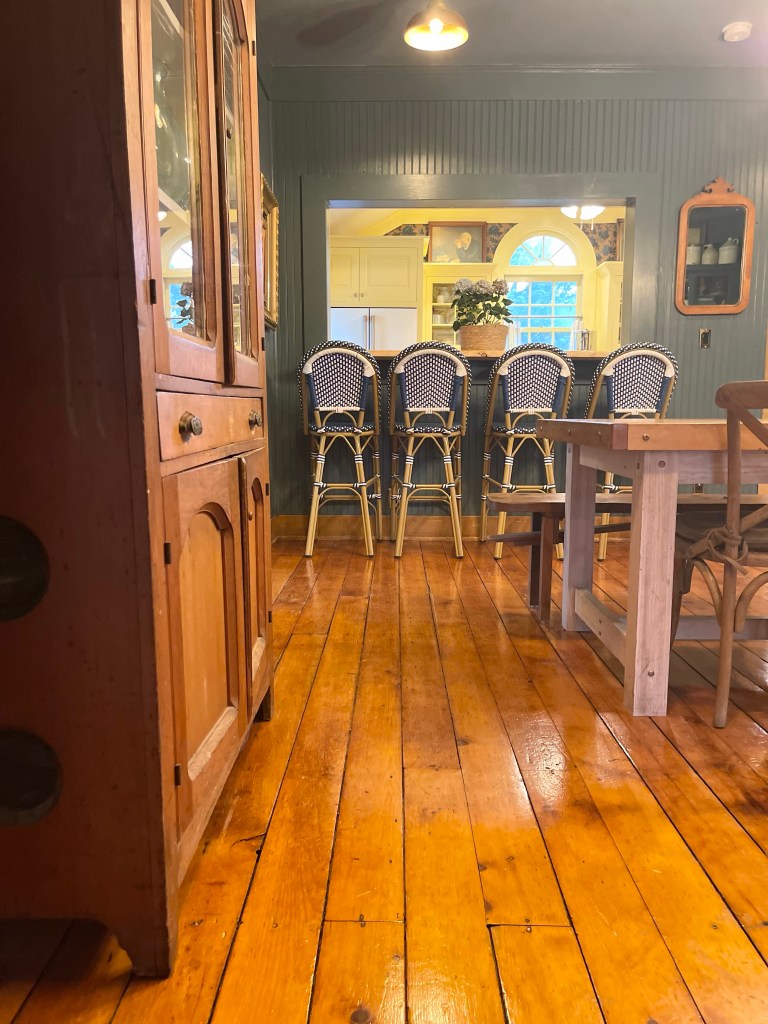
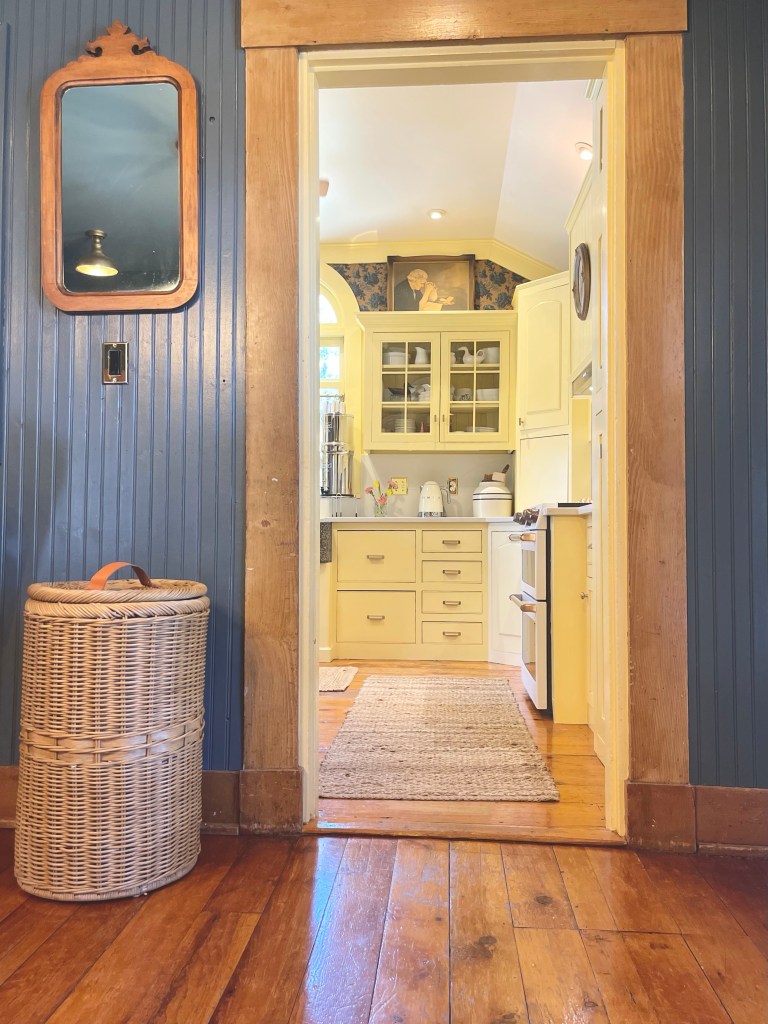
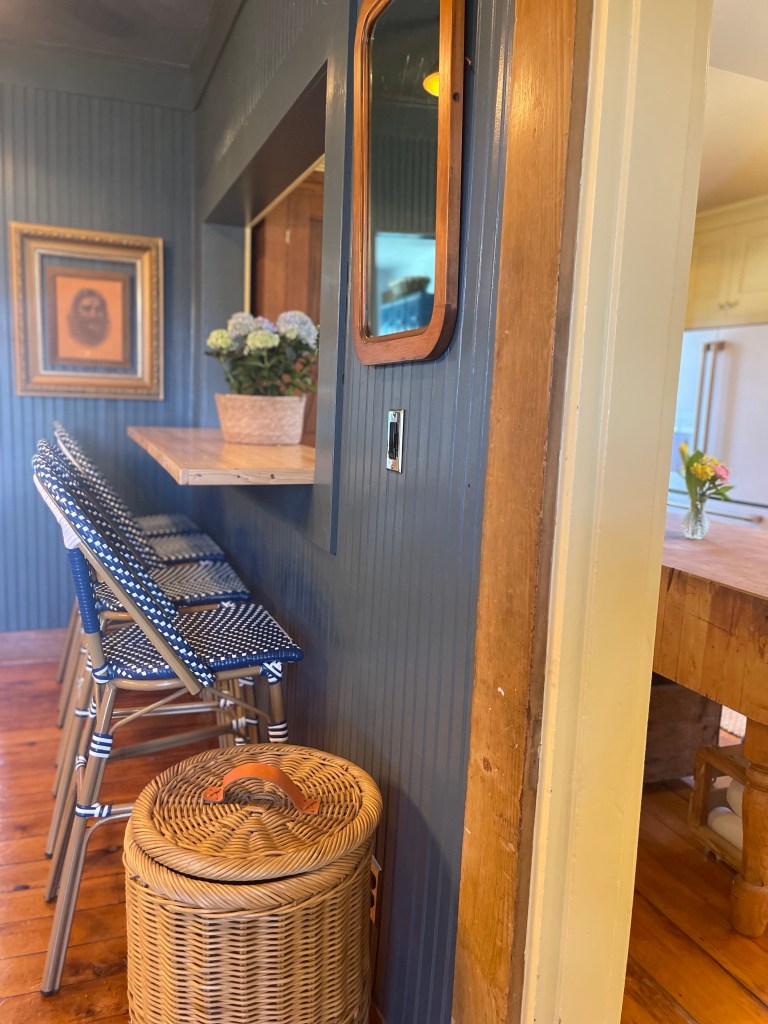
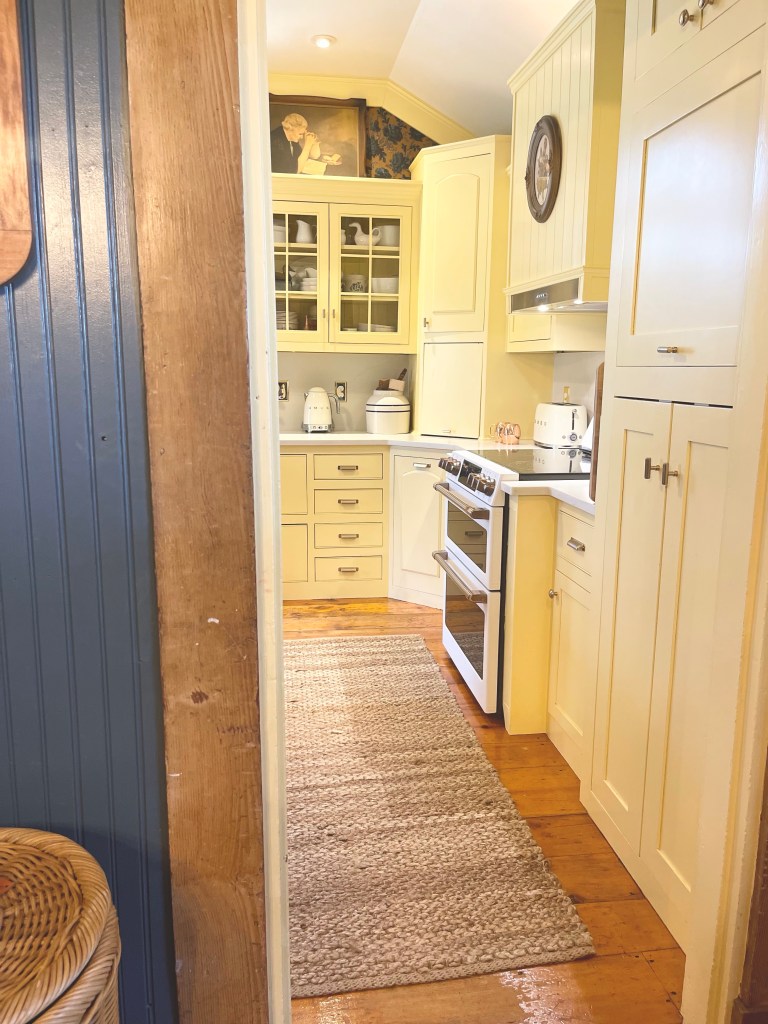
FINISHED YOU ASK?
While, what you have seen thus far was quite a feat to accomplish and a beaut, what remained to be finished was that eye-sore ceiling. You may have already been thinking this to yourself. Tom and I laugh that everything in this kitchen project we did backwards. Most people probably start with the ceiling and work their way down, for various reasons we didn’t get the luxury of that with this project. Last place or not, we knew it was time to put some thought into it. I wanted to make it feel a part of the space, perhaps another color drenching project to make the bright yellow flow versus scream against the ceiling like it currently was. It was a challenge because as you can see, it had several different angles and a very outdated ceiling fan in the center of it. I had a lot of good ideas in the mix that I was pondering on. I knew I wanted to add texture, possibly with v-groove bead board again, and get actual antique lighting to install.
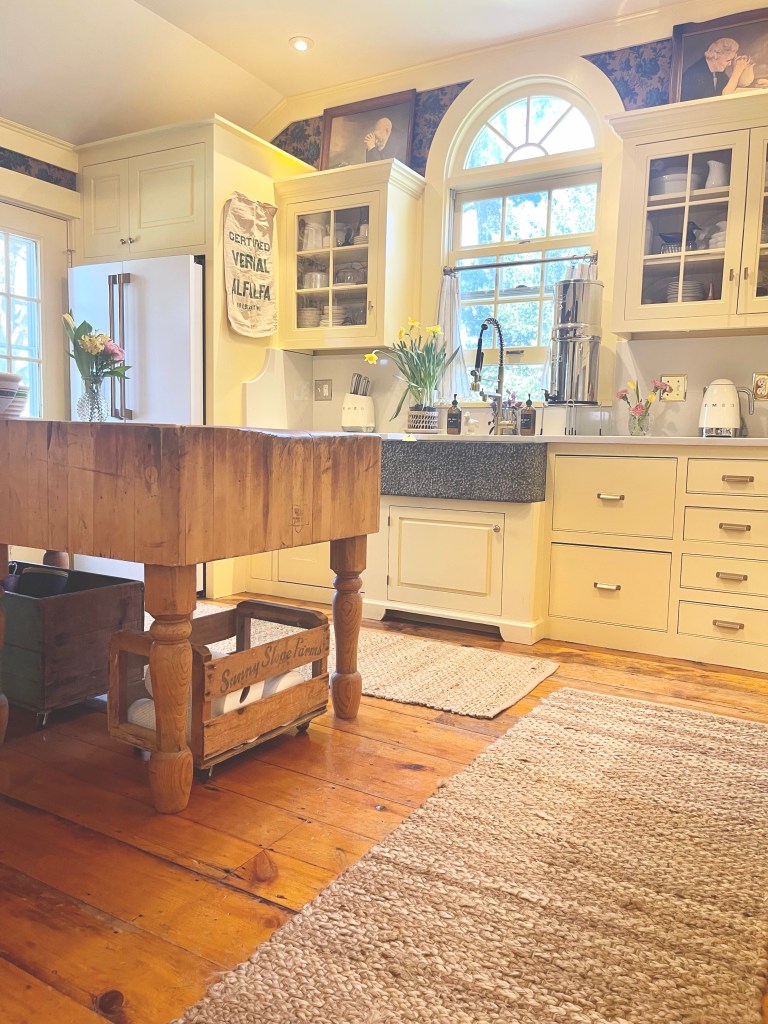
The hunt began for completing this project with hitting up our favorite antique mall, Ohio Valley. Per usual, they didn’t disappoint and we in fact scored BIG with some killer lights for finishing up the space. It was different, daring, and exactly what we were looking for, and would tie in the dining room space to the kitchen even more. Two antique BLUE hanging lights. Too cute! Right!?
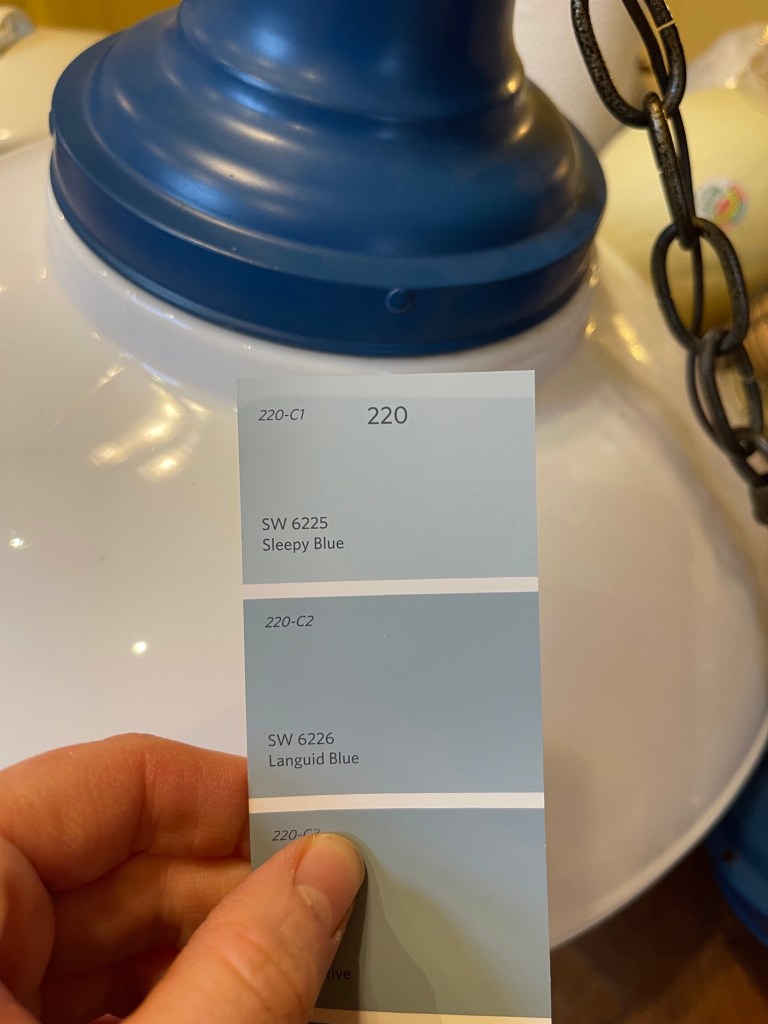
But…if you have been following us long enough, you know, these lights were sadly never getting installed in this kitchen, and we would not be finishing the design of it as we so desired to.
You can read many of my previous blogs where we share the story of why we had to leave our beloved 1855 historical home for the arms of another historical home. That call to land was too strong to deny. We were getting the opportunity to move from almost an acre of land to a grand 16 acres…and a whole lot more projects to keep us busy for a lifetime. We first mentioned this move here, and here, but lastly here if you want to get caught up on all the reasons.
So while, the ceiling was in fact the next project to be completed, we now had to quickly move from project mode to get our house ready to sell mode. Finishing only what needed to be done to get this beauty up on the market. A very hard one to walk away from indeed.

PREPPED FOR SELLING
After all that fun, we stripped her way down to only what was necessary for showcasing all her best sides. The biggest challenge was simply just keeping her tip-top shape with a busy family of six.
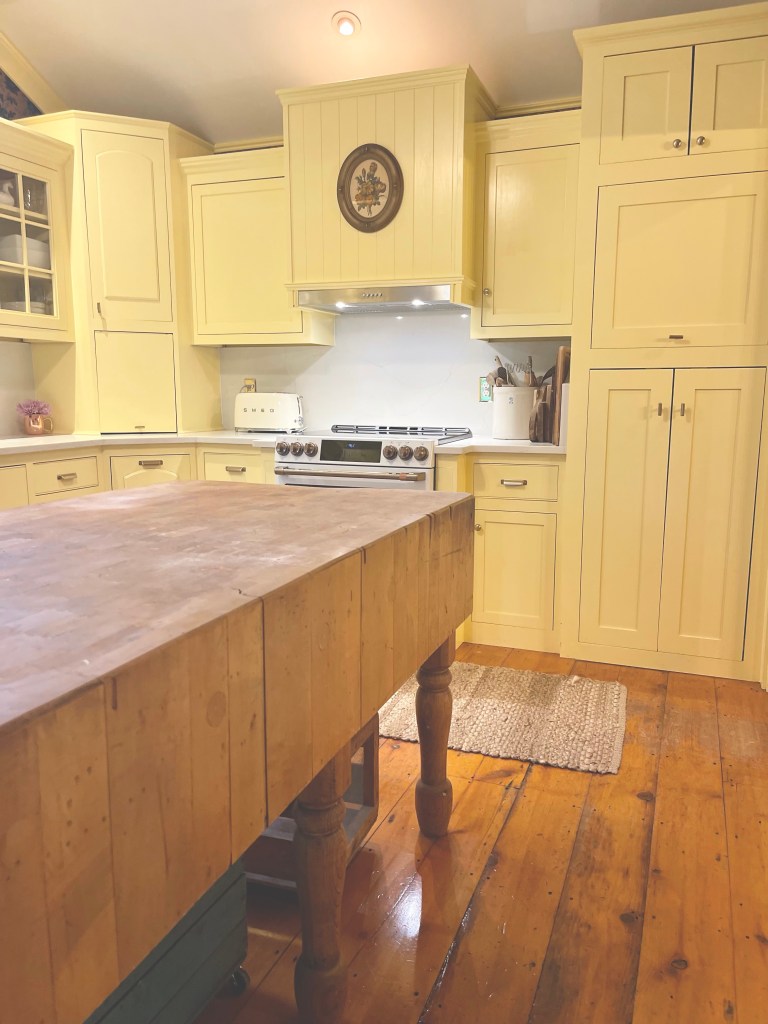
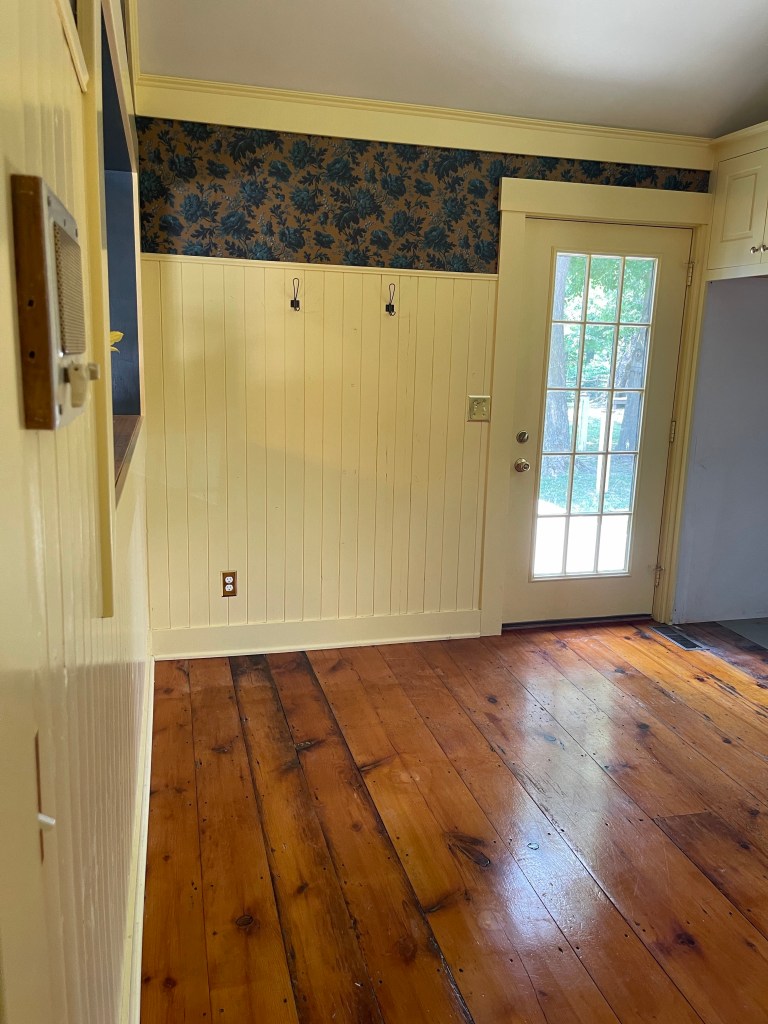
At the suggestion of our realtor, we took out some of the large antique pieces we were using for storage, so they could really visualize their items here and maximize the space. I styled it off with simple hooks, my apron and sun hat as well as visually pleasing hand towels.
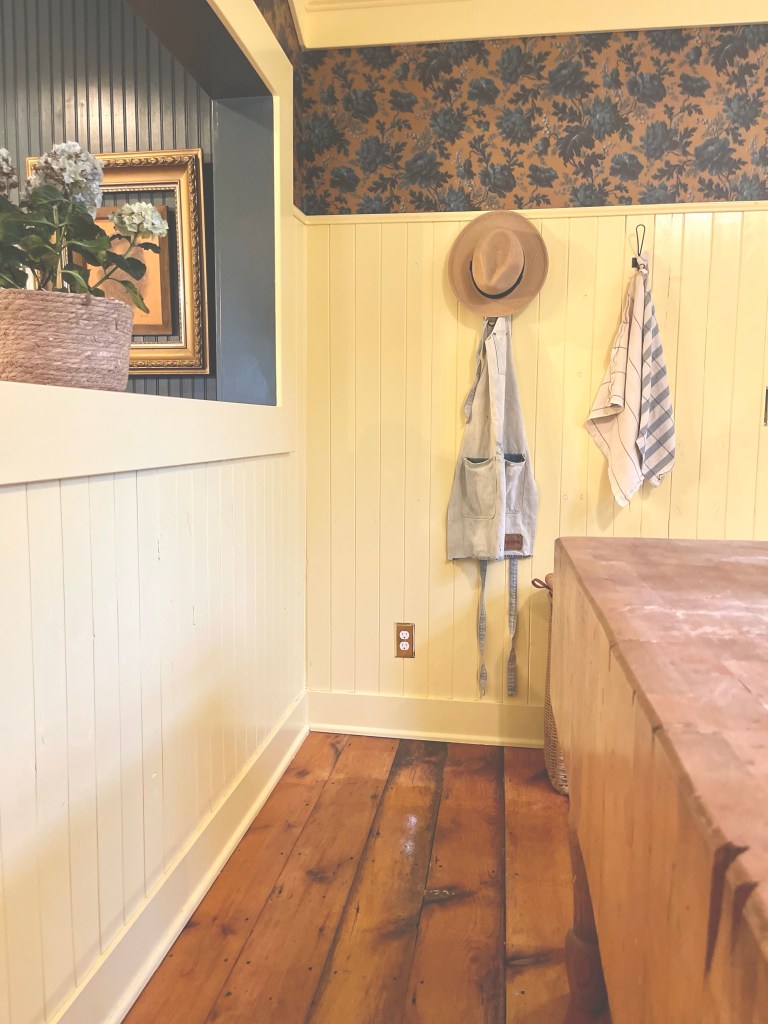
Oh, the lovely little details.
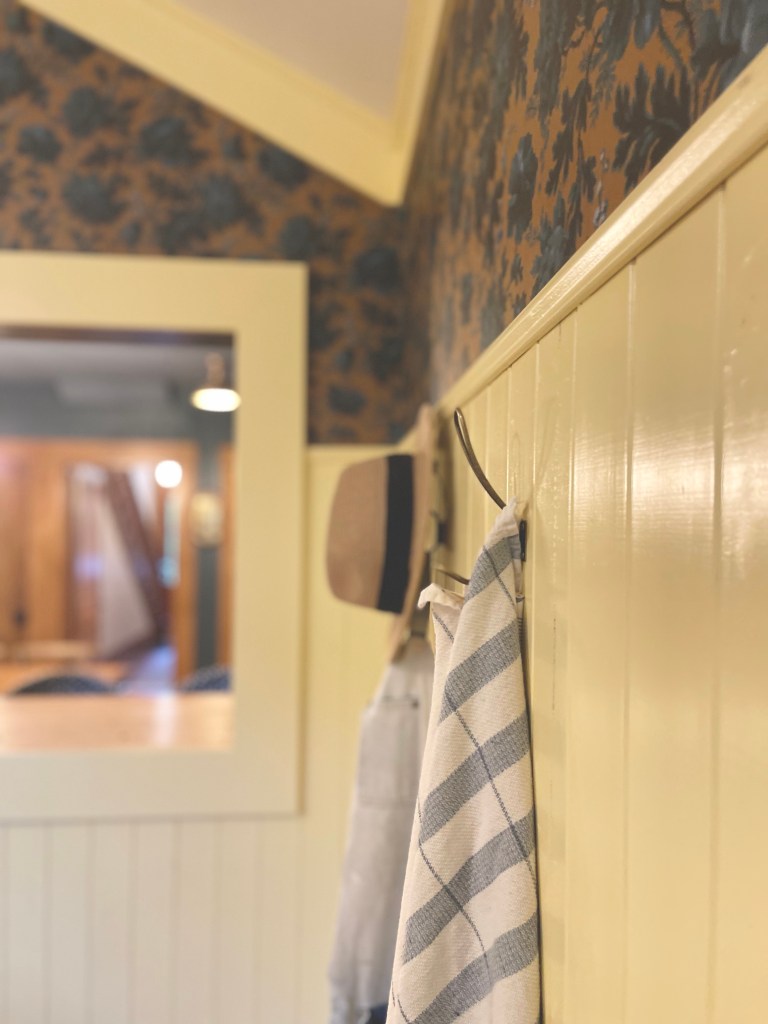
As pretty as blooming daffodils.
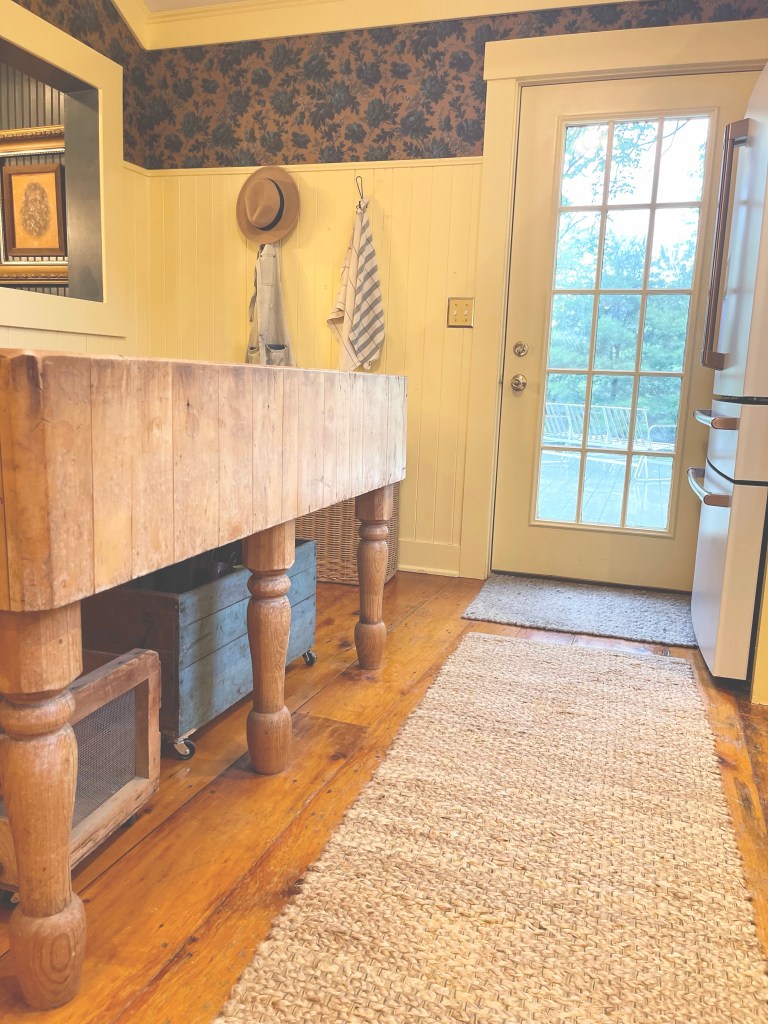
While the following photos, courtesy of Keller Williams, are truly stunning, I hate when I don’t get to finish a project and see everything that it was meant to be in my mind. Nevertheless, I am still proud of what we did get accomplished, and look forward to what my new kitchen will one day be like in our new (old) 1800’s historical home.
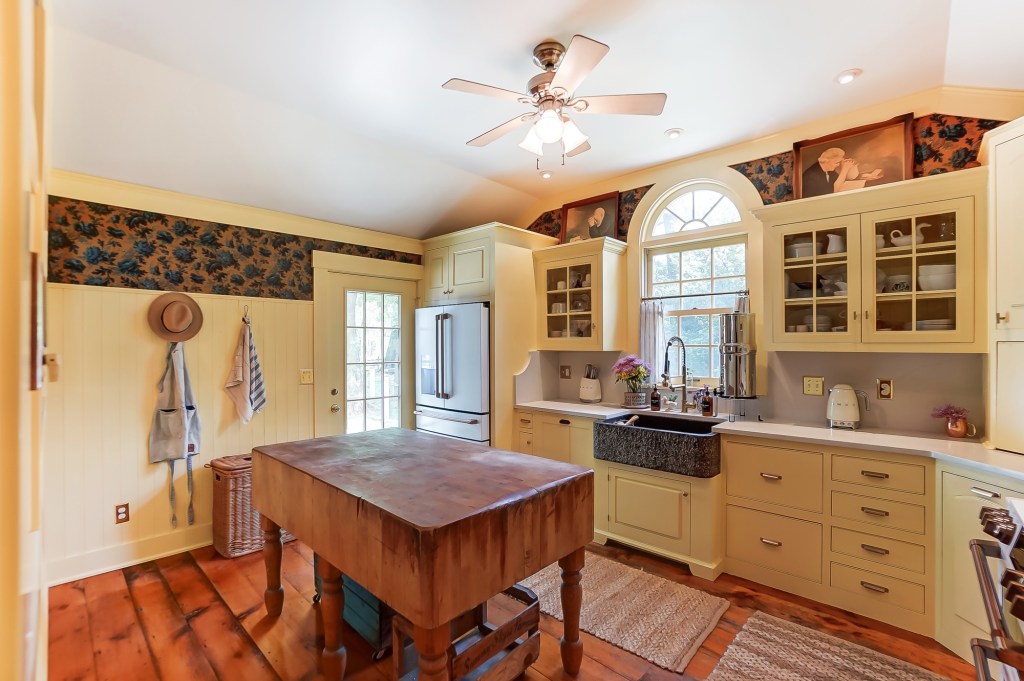
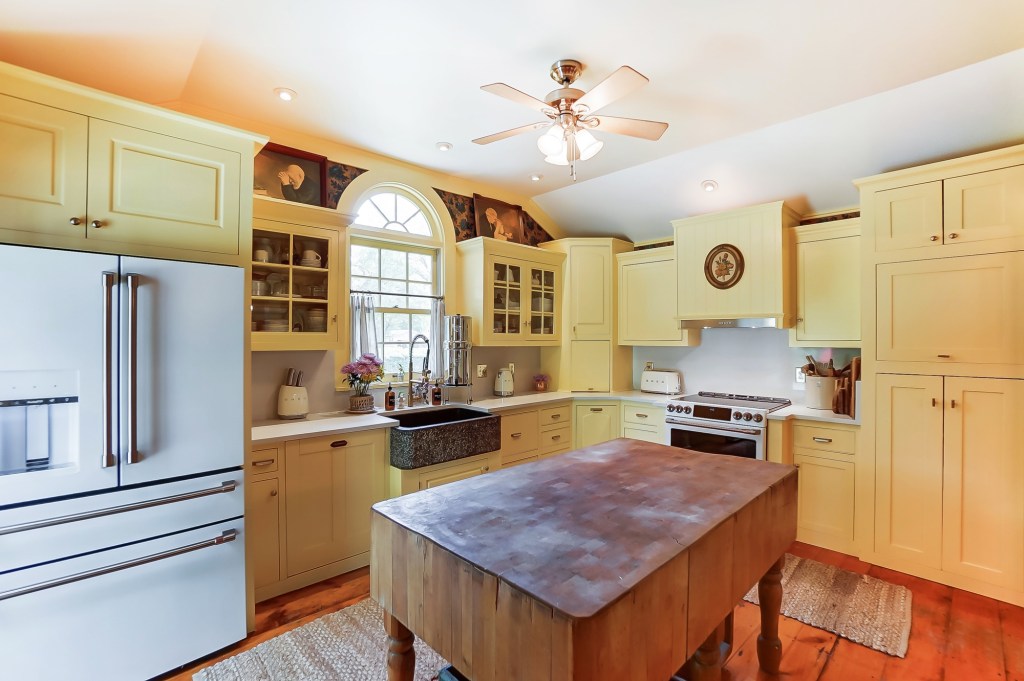
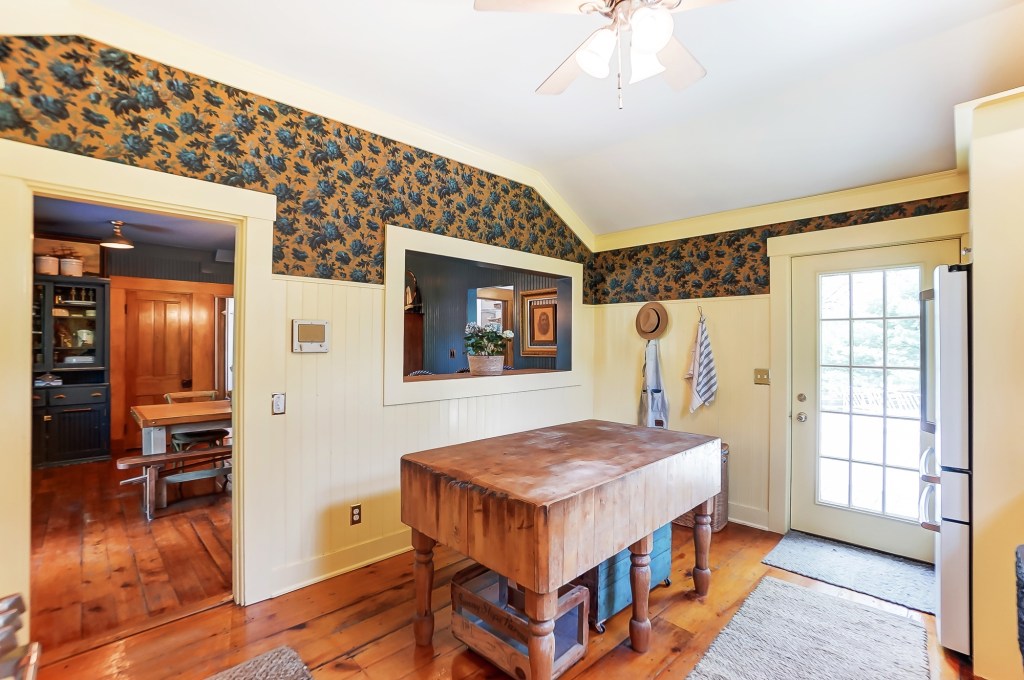
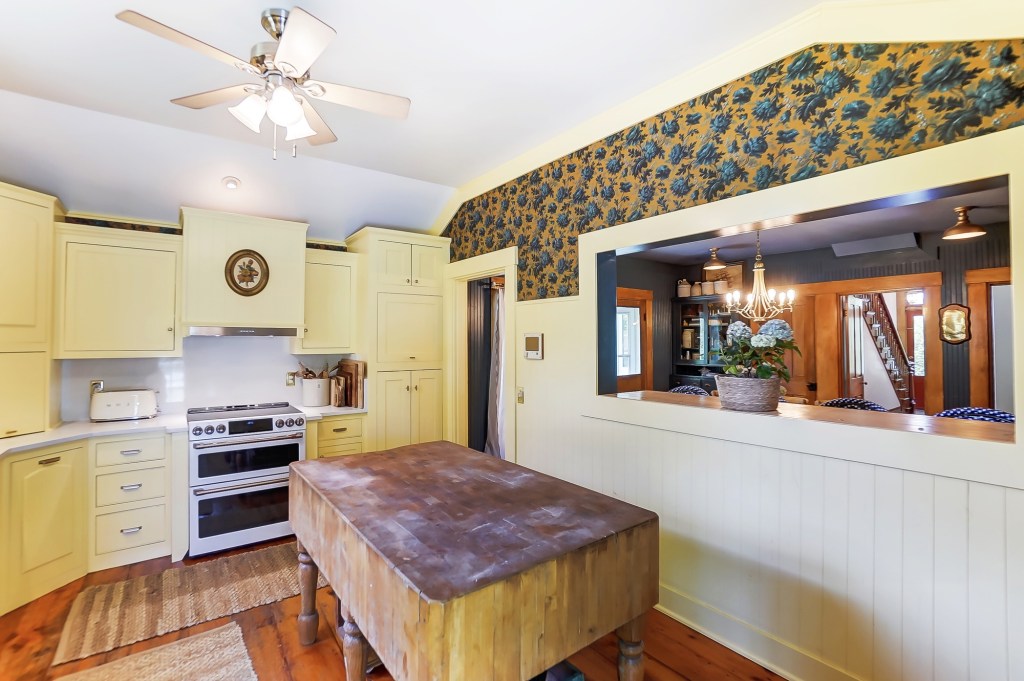
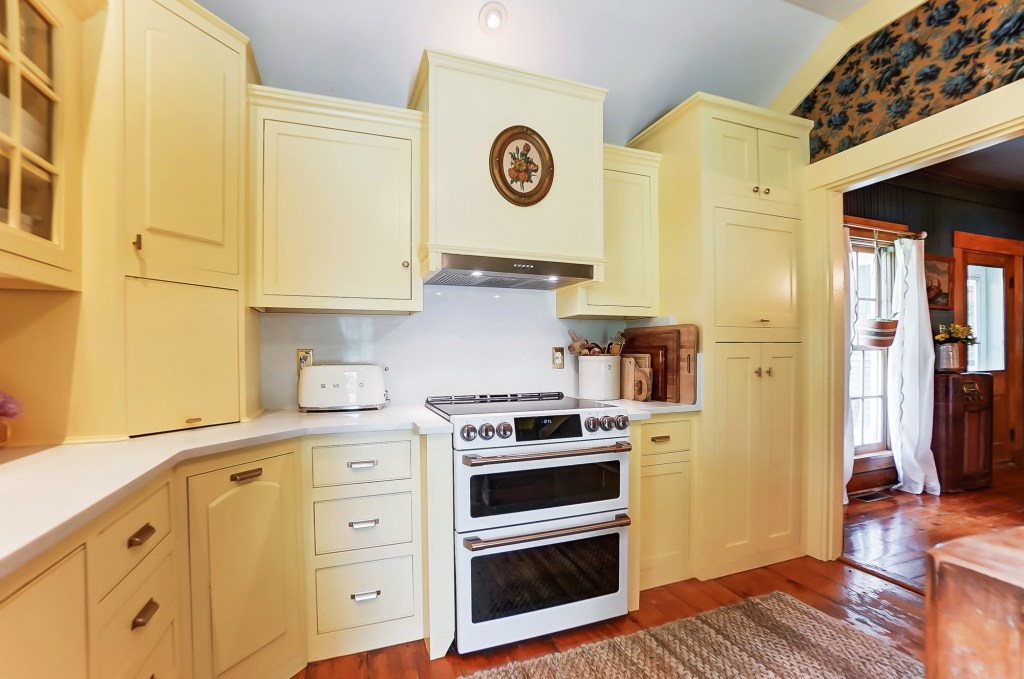
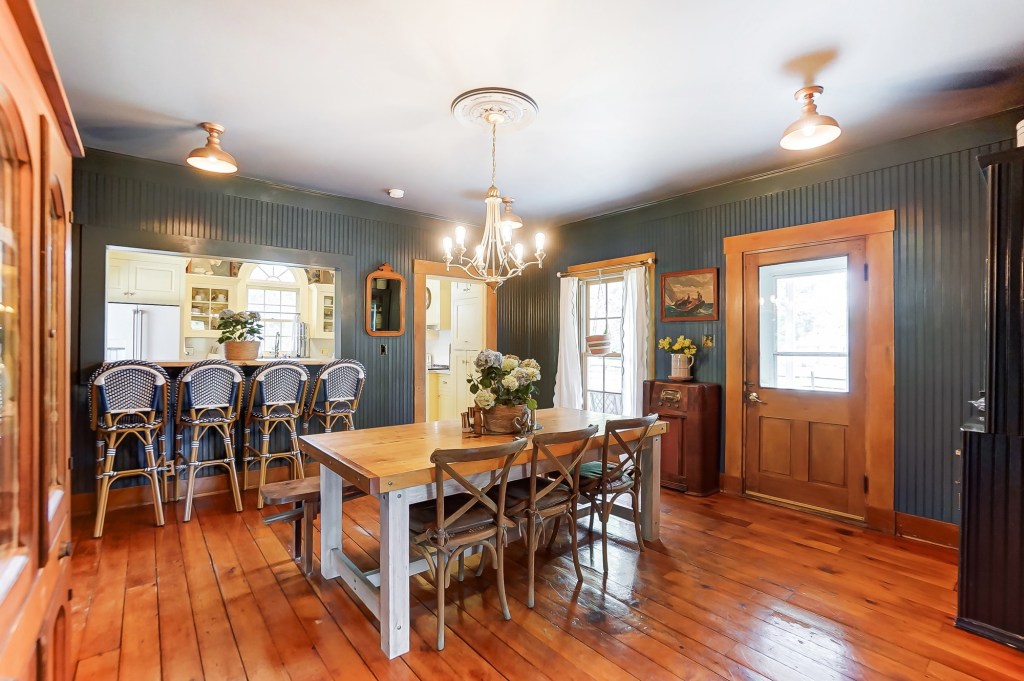
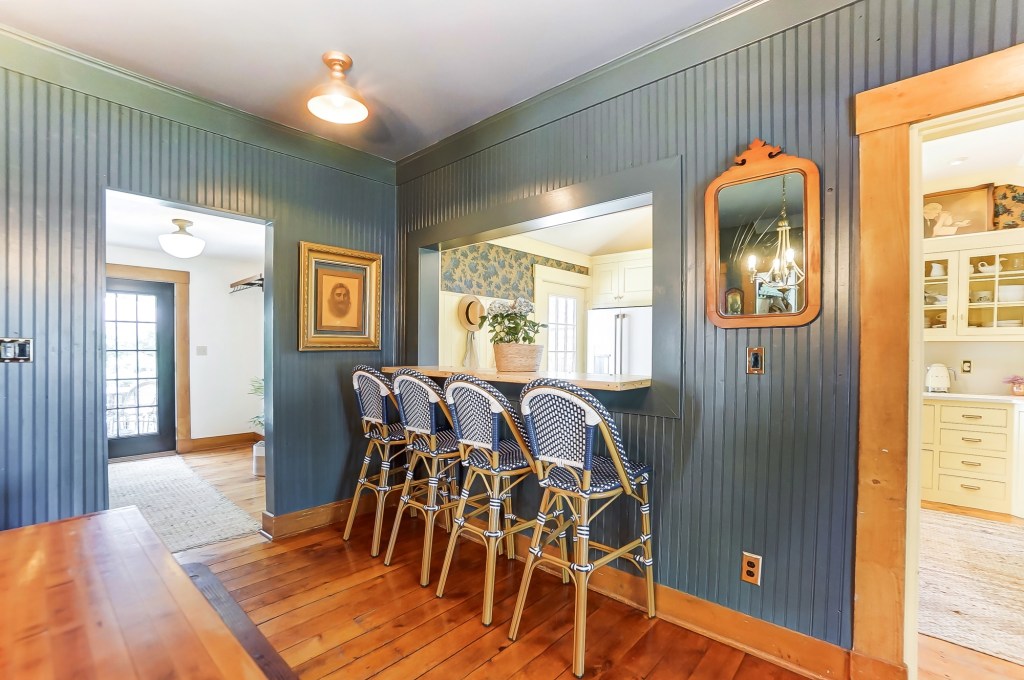
As things moved very quickly and we were well on our way out the door, I still had thoughts about how I would have finished her off.
WHAT WOULD I HAVE DONE DIFFERENTLY?
- I would have added v-groove bead board to the ceiling
- I would have color drenched the v-groove bead board on ceiling to match the rest of the space
- I would have added more detailed trim around the breakfast bar opening (see photo below), it was too flat and I feel some detailed woodwork would have given it the depth and history it was lacking
- I would have ripped that ceiling fan down and installed those beautiful antique lights
- I would have considered adding lighting over the breakfast bar, perhaps both sides? A couple charming sconces
- I would have added copper railing with hooks for hanging small kitchen items underneath cabinets and possibly above the stove
- Lastly, I had really wanted to add a built in plate rack either in the kitchen or dining room
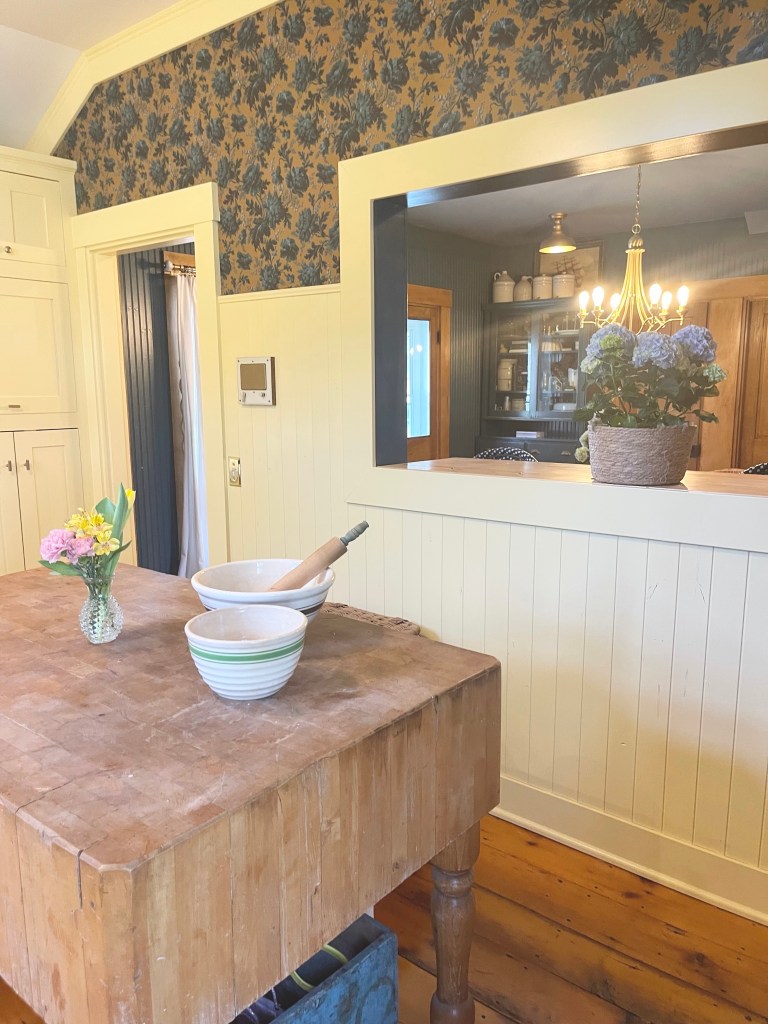
Now that those are simply fleeting thoughts on an old to-do list in my mind, it did feel good and necessary for me to analyze my own work and critique it to get better for the next round. Making that list helped me evaluate what level of design I want to get to. I think together, Tom and I learned a lot, I’m proud of what we did and I know we will only build upon this for the future.
PACKING ER’ UP
With mixed emotions and chaos once again, we packed her up.
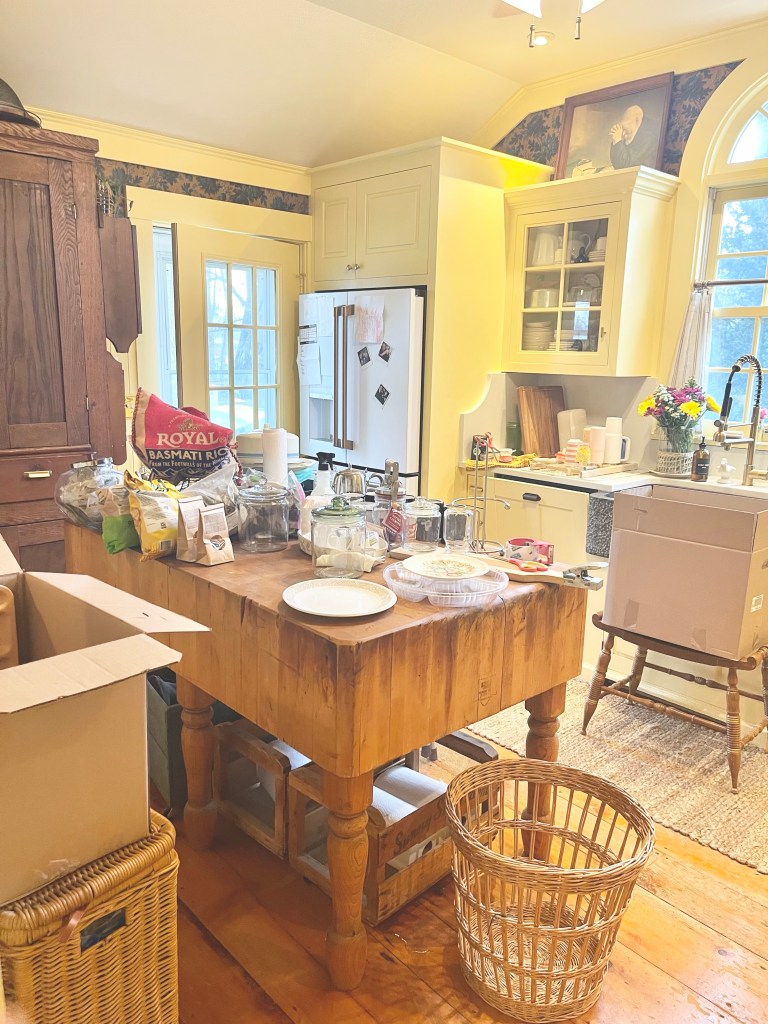
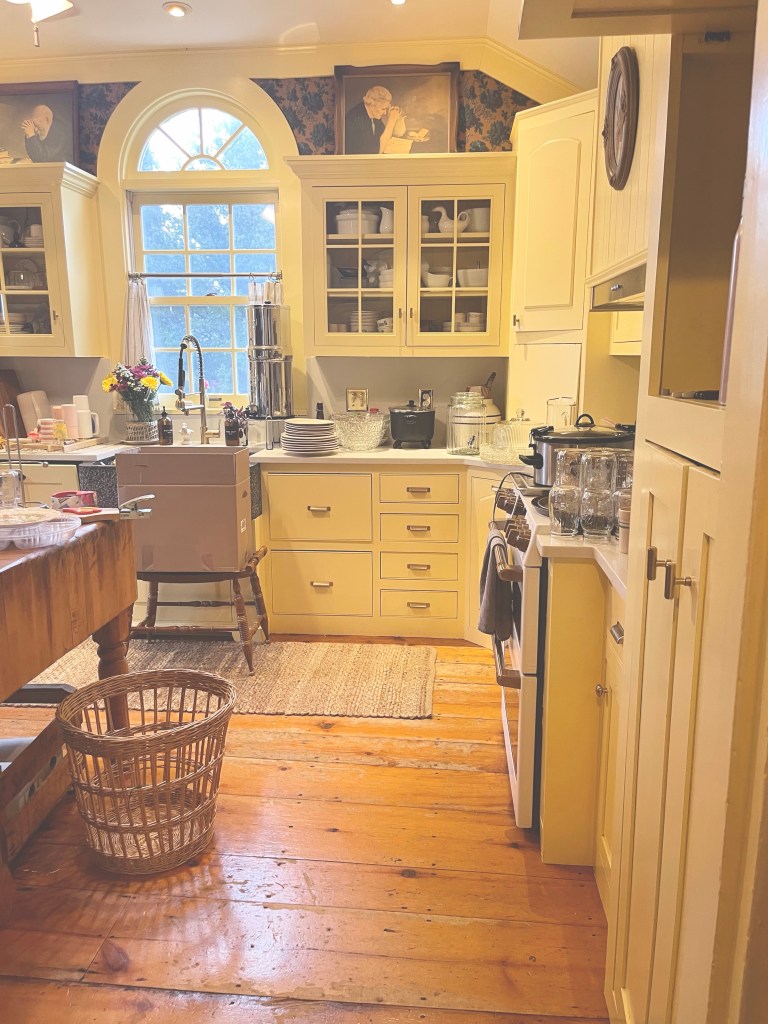
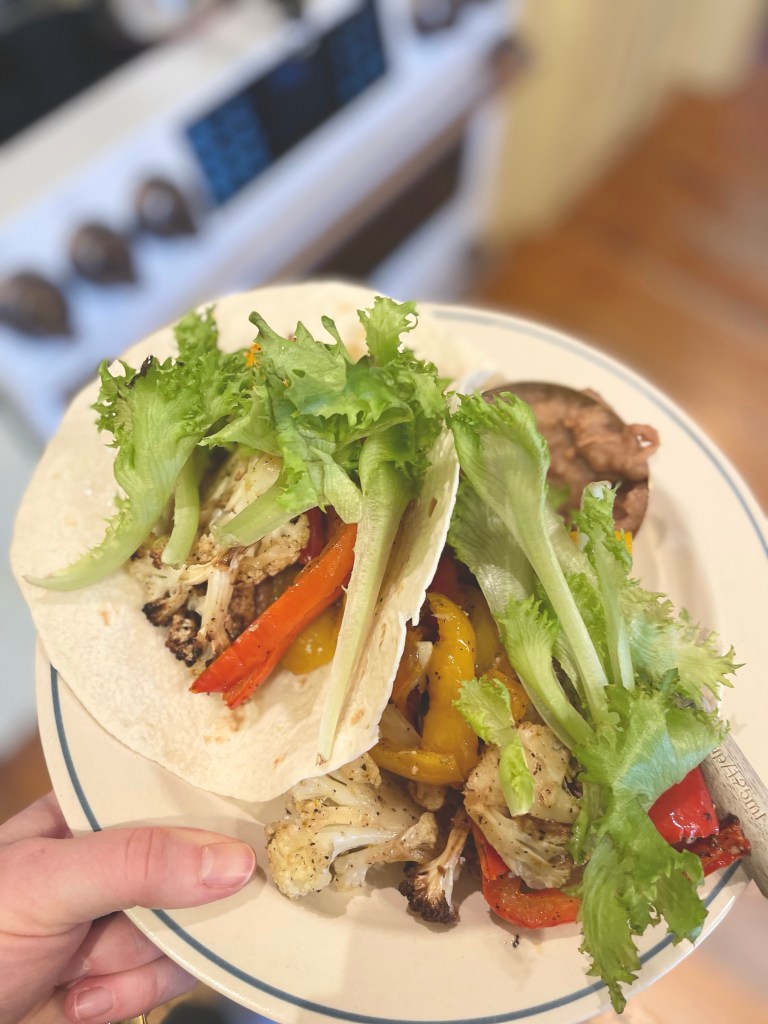
What can I say, in you, I made cauliflower tacos extra good.
SAYING GOODBYE
With more added to our design and building portfolio, more added to our cooking skills and memories as a family, we left our cheery kitchen with our heads high and handed her over as a gift to be adored by the next home owners.
And you better believe with Tom’s problem solving skills along with a few friends, we most definitely took that masterpiece butcher block table to live in our new home. Sharing how we accomplished this for another day. Just know, we made it happen with some good ole’ redneck ingenuity.
Till the next blog, may you all be living that home sweet home life and customizing away.
Keep following along to see what adventures we’re into next. Stay up-to-date with our socials to see what’s happening, what’s cooking, what’s being built or where we are heading next.
Written by Bethany Curee, God’s Daughter – Freckled & Free


You and Tom should have your own show on HGTV. You are so creative and together you two can create anything. Beautiful design, wonderful writing, stunning photos.
LikeLike
Wow! Thats the greatest compliment—Thank you!! We sure love doing it. 💖
LikeLike